Showing posts with label food. Show all posts

Saturday, January 14, 2012

Meatballs

I invited my mother over for dinner tonight since my father was out of town.  When I have guests over for dinner, I like to try something different to impress them and since it is my mother, the one who taught me a lot of the recipes I know, I can't fall back on an old standby.  So I created something new and it was a big hit with everyone. 


Here is my recipe for meatballs, and  I will apologize in advance since I don't measure out ingredients when I am cooking.


Ground beef
1 packet Lipton onion soup mix
Worcestershire sauce

milk
beef bouillon granules
corn starch
salt and pepper to taste

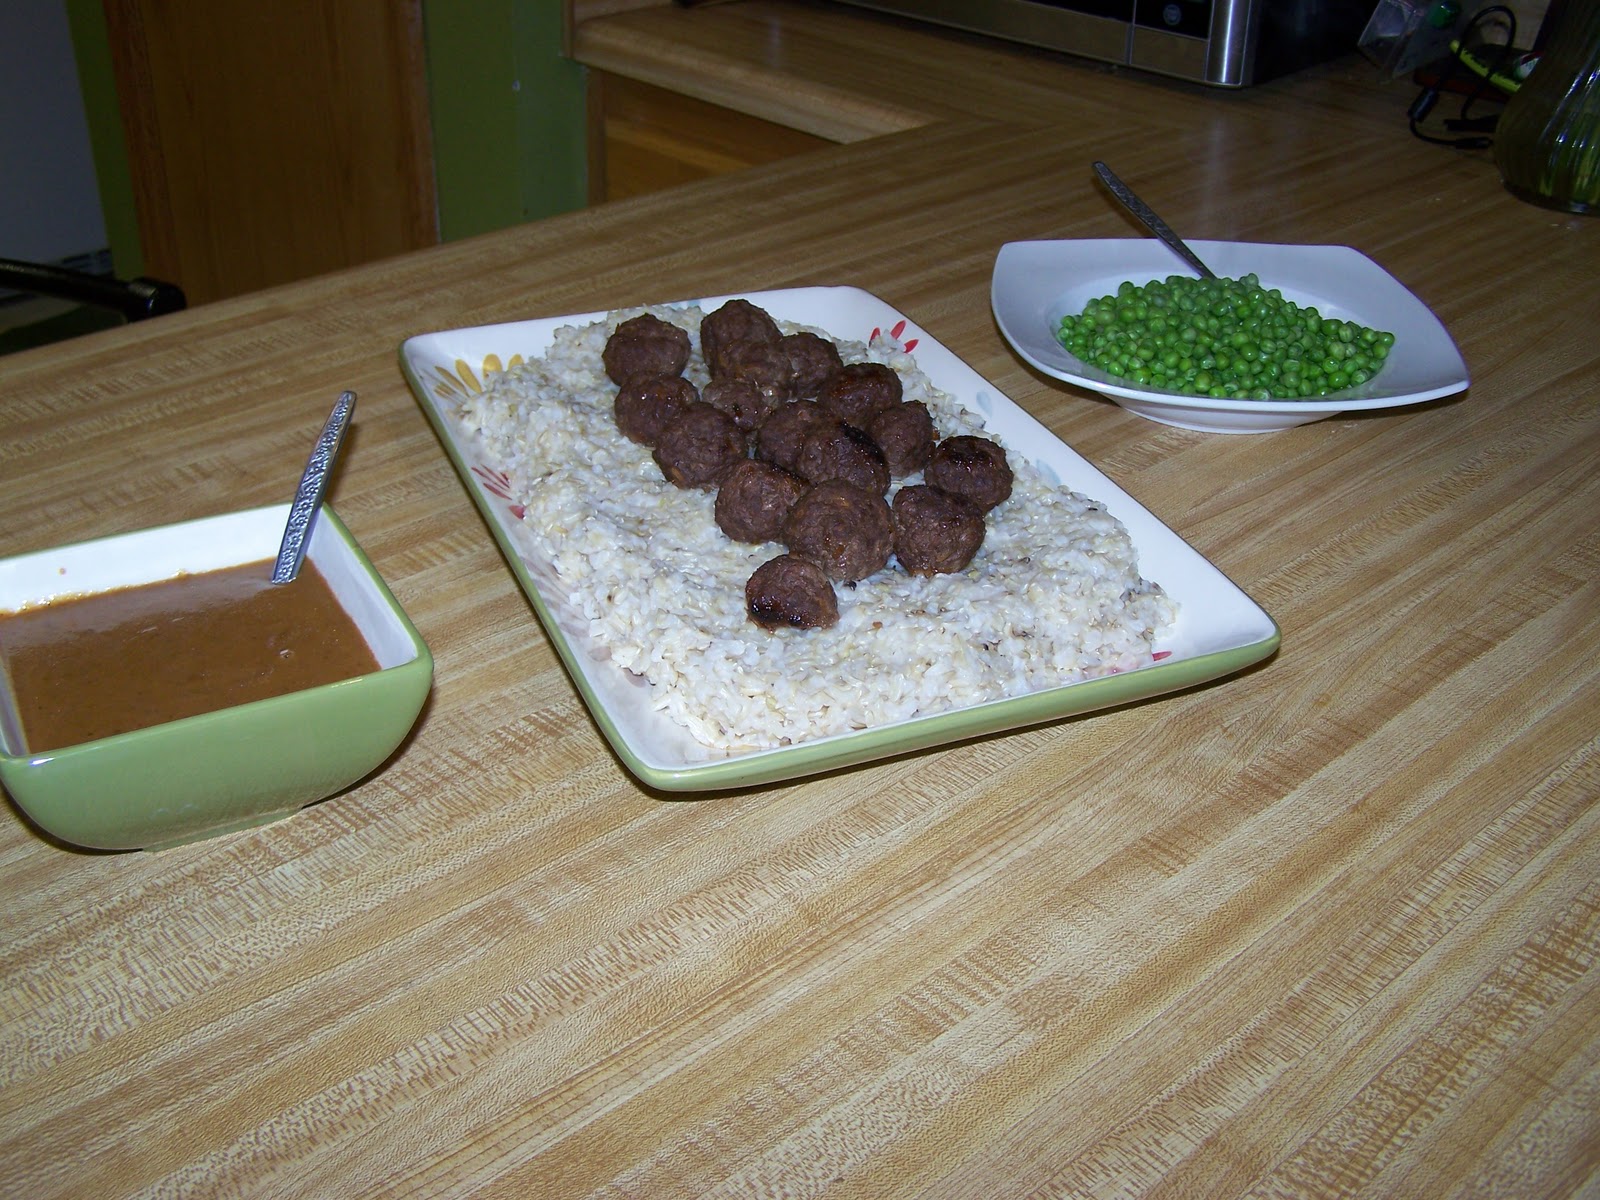
I mixed my ground beef with a packet of onion soup mix and  some worcestershire sauce and made meatballs with it.  I sprayed my saute pan with some cooking spray and browned my meatballs on all sides.  I also started some brown rice cooking.  When my meatballs had been browned  on all sides, I covered the pan, occasionally stirring them, and let them cook until finished.  I took my meatballs out of the pan and set them aside, then I drained all but about 2 TB of drippings from the pan.  I used the beef bouillon granules dissolved into water (because I didn't have any beef broth on hand) and, leaving the heat on in the pan, used the makeshift beef broth to deglaze the pan.  I then added some milk, some more worcestershire sauce and some corn starch to thicken up while stirring constantly ro make the gravy.  I used salt and pepper to taste.  These meatballs were served over a bed of brown rice with the gravy and steamed peas on the side.  Yummy!  The only bad part was there are almost no leftovers! 

Wednesday, January 4, 2012

Happy New Year!

Happy New Year everyone! 
The coolest part about my girls getting older is that they are starting to get really excited about holidays and they look forward to them.  They couldn't wait for Thanksgiving and all the people to come over and then, like pretty much every kid, they were REALLY excited about Christmas.
Of course, you blink and then it is New Years.  We always let our kids be up for the ball drop, we have done it since our first was born.  Of course we don't let them stay up until the ball drops, they go to bed at their normal time and we wake them up about 11:30 and have tasty snacks and sparkling cider while we watch the ball drop and then they go back to bed.  This year it took about 2 hours for them to fall back asleep but at least they slept later on New  Years Day.
Since I live in the South, I grew up eating black eyed peas on New Years Day but my Mom never made a  special dish, she would just heat up a can of  black eyed peas and we would have it as a side dish.  I had never even heard of Hoppin John until I came across it a few months ago on another blog.  It sounded awesome so I decided I would make that on New Years.  As I started searching for the best recipe I noticed that Hoppin John seemed kind of  like Chili in that there are a few things it has to contain to be considered Hoppin John but beyond that, everyone kind of has their own recipe.
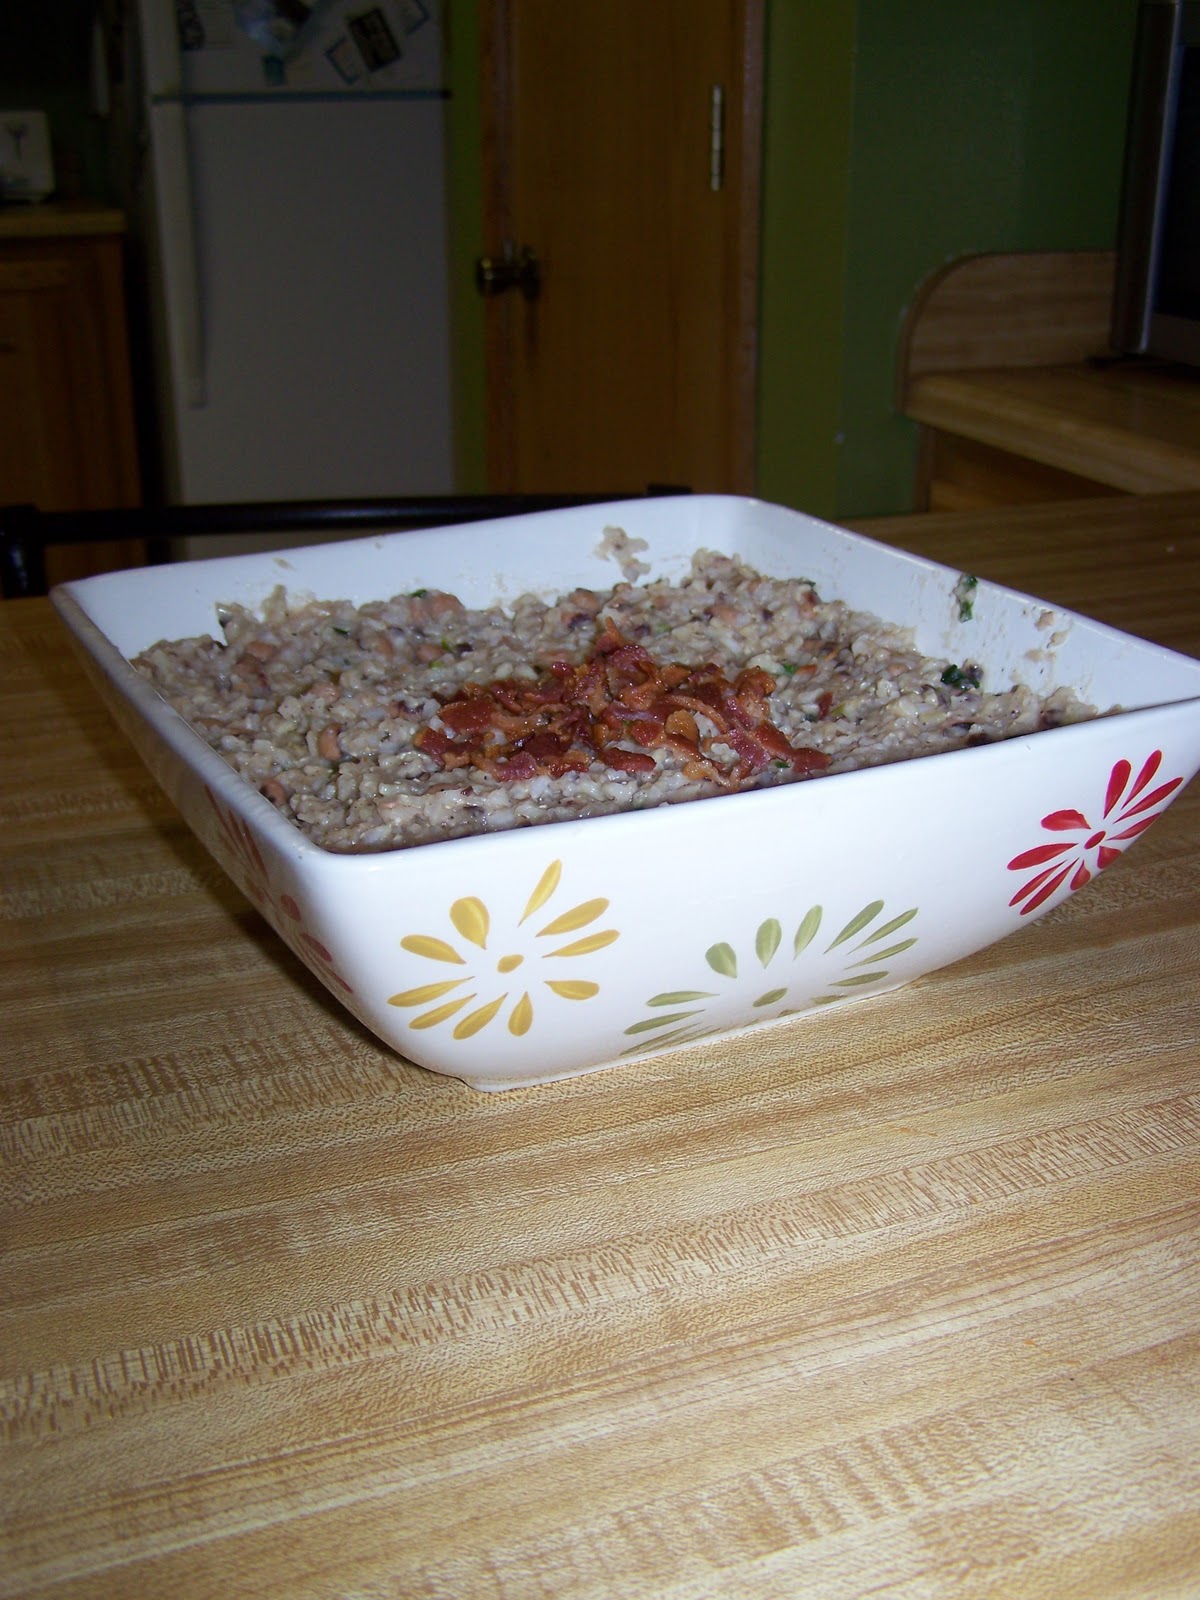
Instead of following someone elses recipe, I just made my own.  I only had canned black eyed peas in my pantry and I used brown rice instead  of white but it tasted really good!  Mr. Gem and myself both really liked it as did a friend of ours who was over visiting.  Without further adieu, here is my own recipe for Hoppin John.


Hoppin John

6 strips of bacon
2  or 3 bunches of  green onions
6 cloves garlic
2 cans black eyed peas, drained
4 cups cooked brown rice
salt and  pepper to taste

Use a deep sauté pan and first cook the bacon.  While the bacon is cooking, chop up the green onions and garlic.  Pull the bacon off and set on paper towels to allow it to drain.  Leave the drippings in the pan and toss in the onions and garlic.  Sauté for a few minutes or until soft then add your black eyed peas and rice.  Cook for several minutes using salt and pepper to adjust the flavor until it is warmed all the way through.  Crumble bacon and sprinkle on top and eat! 
Surprisingly satisfying and lucky too!  On a side note, isn't that serving dish it is in awesome?  I got that as a Christmas present and of course, I just had to use it.
I hope you remembered to eat your black eyed peas and lets all have a wonderful lucky year!

Monday, December 19, 2011

Christmas Candy

Wow, a week already huh?  I guess I have been so busy trying to get ready for Christmas that I keep forgetting to make posts. 
One of the things I do to get ready for Christmas is make candy.  We always have toffee, Chex Mix, bon bons, winter strawberries, divinity, fudge, dipped pretzels, peppermint crunch and sometimes other candies as well.  Normally, at the end of the year, all the toffee and Chex Mix is gone and I have had to make more while I have leftovers of the rest of the candy that ends up getting thrown out.  This year I decided there was no point in making all the other candies and I would instead just make 6 batches of Chex Mix and 16 batches of toffee.

You read that right, 16 batches of toffee.  Everyone loves my toffee.  Every year, people ask me for the recipe.  One year I had a lucrative side business going selling tins of it to coworkers.  Yes, it is THAT good.  The only problem with giving my recipe to others is that I can't tell you a temperature to cook it at.  This recipe was passed down by my Grandmother so we all learned how to tell it was done by color and texture.  If you want to give it a try, here is the recipe, along with pictures that might help.

Ingredients:
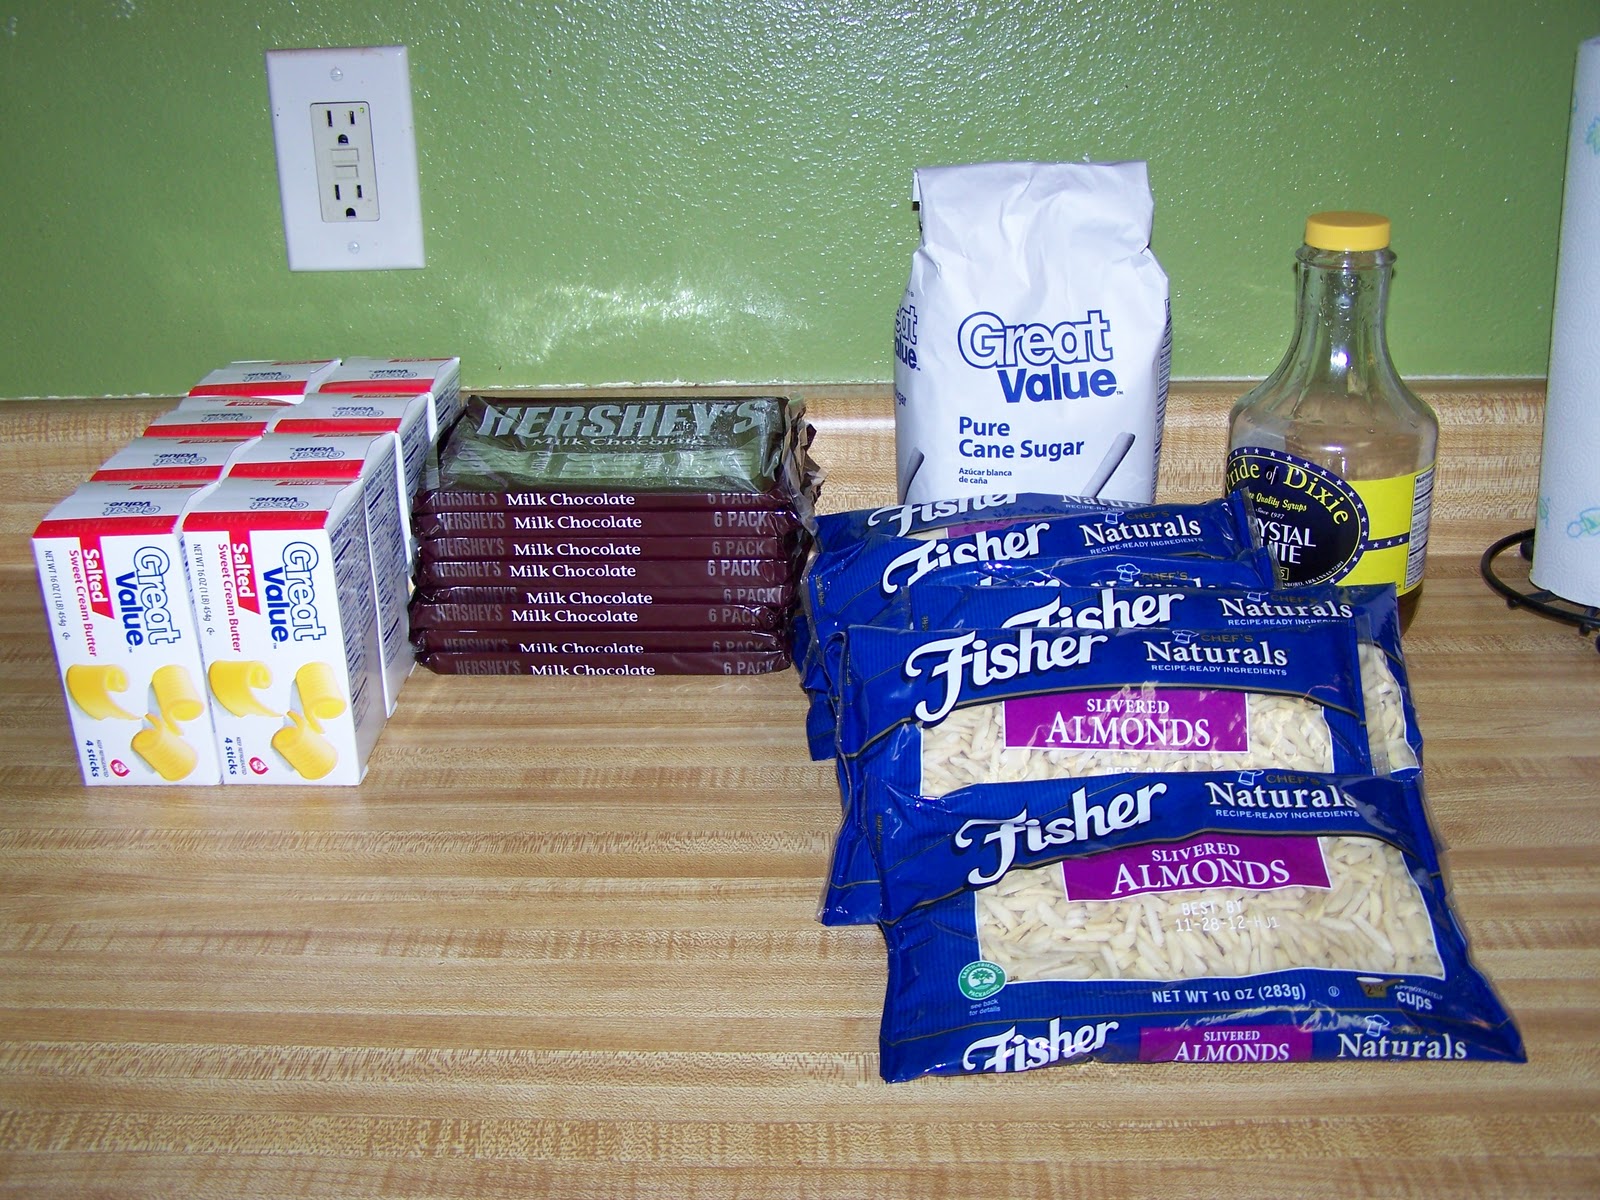
These are the ingredients for 16 batches

2 sticks salted butter (it HAS to be salted)
1 cup sugar
1 cup slivered almonds
1 Tb white corn syrup
1 Tb water
3 full size Hershey chocolate bars

The first step is to take a sheet of wax paper and put it on a cookie sheet.


Put the butter, sugar, almonds, corn syrup and water into a sauce pan.


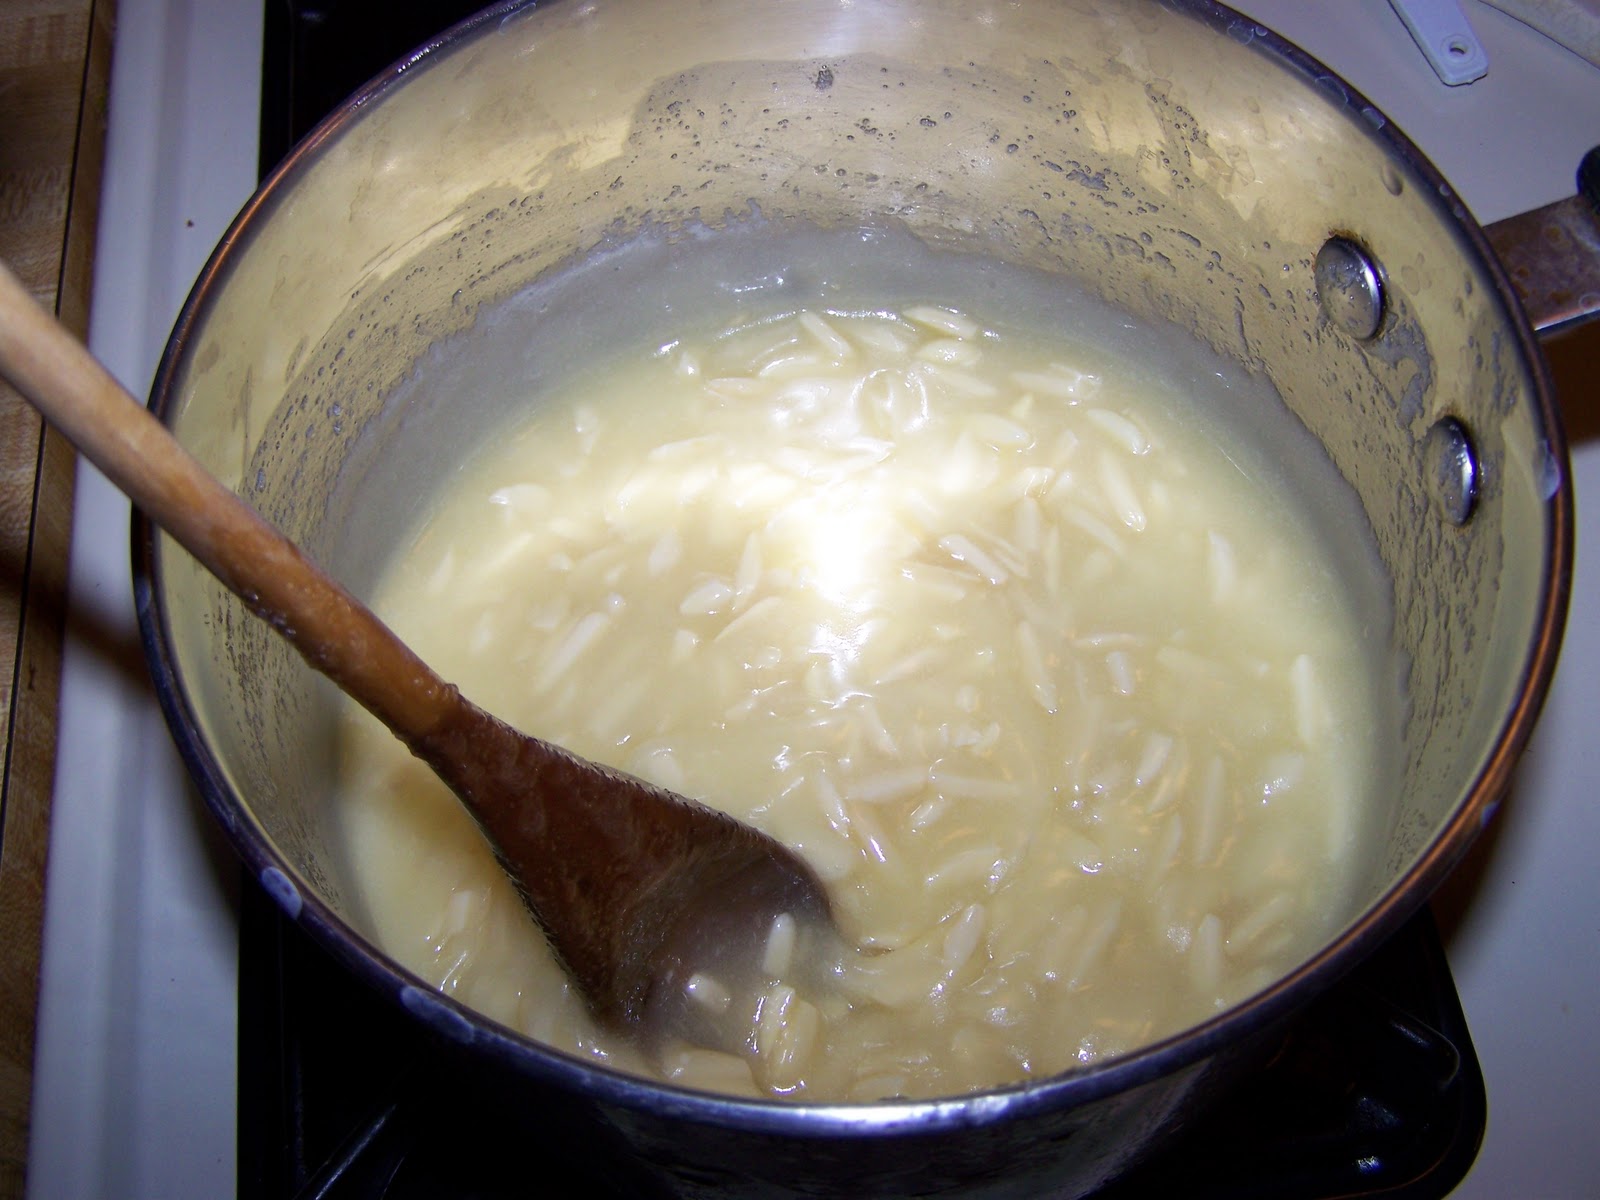
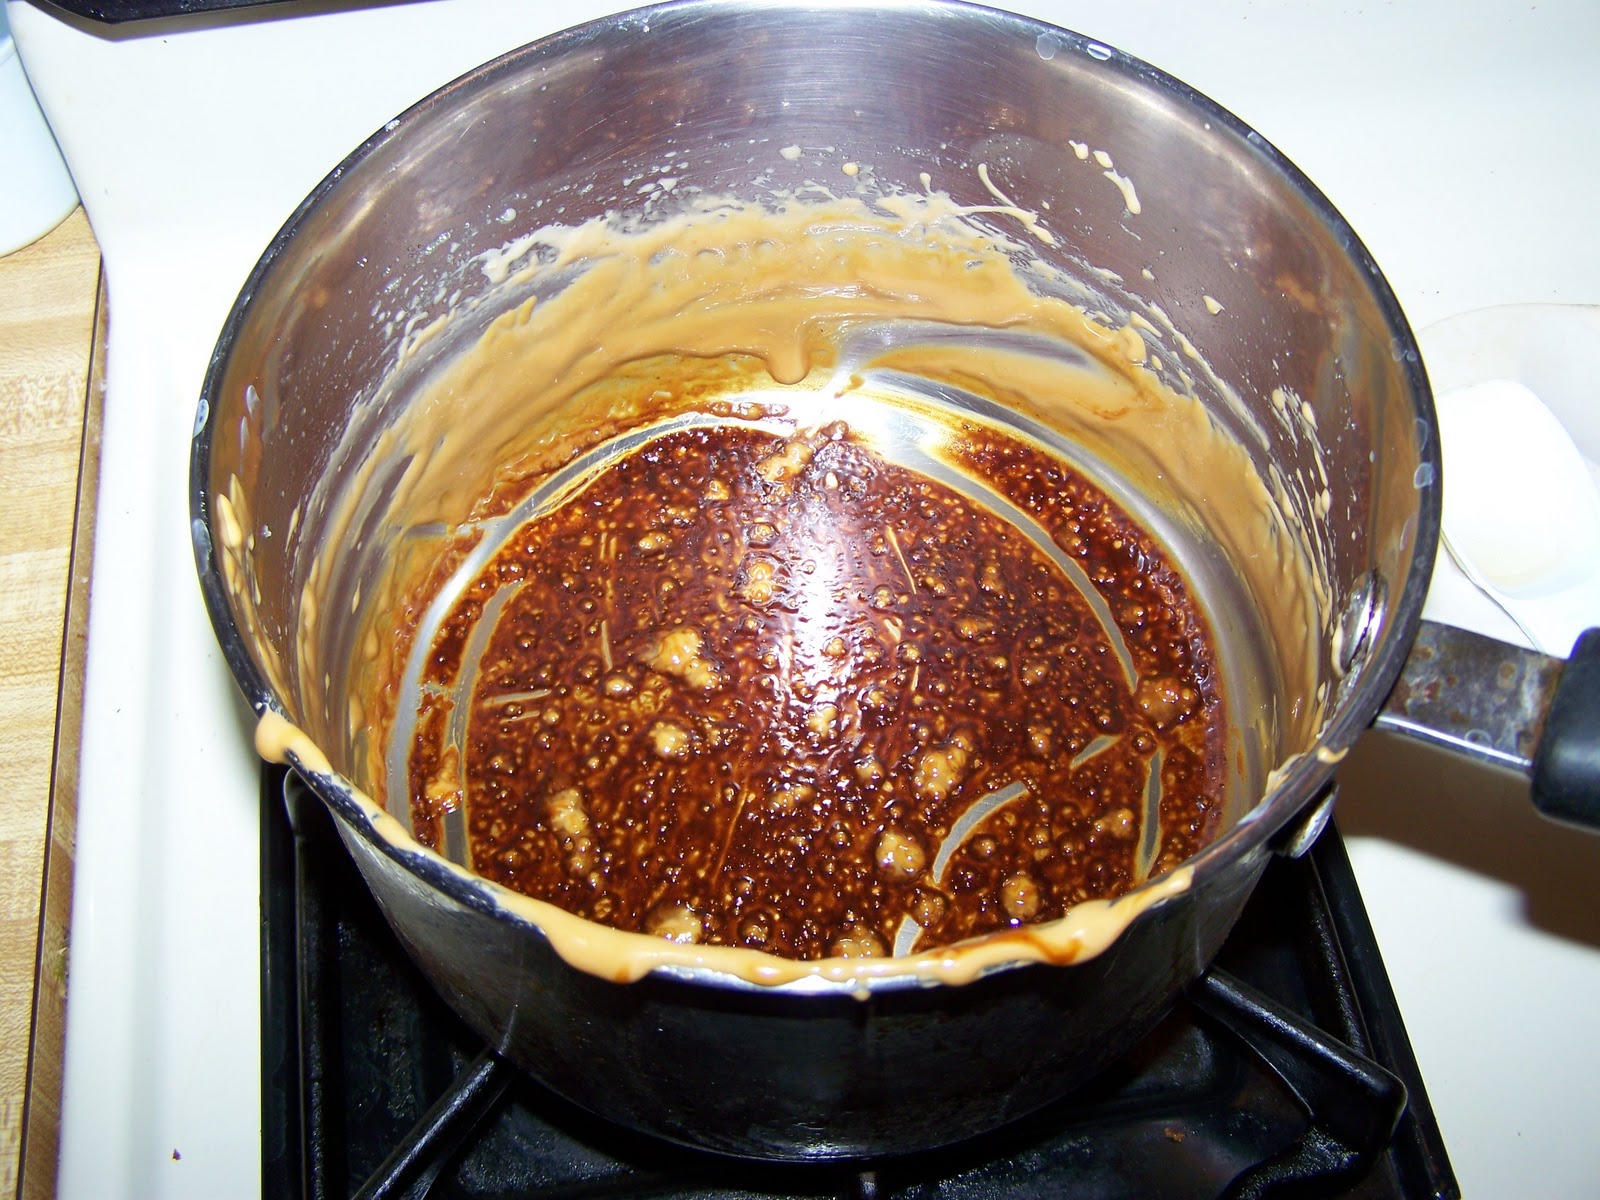
Turn the heat on high and begin stirring.  This is the only "hard" part, you have to stir it constantly.  I timed it and it takes roughly 15 minutes on my stove before the toffee is ready.  The next few pictures will show the changes in color and texture that the toffee goes through until it is ready.


Since it is somewhat difficult to gauge the color when you are staring at it the whole time, the trick I was taught was to look at the color in the bottom of the pan as your spoon scrapes it.  When it starts to turn a a golden caramel color, it is time to pull it off.  When you pull it off the stove it will continue cooking so if you wait until the whole batch is that color, you will have burned toffee.

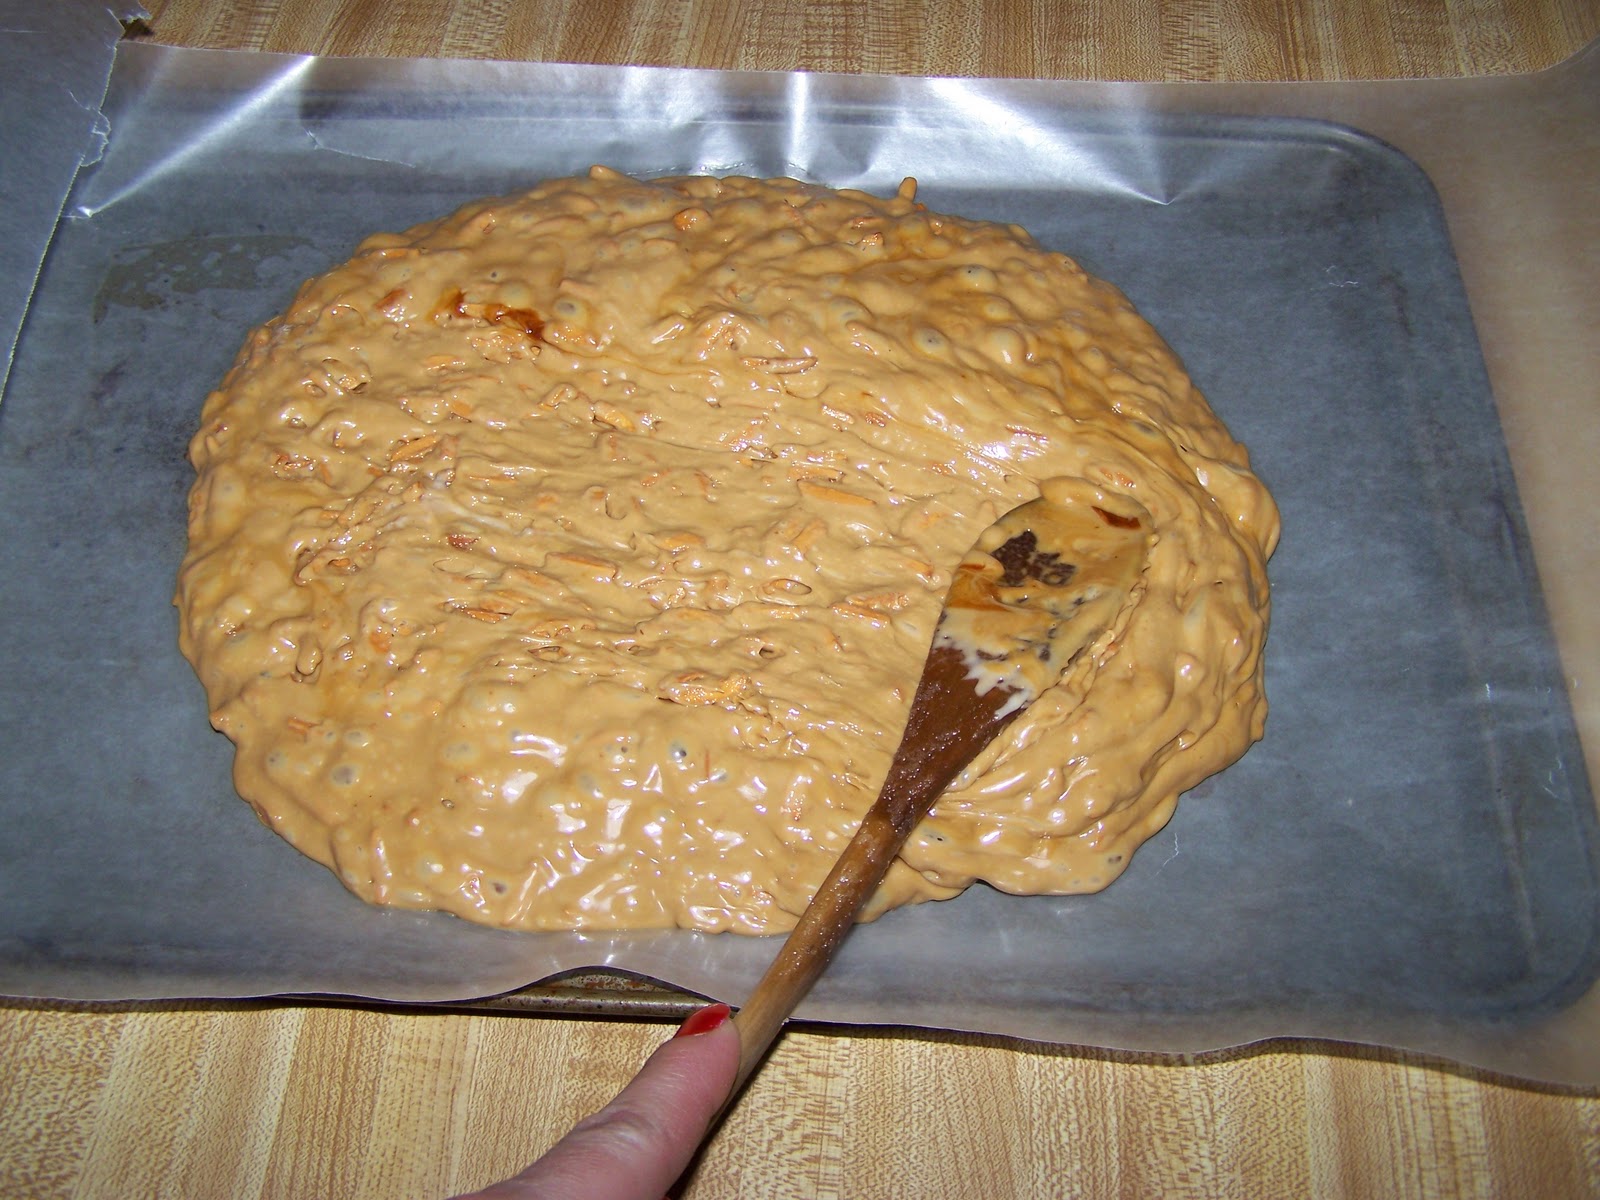
Continue stirring as you take the pan off the stove and quickly pour the toffee onto the wax paper, spreading it out to the edges as quickly as possible because it hardens rapidly.


To give you an idea of what I mean about it continuing to cook, the time lapse between the last cooking picture and the picture when I am spreading it on the wax paper is 44 seconds.  This shot of the pan also shows it continuing to cook. 


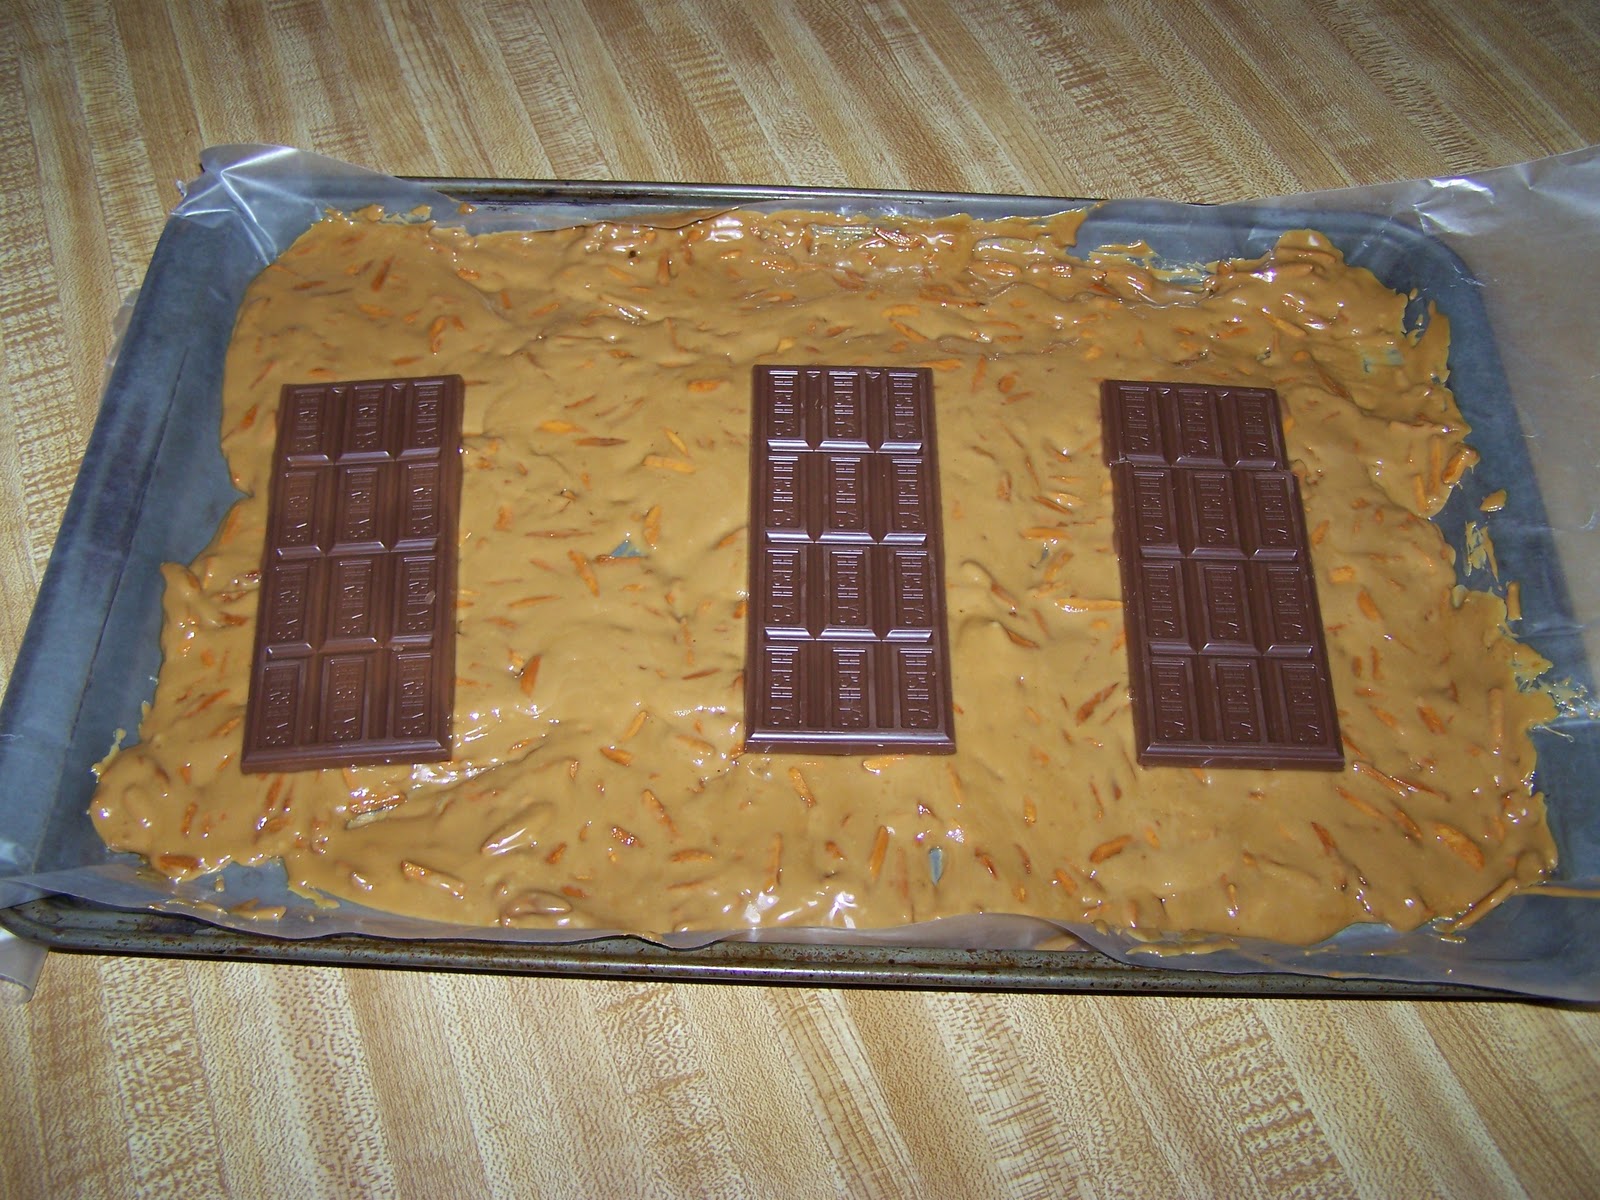
Unwrap 3 Hershey bars and lay them on top of the toffee.


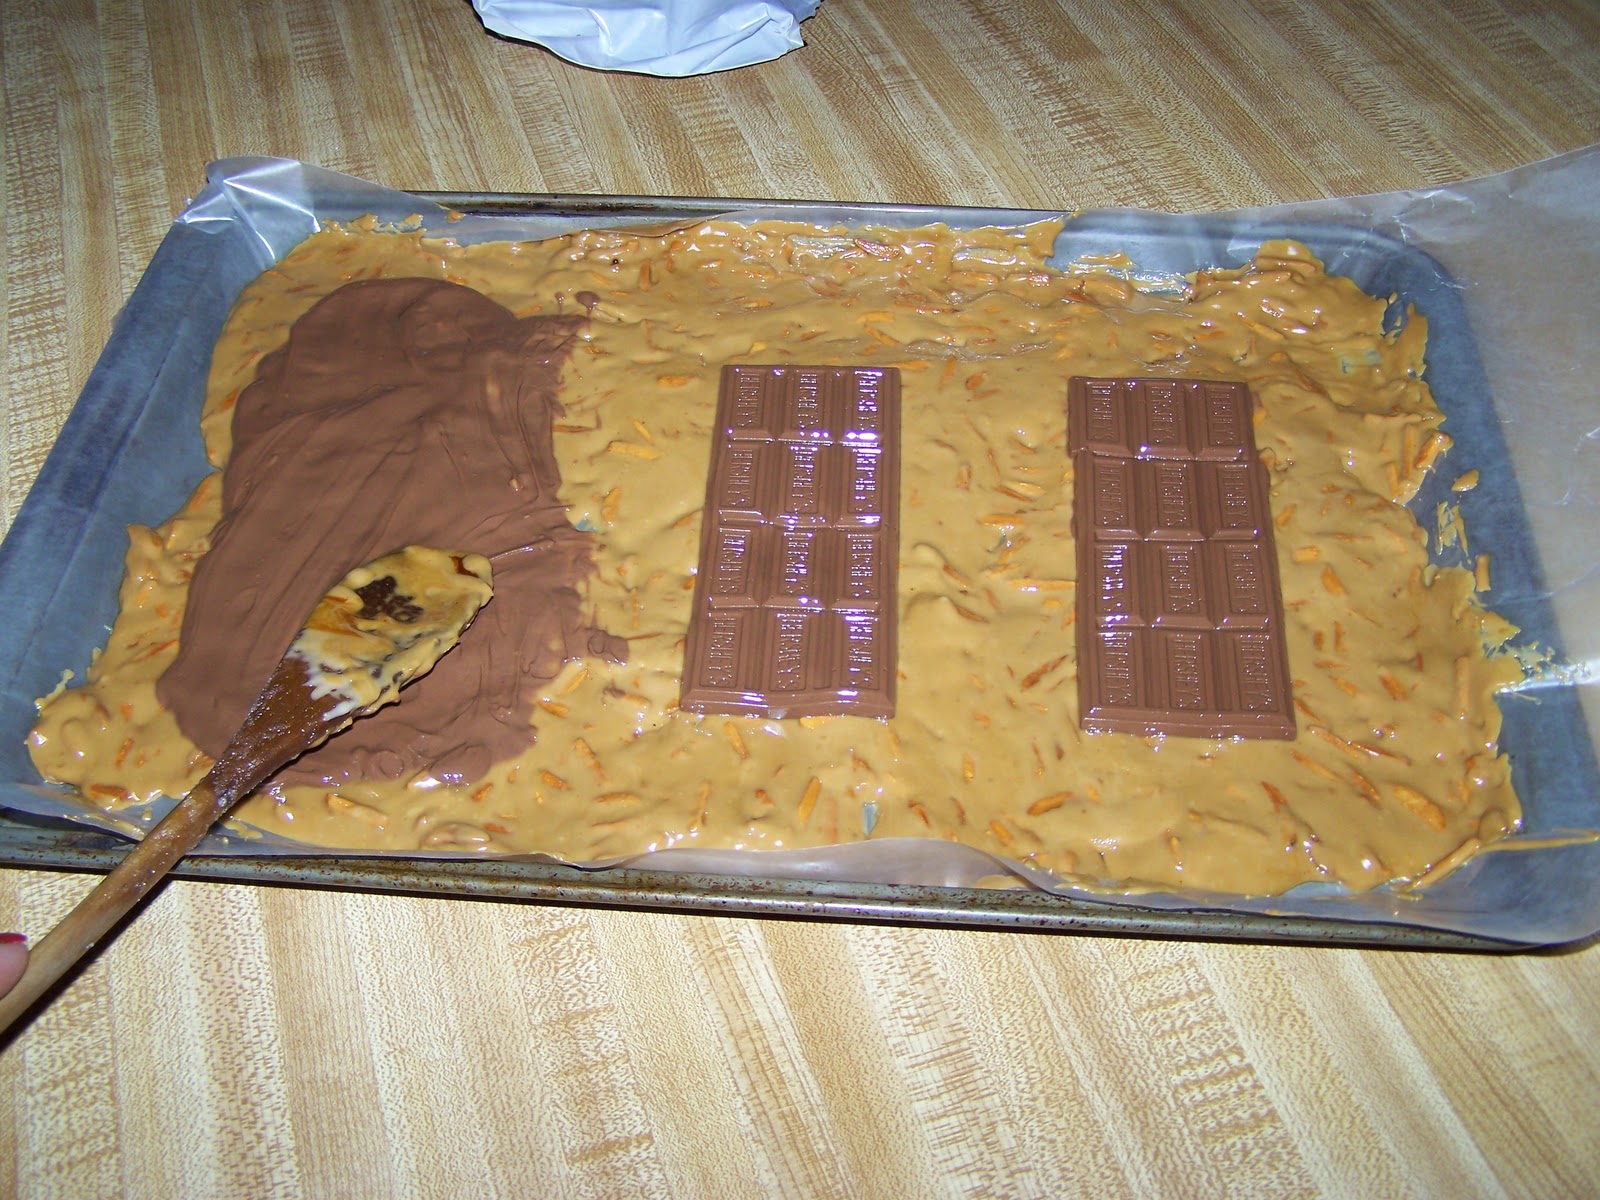
Wait a minute or two for the chocolate to melt and then spread it around.


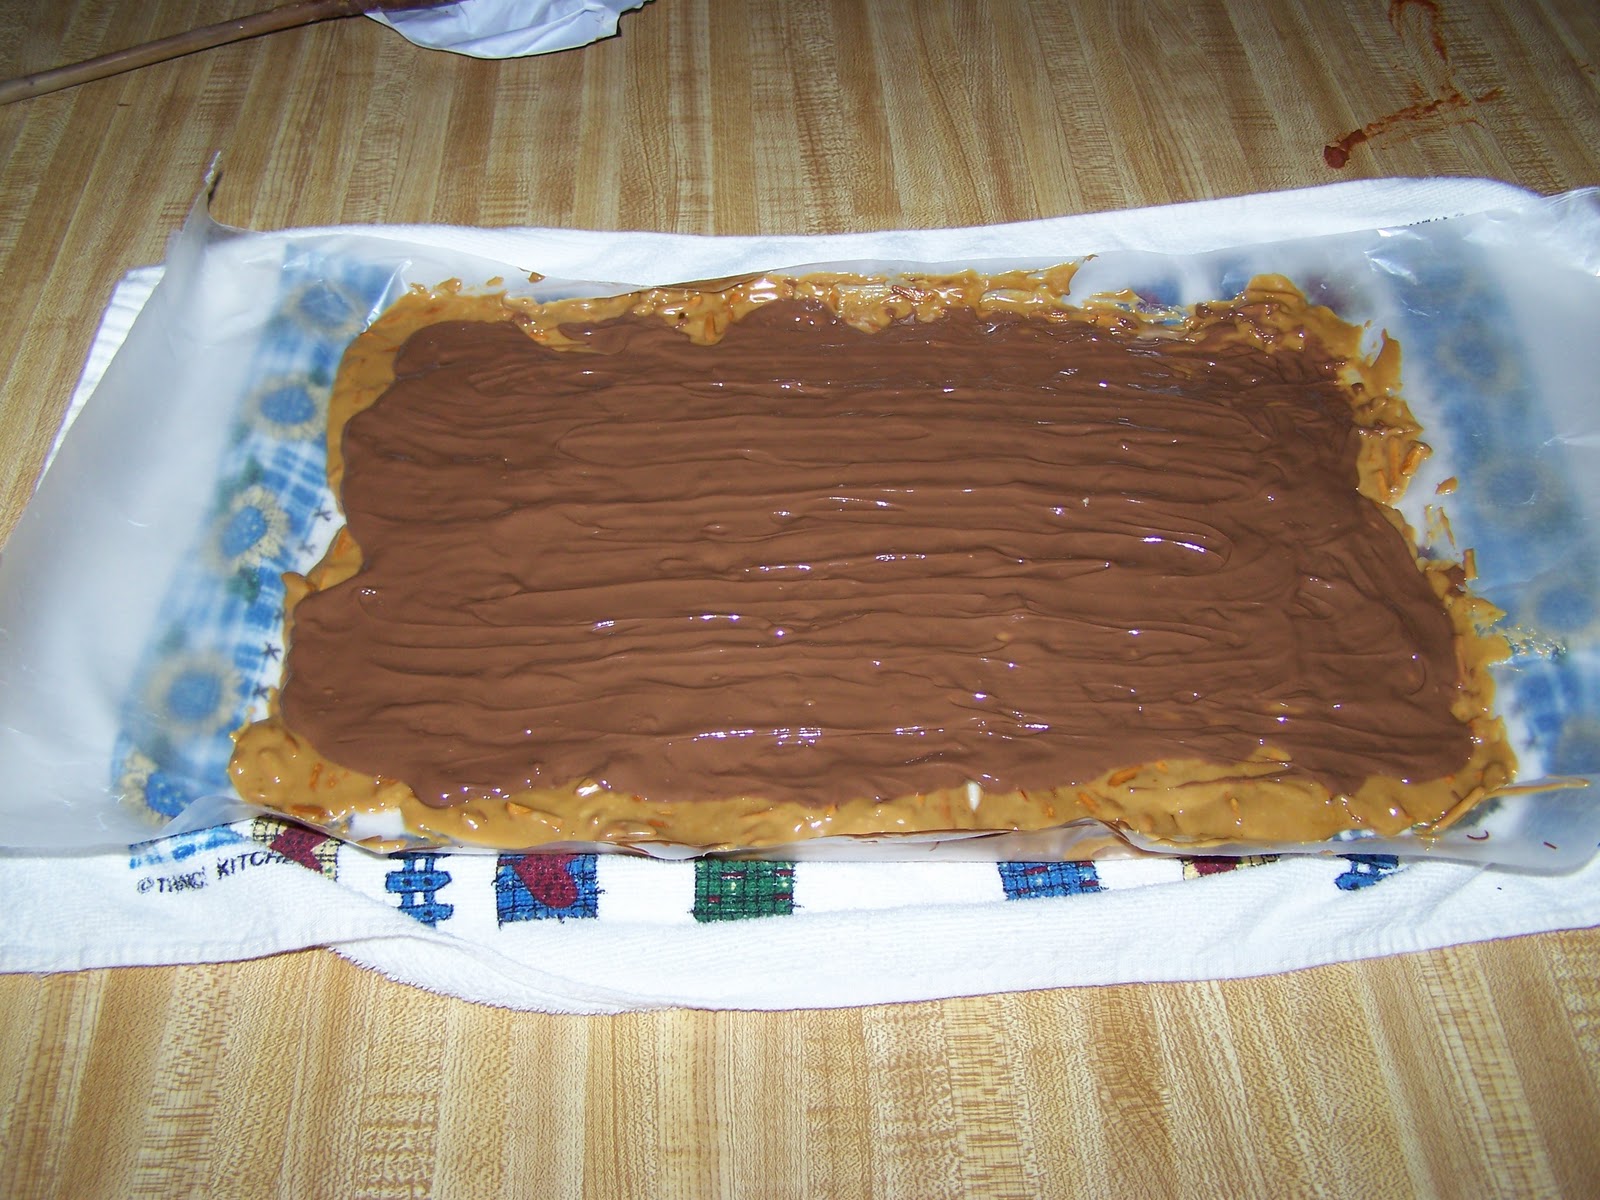
Lift the wax paper out of the pan and I always lay it on a towel to keep my counters from getting damaged since it is so hot.


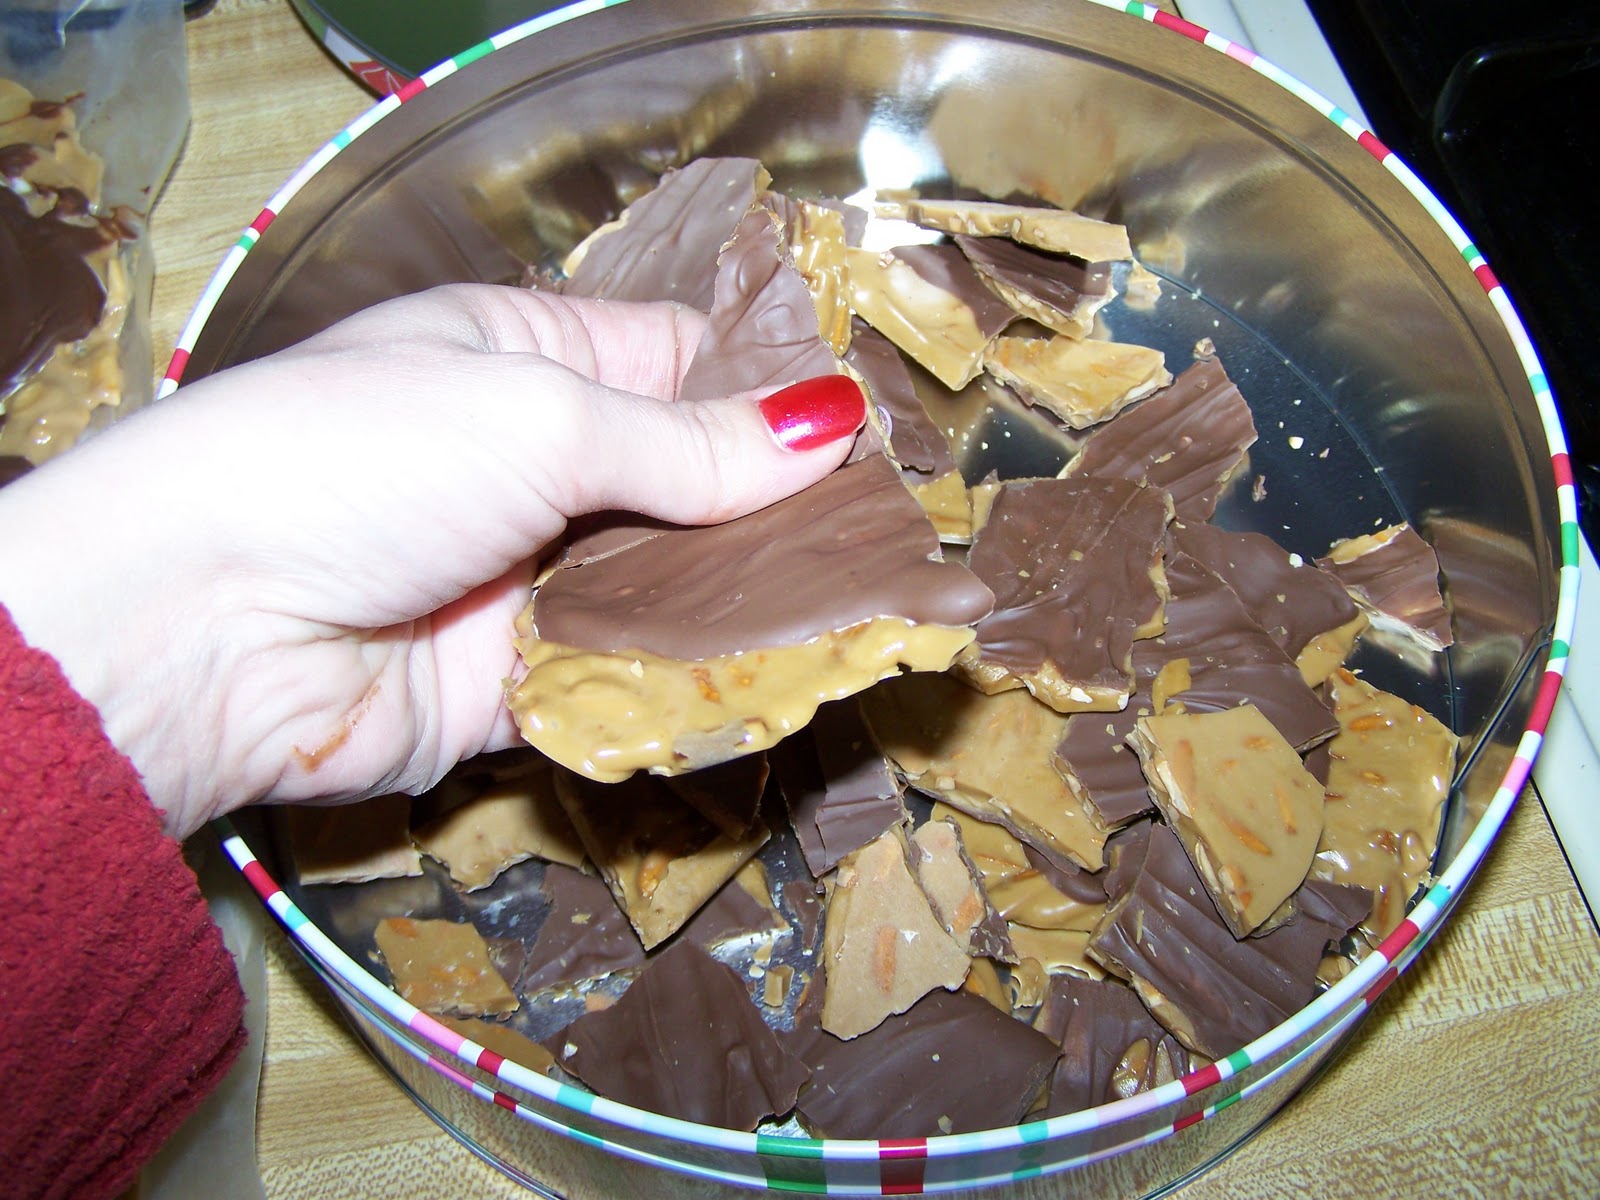
Now for the other hard part...waiting for it to cool.  The toffee itself cools off rather quickly.  The chocolate on the other hand, it takes roughly 24 hours to harden back up.  Don't try to speed the time up by putting it in the refrigerator because all it will do is create white spots all over the chocolate.  It won't change the flavor but it does look unappealing.  Once your chocolate is finally hardened back up, it is ready!  You can tell the chocolate is hardened because the gloss will be gone and also, it won't leave a fingerprint if you push on it.


Simply break your toffee into bite sized pieces and store in your preferred method.  Makes great gifts and I always have it for my Christmas parties and New Years parties too!
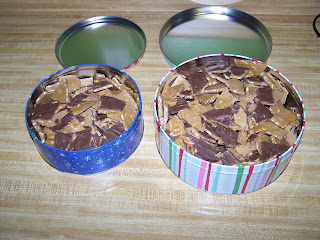

This is NOT 16 batches, this is only 4 batches


A few tips for the toffee making novice.
* DON'T GIVE UP!!  It is highly unlikely that you will make a perfect batch of toffee right out of the gate each and every time.  Some you will pull to soon, some you will pull to late, don't worry about it!  Unless you wait for the entire batch to be black before pulling, it will probably be edible.

*CLEAN QUICKLY!  While you are waiting for the chocolate to melt, go fill your pan up with hot water and let it sit in the sink.  The toffee will dissolve in the water.  If you wait to clean your pan, I hope you have a powerful sander to remove the dried and fully hardened toffee!

*DON'T JUDGE THE CHOCOLATE BY LOOKS ALONE!  A mistake I made for many years.  "Hey, that chocolate looks ready, I can break it up now."  Only to find that almost every piece of toffee has my fingerprint imprinted in the chocolate.  Again, not appealing when giving it to others.

*DON'T WAIT TO LONG TO REMOVE FROM WAX PAPER!  Again, ask me how I know!  If you wait to long, the wax paper will mysteriously meld into your toffee and then you are left attempting to peel small pieces of wax paper off the back of every single piece of toffee which, incidentally, is not as fun you might think it is.

*HAVE FUN! There is nothing like seeing the joy on others faces when they eat some of your homemade candy.


***Texas Gem is not responsible for any expanding waistlines that come from following this recipe***
Thursday, December 1, 2011

Oven Roasted Brisket and Leftovers

My family loves brisket, probably because we are true born and bred Texans.  We have always used the same recipe, passed on from my grandmother and I once again made it for Thanksgiving.

Brisket:
A trimmed brisket
celery salt
onion powder
garlic powder
meat tenderizer
Lawry's seasoned salt
Worcestershire sauce
liquid smoke (I use mesquite flavor)

Liberally sprinkle both sides of your brisket with all the powders and salts, making sure to rub them in.  Place brisket in a large bag and add a 1/2 cup of Worcestershire sauce and 1 Tb of liquid smoke.  Place in the refrigerator and marinate for 24-48 hours or at the very least overnight.
Preheat oven to 225F, place brisket along with juices in a roasting pan, fat side down, cover with foil and cook for 6-8 hours.


Yes, you can cook it at a higher temperature but for those of you have never cooked a brisket before, the key is low and slow.  Brisket is naturally a very tough cut of meat, the key to making it juicy and tender is to cook for a long time at a low temperature.  On Thanksgiving, I cooked it at 325F for 6 hours since I was cooking other things in the oven as well and it worked just fine but if you want the really juicy, really tender, falls apart meat, cook it low.

When you pull it out of the oven, the pan will be full of all the tasty juices.  For heavens sake, DON'T throw them out!  Skim all the fat off the juices and use the juice as a gravy.  You don't need to worry about making it a proper gravy by thickening it, just put it in a gravy boat to serve with the brisket.

When you have eaten your fill of brisket, you will undoubtedly have leftovers.  Hmm, what to do with brisket leftovers?  You can eat it just like it is but what fun is that?  Here are a few of the recipes I like to make with leftover brisket.

LEFTOVER BRISKET RECIPES

Fajitas:
Leftover brisket
Onions
Peppers
Flour tortillas
Shredded cheese
Sour cream
Guacamole

Heat up some oil in a pan over medium heat.  Toss in your sliced onions and peppers and saute until tender.  Add some sliced brisket and some of the brisket gravy (you did save it didn't you?).  Serve with warm flour tortillas, shredded cheese, sour cream and guacamole.

Chopped beef sandwiches:
Leftover brisket
Onions
Your favorite BBQ sauce
Leftover dinner rolls or hamburger buns

Shred some brisket and throw it in a pan with some chopped onions and your favorite barbeque sauce.  Cook over medium heat until heated through and the onions are soft.  If you have leftover dinner rolls, slice them in half, brush lightly with olive oil and grill them until nice and brown.  Top with your brisket mixture and you have some tasty, chopped beef sliders.  If you have no dinner rolls, you can use hamburger buns.

Sheperds pie:


Leftover brisket
Sliced carrots
Onions
Leftover mashed potatoes OR
Russet potatoes
heavy cream
sour cream
butter
salt
paprika

Preheat broiler to high.
Chop up some brisket, throw it in a pan with some of the gravy.  Chop up some onions and carrots and throw them in as well.  Let them cook over medium heat, stirring occasionally, until carrots are soft.
*If you have leftover mashed potatoes you can skip this step.* Peel and cube some Russet potatoes and throw them in a pot with some water on high until they boil.  Allow them to boil for 10-20 minutes or until soft and ready for mashing.  Drain the water off.  Mash the potatoes, add heavy cream, sour cream, butter and salt and mix together.
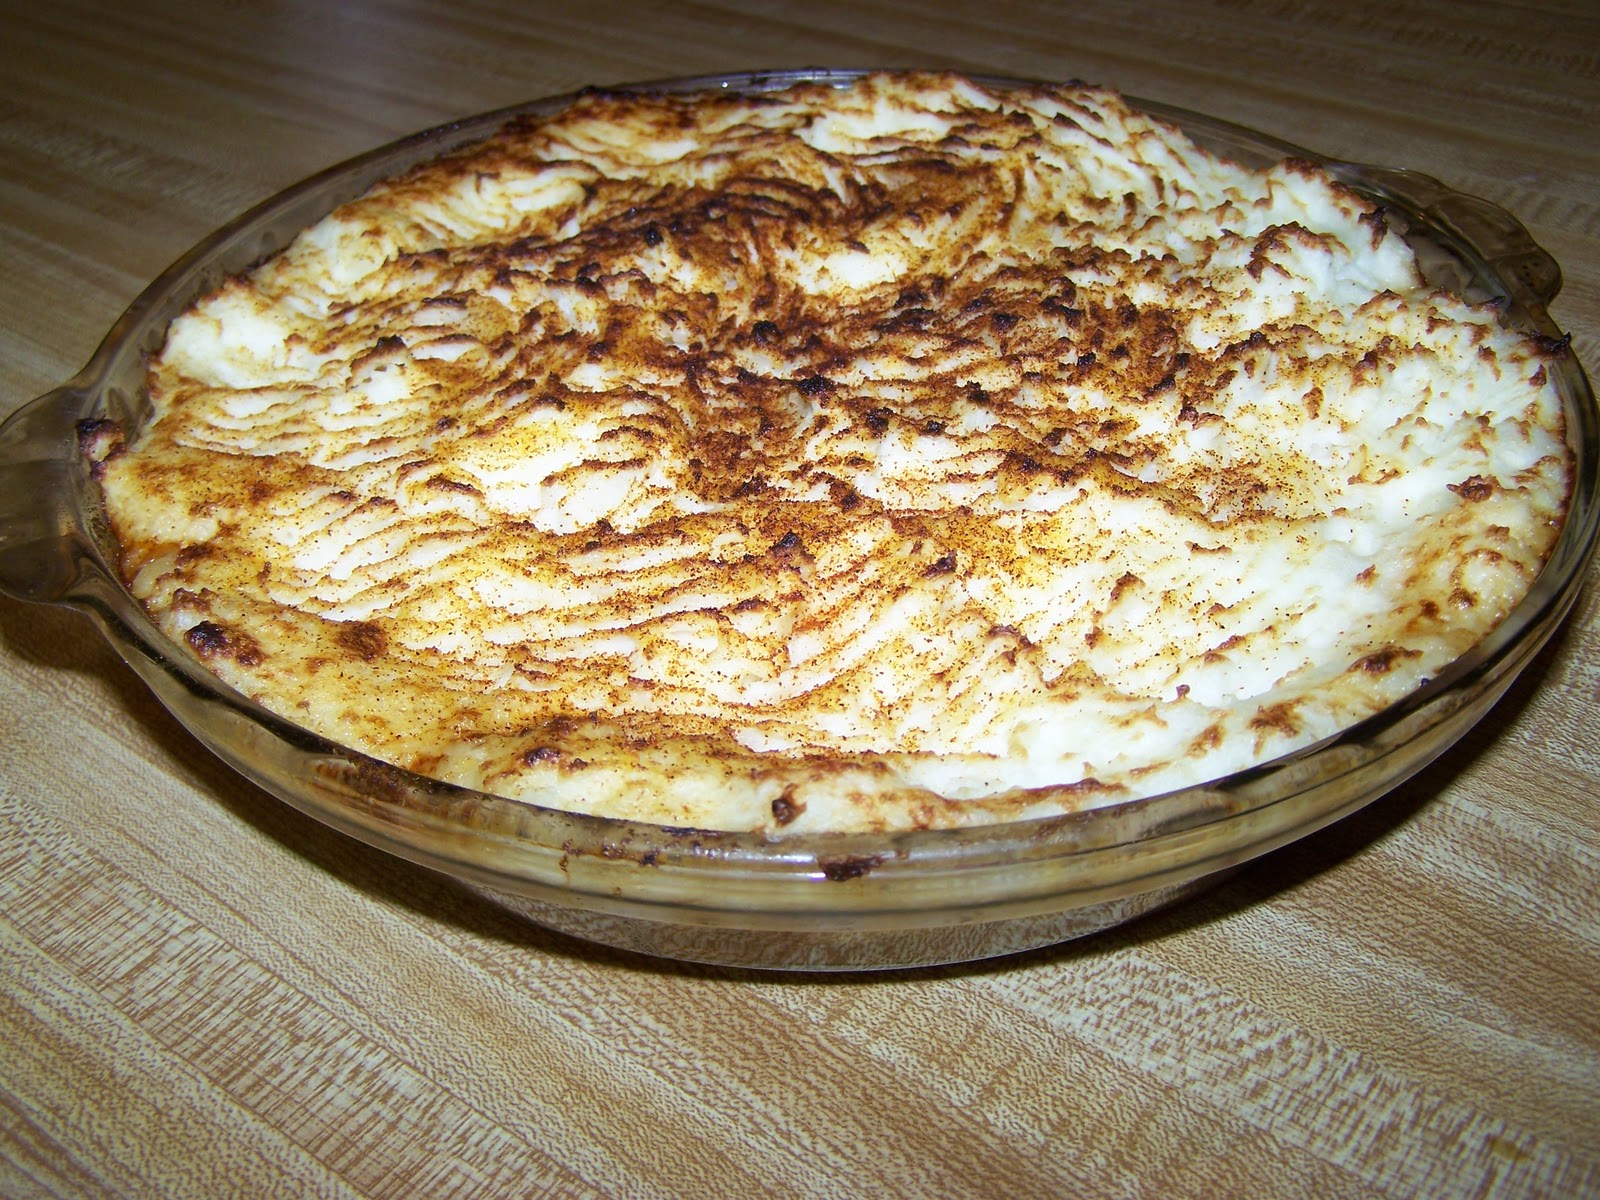
Spoon your meat and vegetable mixture into a pie pan or casserole dish, top with your mashed potatoes, using a fork to rough up the top which will give you a lot of nice browned places.  Sprinkle with paprika and place under broiler on high about 10 minutes or until the potatoes are nice and browned.

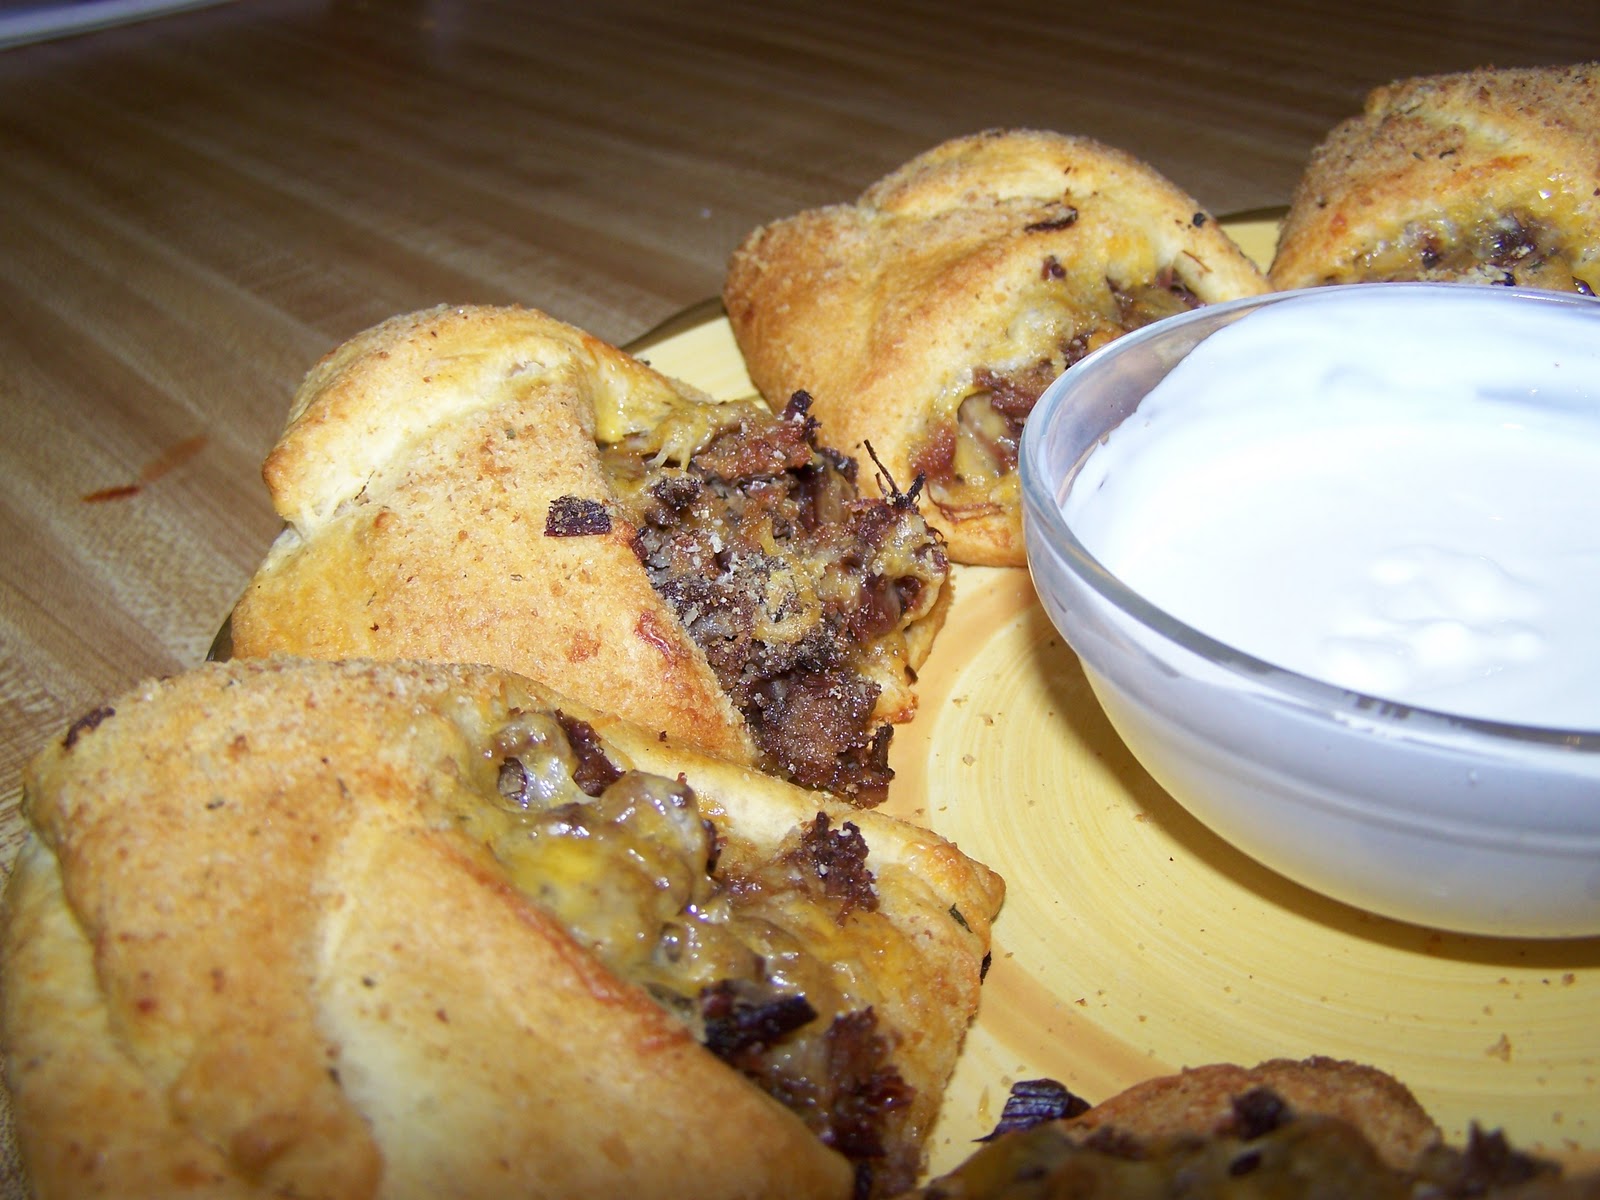
Brisket pockets:


Leftover brisket
Shredded cheddar cheese
one package refrigerated crescent rolls
butter
Italian bread crumbs
sour cream

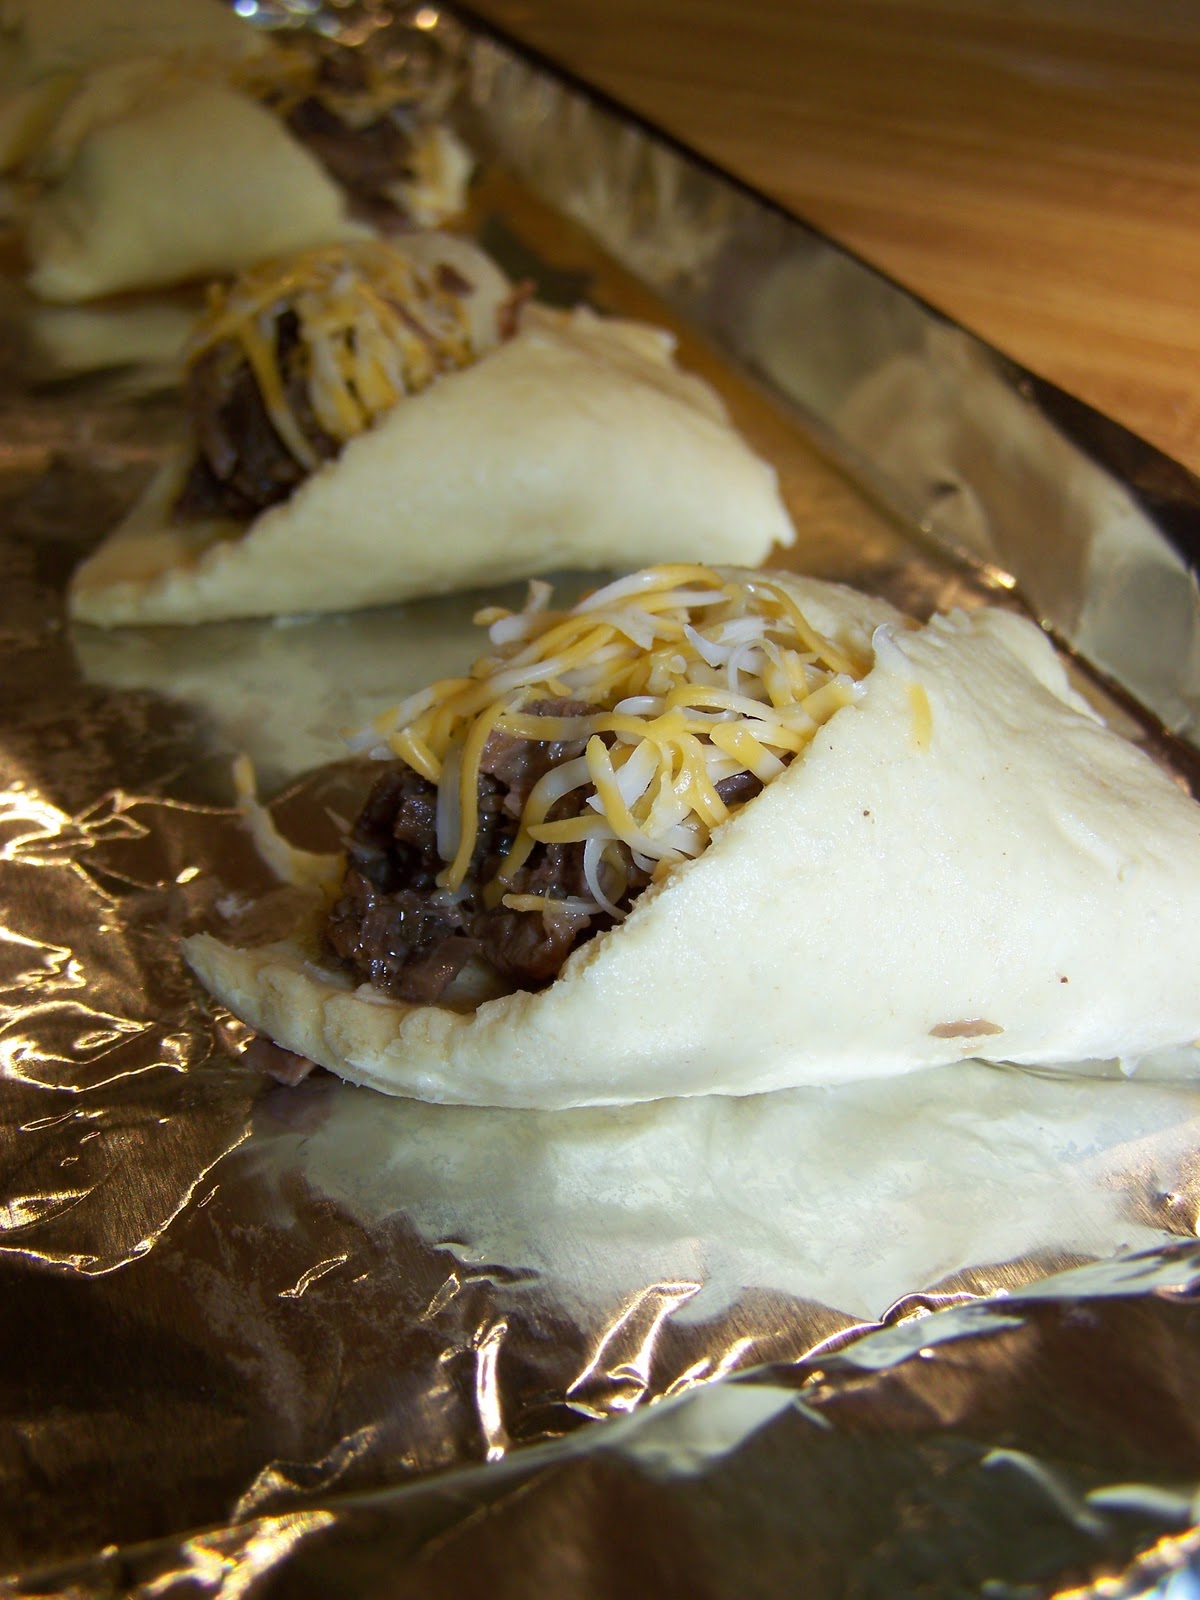
Preheat oven to 375F.  Once again chop up your brisket and heat it up with some of the gravy.  Unroll your crescent rolls and place them on a cookie sheet.  I would recommend spraying the cookie sheet with nonstick spray as I had a little bit of a tough time getting them off the sheet after cooking.
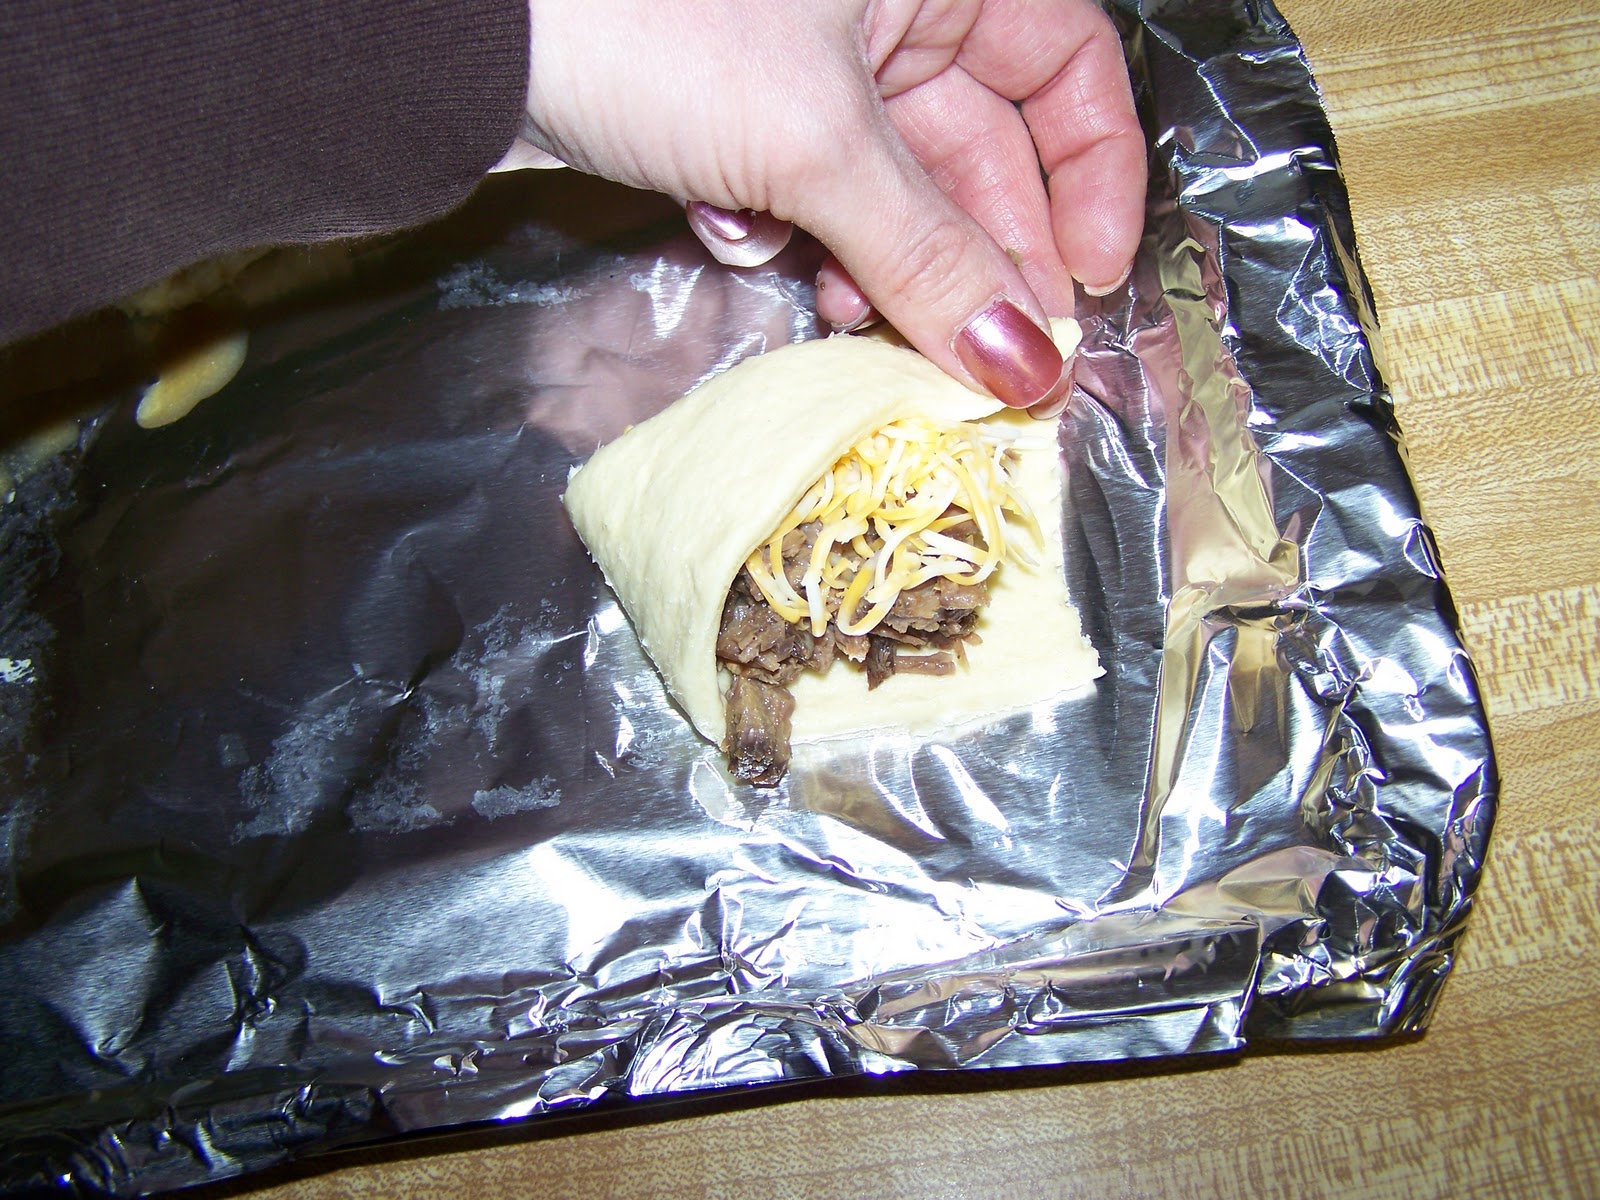
Take one triangle and top with about a tablespoon of chopped brisket.
Put some shredded cheese on the brisket.  I was out of cheddar so I used colby jack.


Fold over the long part of the triangle and press the bottom edge down.


Fold the short part of the triangle over to cover the larger part.


Repeat steps until you have all 8 filled and folded.


Brush with some melted butter, don't worry about keeping it just on the crescent roll part, it is perfectly fine if it gets on the filling as well.
Sprinkle liberally with the Italian bread crumbs.


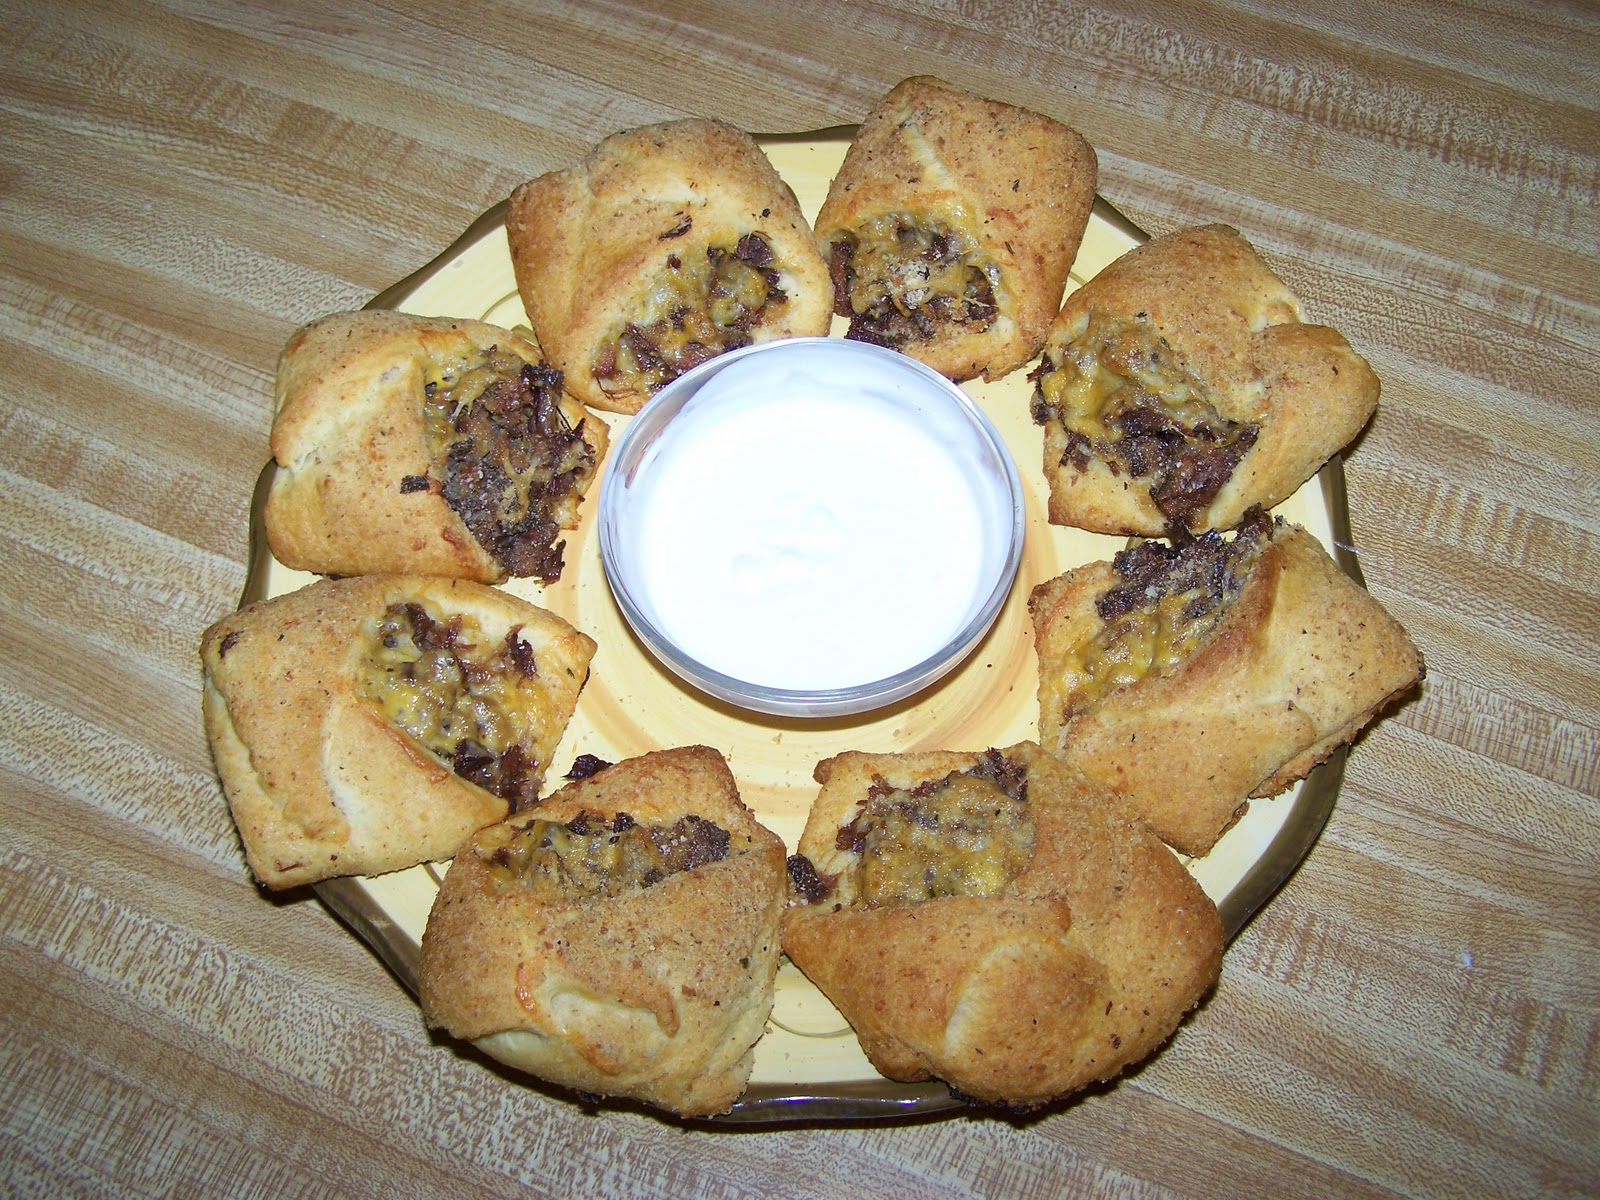
Bake for 15 minutes at 375F until nice and browned.  Serve with sour cream for dipping.


So there are a few of my recipes.  What about you?  Do you have any recipes to share using leftover brisket?  Leave a comment below and let me know!

Tuesday, November 29, 2011

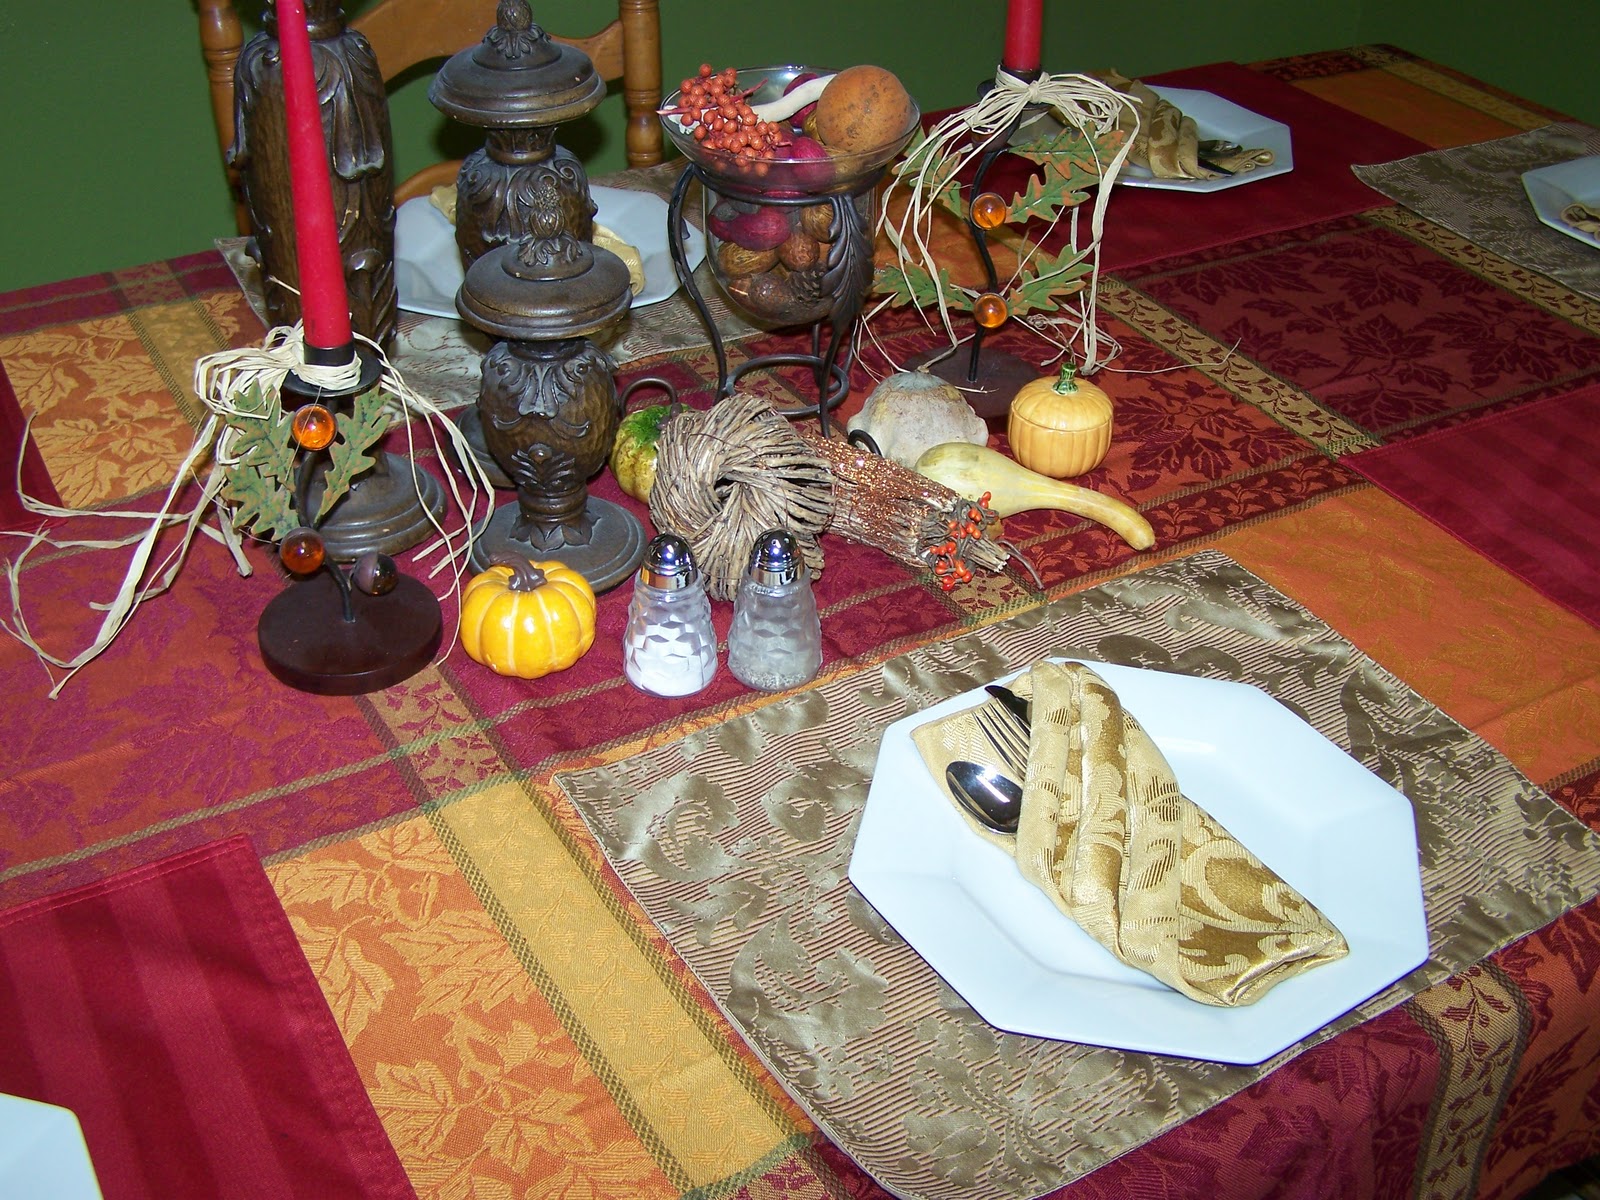
Thanksgiving


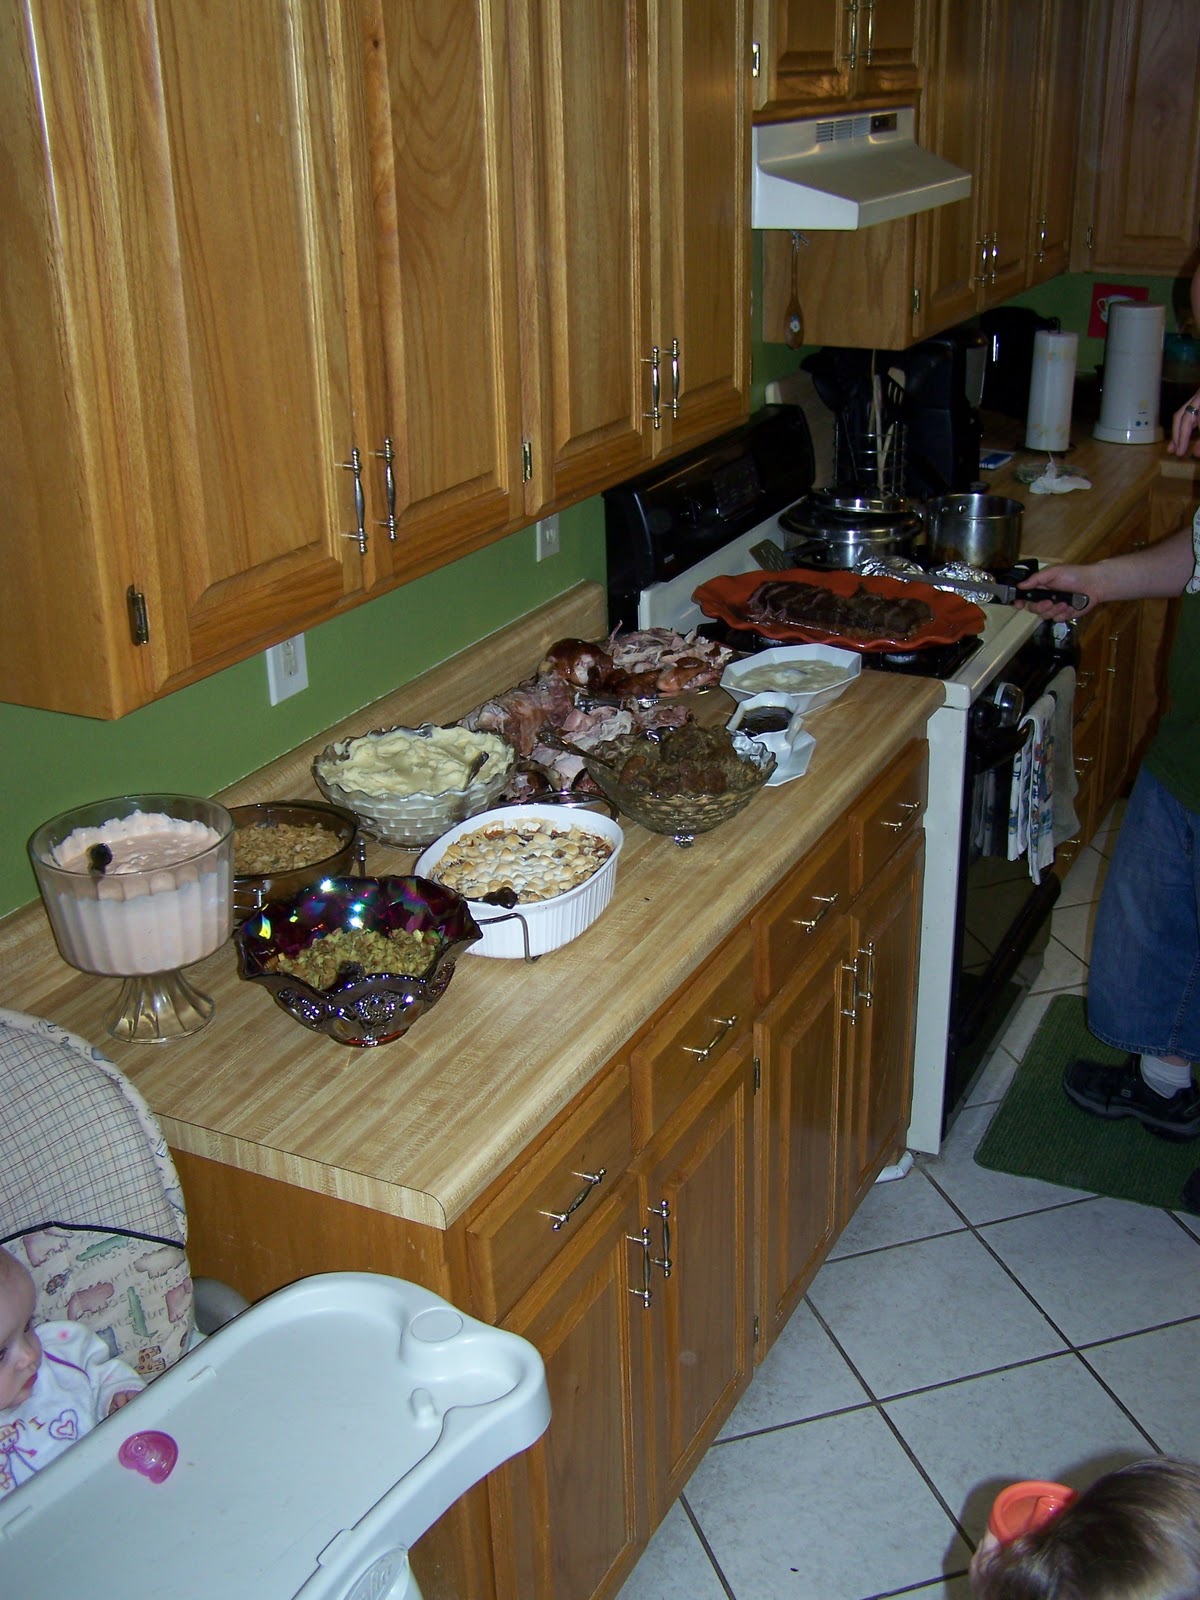
Thanksgiving was a great success this year!  Normally I make way too much food and then end up with leftovers.  Now, I don't mind a certain amount of leftovers, but if it is more food than can be eaten in a week, it is too much!
Appetizers:


chicken fajita wraps
chips and salsa con queso
turkey tortilla spirals with cranberry dipping sauce
deviled eggs

Main course:


oven roasted brisket
smoked turkey
smoked cornish game hens
mashed potatoes
sweet potato casserole
2 types of stuffing
orange fluff
green bean casserole
dinner rolls
2 types of gravy

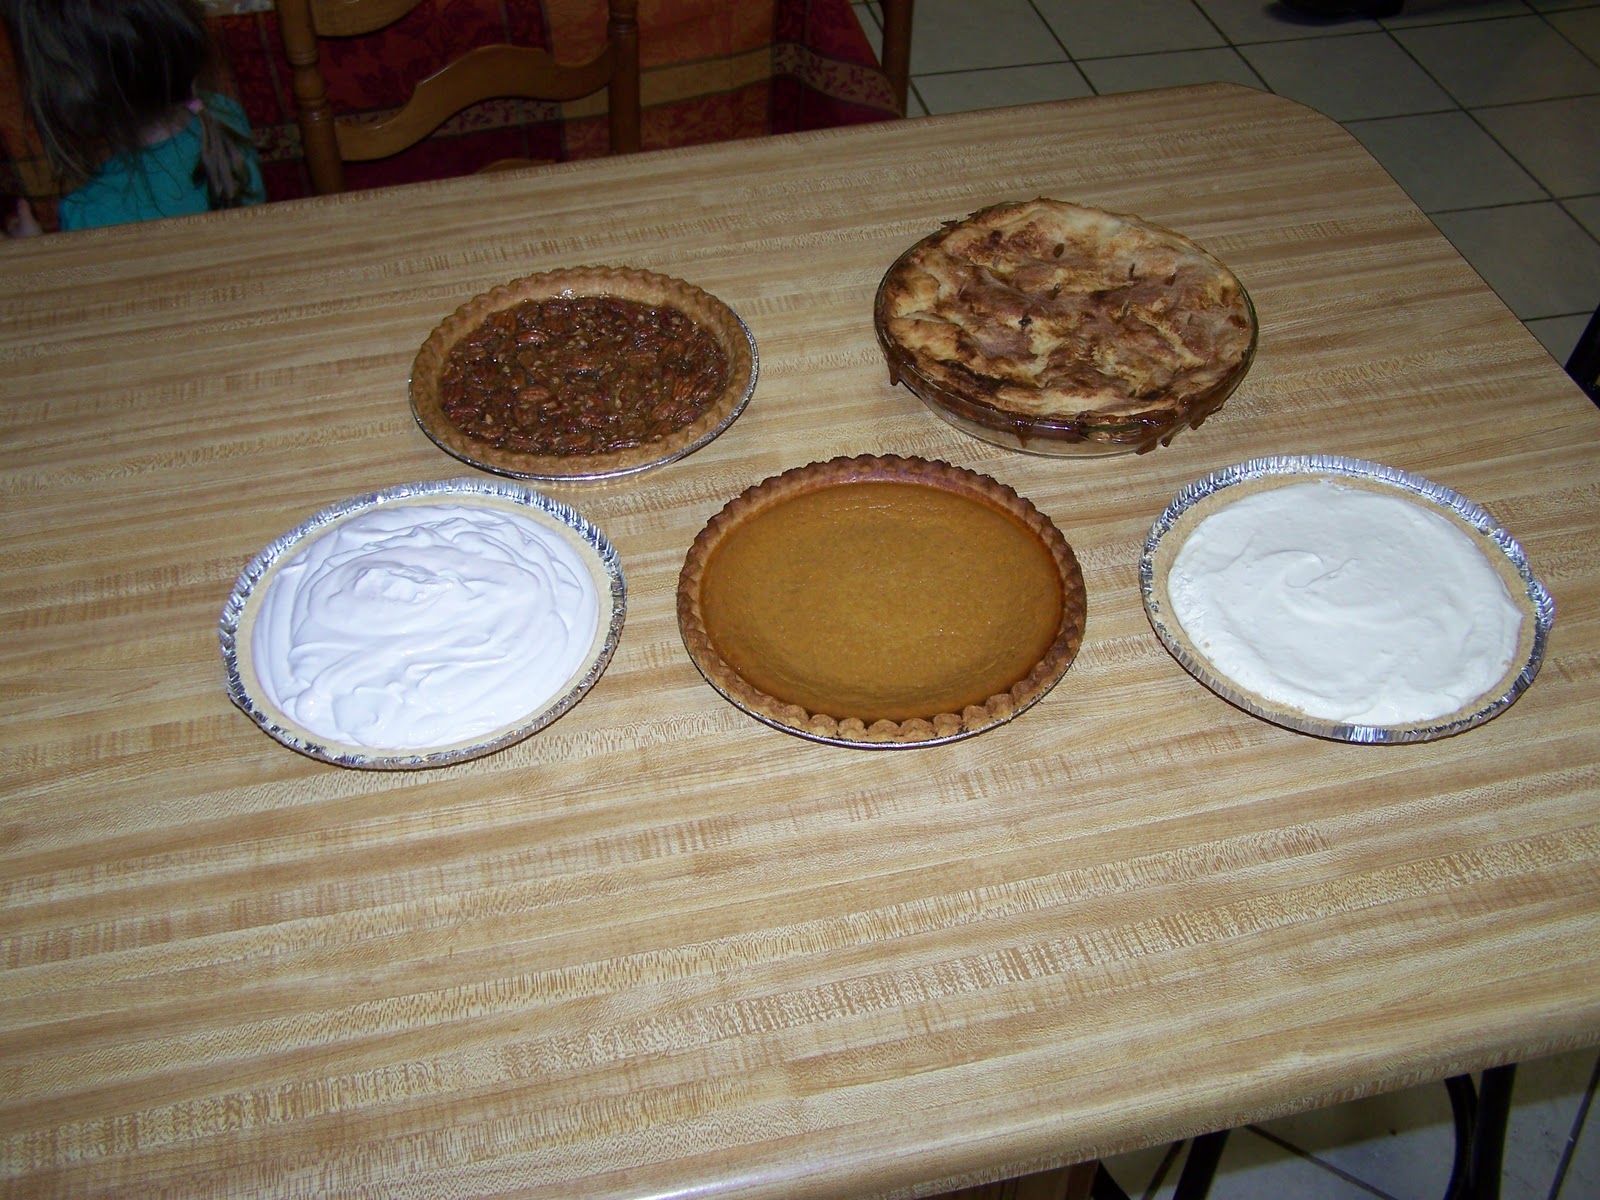
Dessert:


pecan pie
apple pie
lemonade pie
pumpkin pie
cherry cream cheese pie (the cherries haven't been put on yet in the picture)


On Tuesday before Thanksgiving, I took my Monster to get her first hair cut.  I had my camera so I could document the momentous occasion and later that afternoon, I happened to be driving down a residential street and I thought it was so pretty, I had to stop and take a picture.  A dream of mine is to one day experience a New England fall.  I hear the colors of the leaves changing there are just unrivaled.  Until then though, I will have to settle for pretty streets like this with all the leaves changing.

So what did you do for Thanksgiving?  Any great dishes to share?  Leave a comment and let me know!

Homemade Salsa

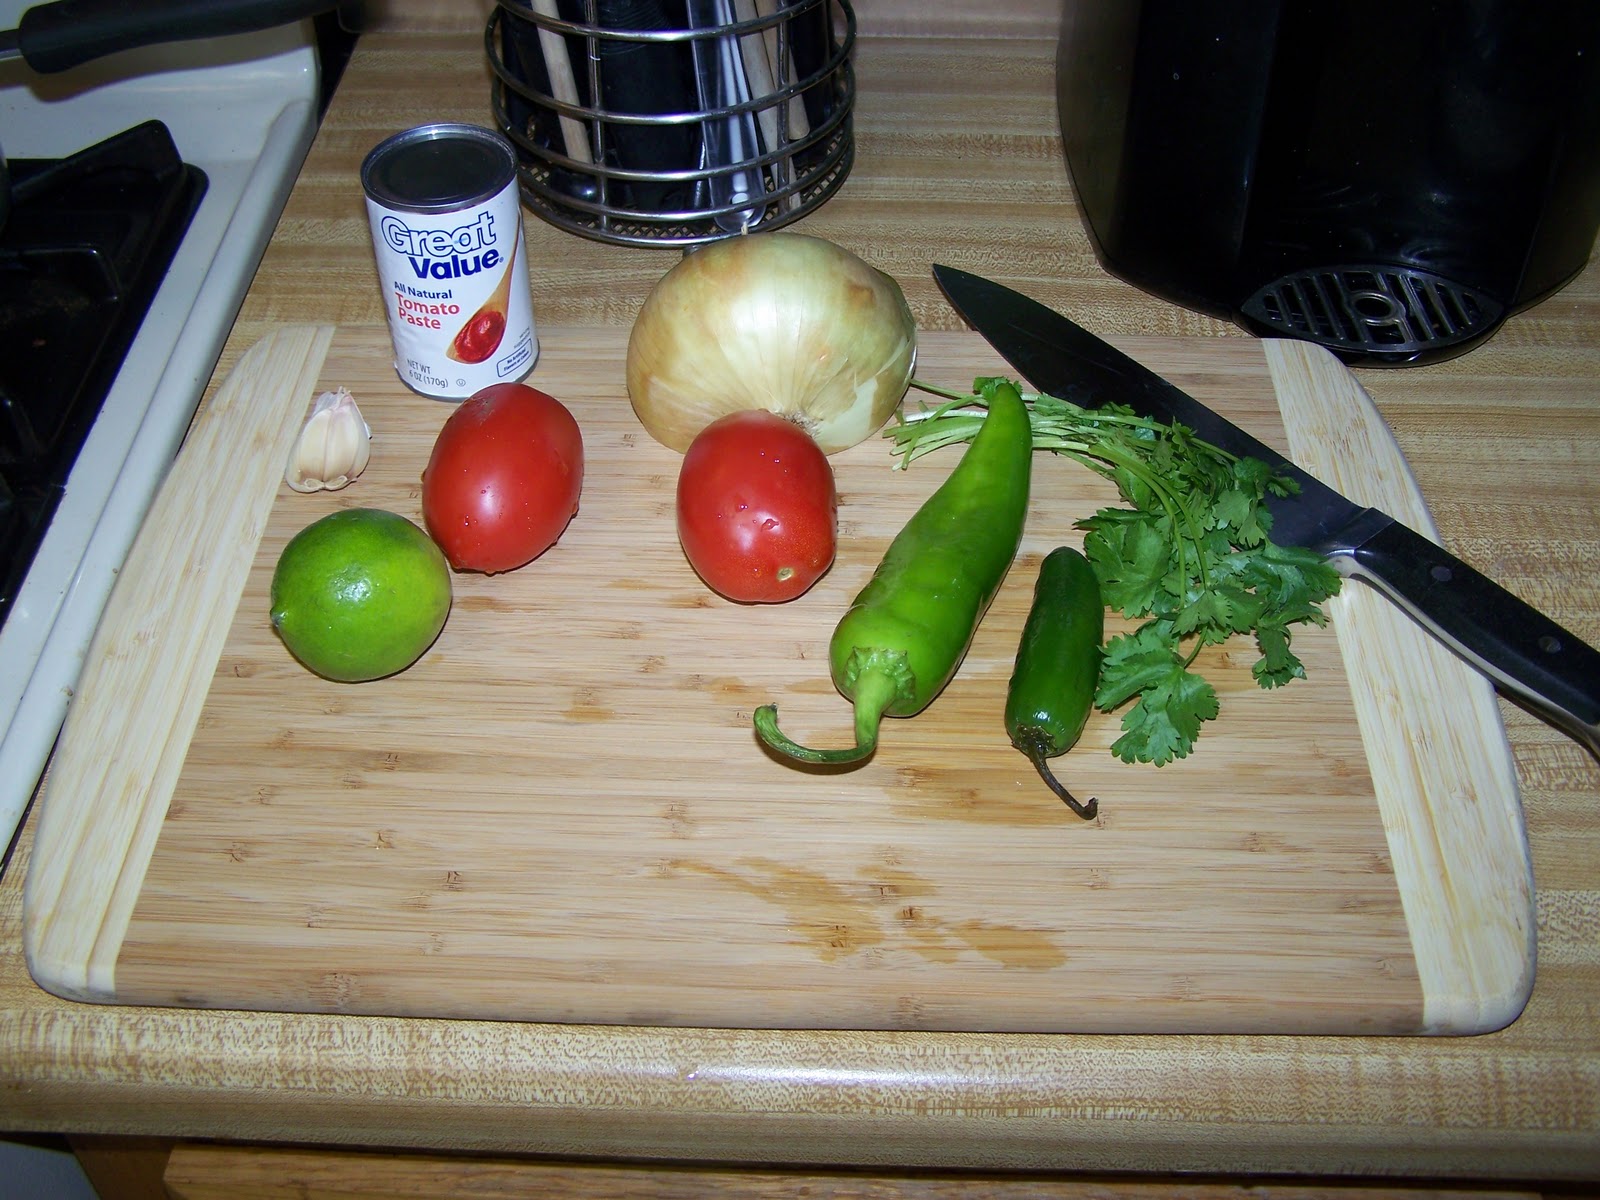
When I cook for Thanksgiving, I like to have the main meal around 3pm and I have appetizers ready at noon.  One of the appetizers I decided to have this year was chips and salsa con queso.  I made the salsa con queso using homemade salsa.  This was only my second attempt at salsa but it went over quite well.  I was even told it would be a great Christmas gift!


This was a small batch so I used 2 Roma tomatoes, about 1/3 of a sweet onion, 1 Anaheim pepper, 1 jalapeno pepper, 2 cloves of garlic, 1 can of tomato paste, a healthy handful of cilantro and the juice from one small lime.  I coarsely chopped up all of my ingredients and threw them in a pan, leaving all the seeds and innards of the peppers, with the tomato paste.  Squeezed my lime juice in there and let it simmer for a few hours.  I did discover that it was a little too thick for easy dipping so I added a little bit of water and some salt to bring out the flavors and voila!  Super tasty homemade salsa!  This is cheaper and tastier than store bought salsa so from now on, I think it will be homemade salsa for us!

Grape Jelly

Do you know what happens when your entire family, minus the baby, gets sick with a stomach bug a week before the Thanksgiving where you will be hosting 20 people?  You end up not posting to your blog for a week and a half as you get your family feeling better then promptly clean your house from top to bottom and make all the food for Thanksgiving.  In light of this, I will be making a few posts in rapid succession, the first of which is this one about tasty grape jelly.
My grandfather has a grape vine in his back yard and every year I collect a bunch of grapes from his vine and make grape jelly for all of my friends.  I couldn't stop now even if I wanted to because come mid November I start getting asked, have you  made any jelly yet?  Well, I harvested the grapes this year, which were a little on the light side because of the drought, and I have been procrastinating on making the jelly because it takes a lot of time and is difficult to do when you have 3 little girls who need your attention and you can't step away from the stove.  So I went ahead and made the juice from the grapes so they wouldn't go bad, then stuck the juice in the fridge and  sent a message to one of my friends who now lives in Dallas, asking if they would be in town on Thanksgiving because I was making grape jelly. 
See, see what I did there?  I forced myself into a deadline because now I had promised to have the jelly ready when they got here.  Little did I know that 24 hours later, my whole family would be sick.  So, while I was still recovering and my husband was looking at me like I was psychotic, I stood in the kitchen over the stove making up a batch of grape jelly.  It tastes just as good as it always has.  My friends refer to it as grape crack.  I have had at least 3 different people tell me they don't like grape jelly (from the store) but they love mine.  It has to be the grapes.  I discovered that this year. 
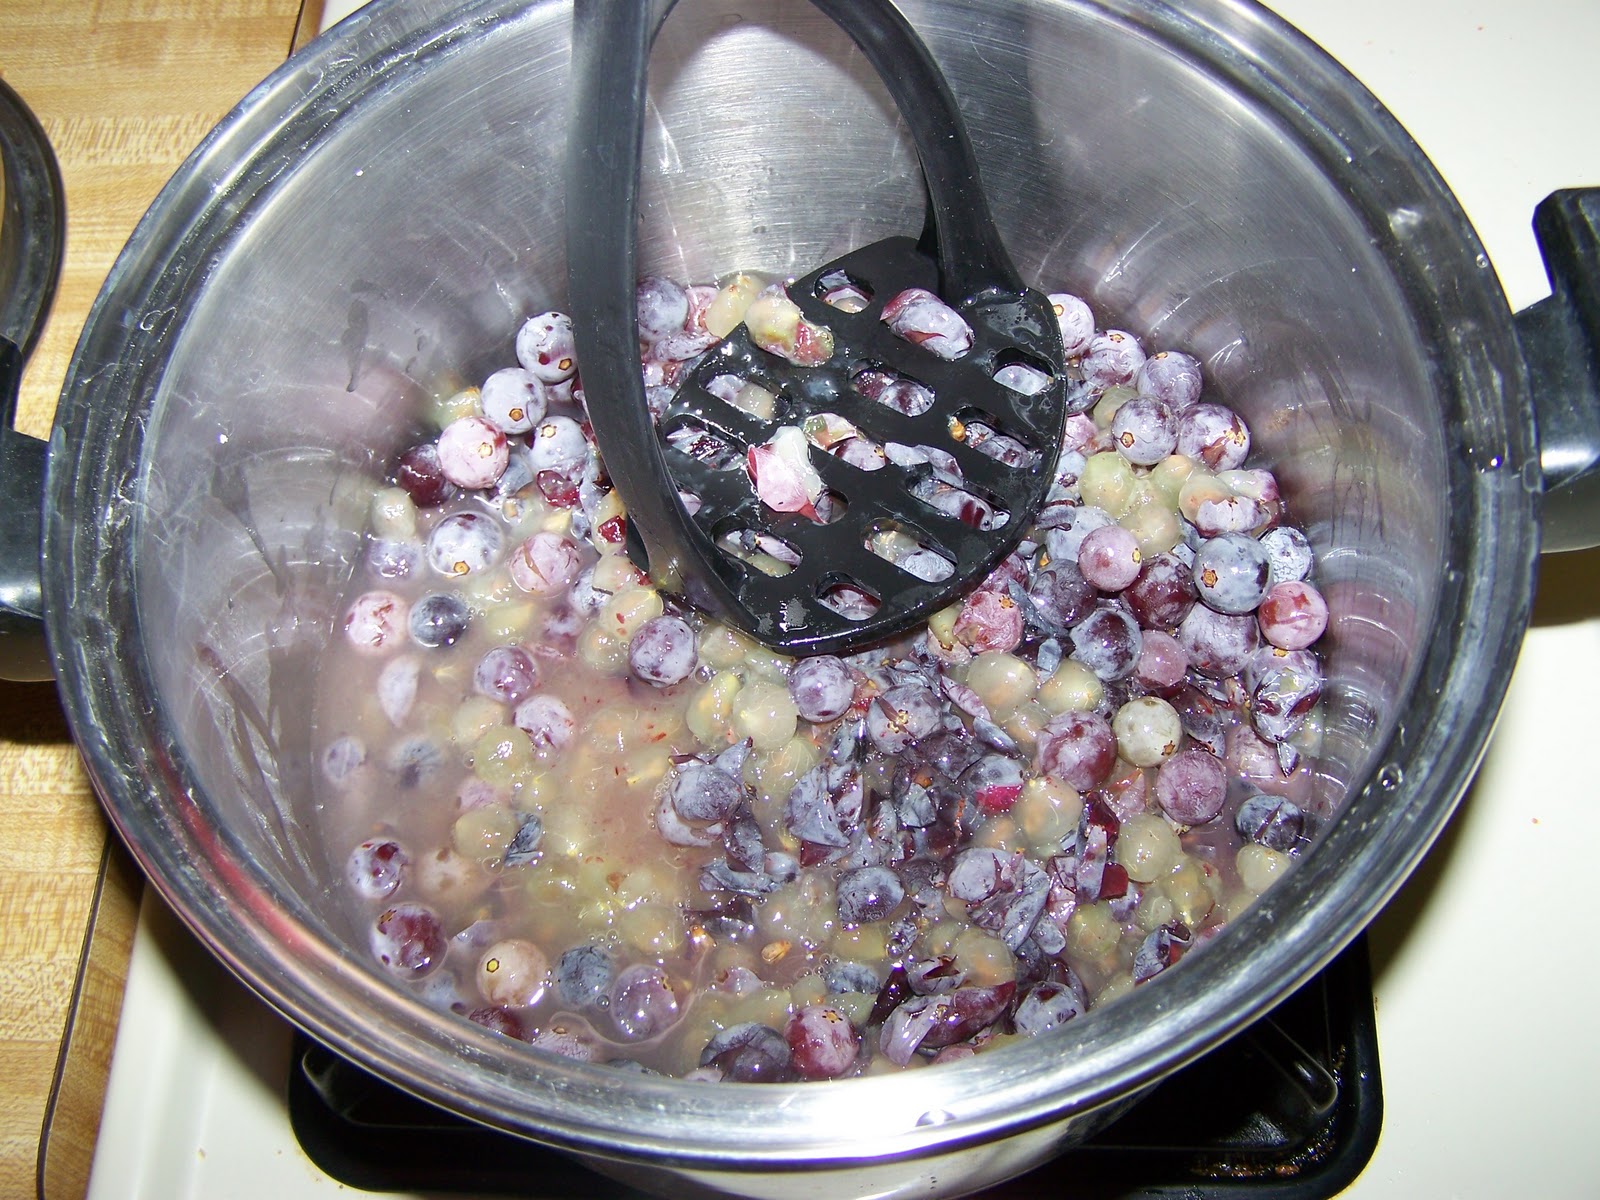
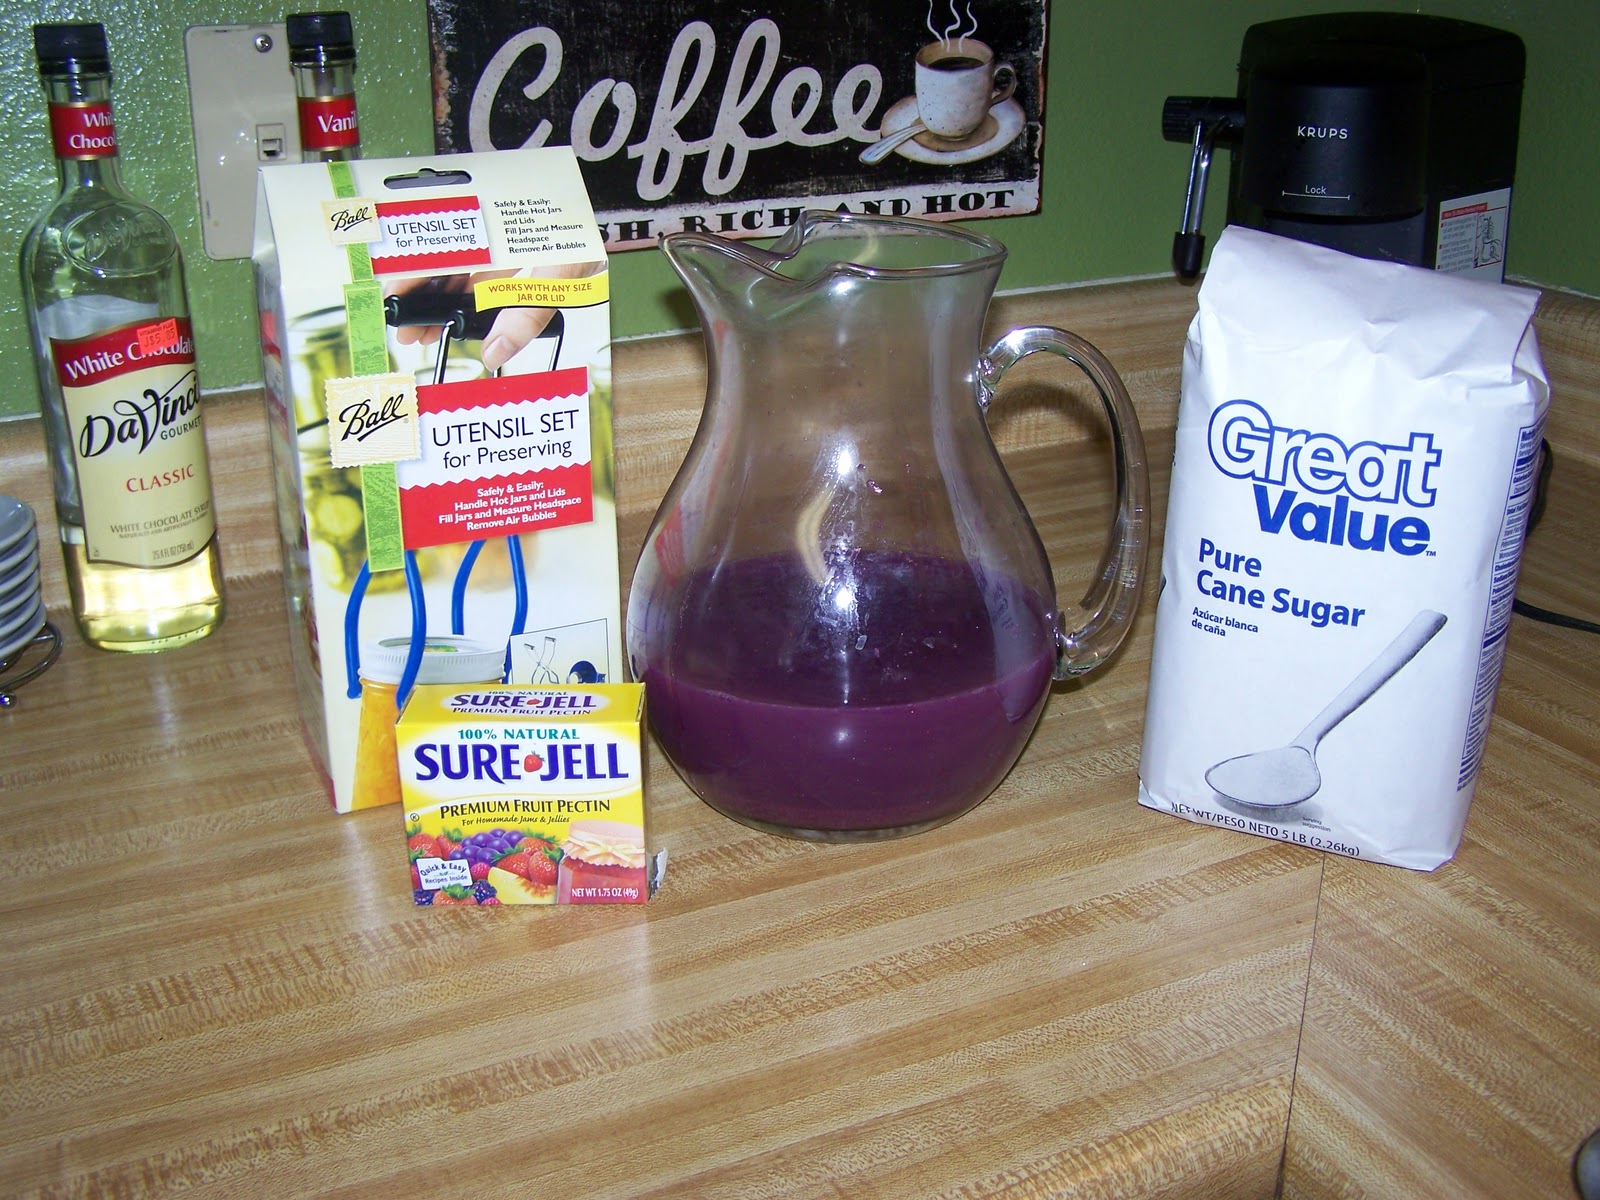
Remember how I said I made up the juice in advance and the crop was a little light this year?  Well, turns out when I went to make the jelly, I was one cup short of the juice I needed so I sent hubby to the store to buy some grapes so I could make up some more juice.  While making the juice from the store bought grapes, I realized that, frankly, it smelled like crap.  It is no wonder store bought grape jelly doesn't taste very good, the store bought grapes don't taste very good!  Thankfully, since it was only one cup of juice, it didn't affect the end result.  I followed the instructions from a box of Sure Jell with one tiny exception.  When I crush my grapes, I add a cup and a half of water, regardless of how many grapes there are so, in other years with a heavy crop, I end up with a juice that is much more concentrated.
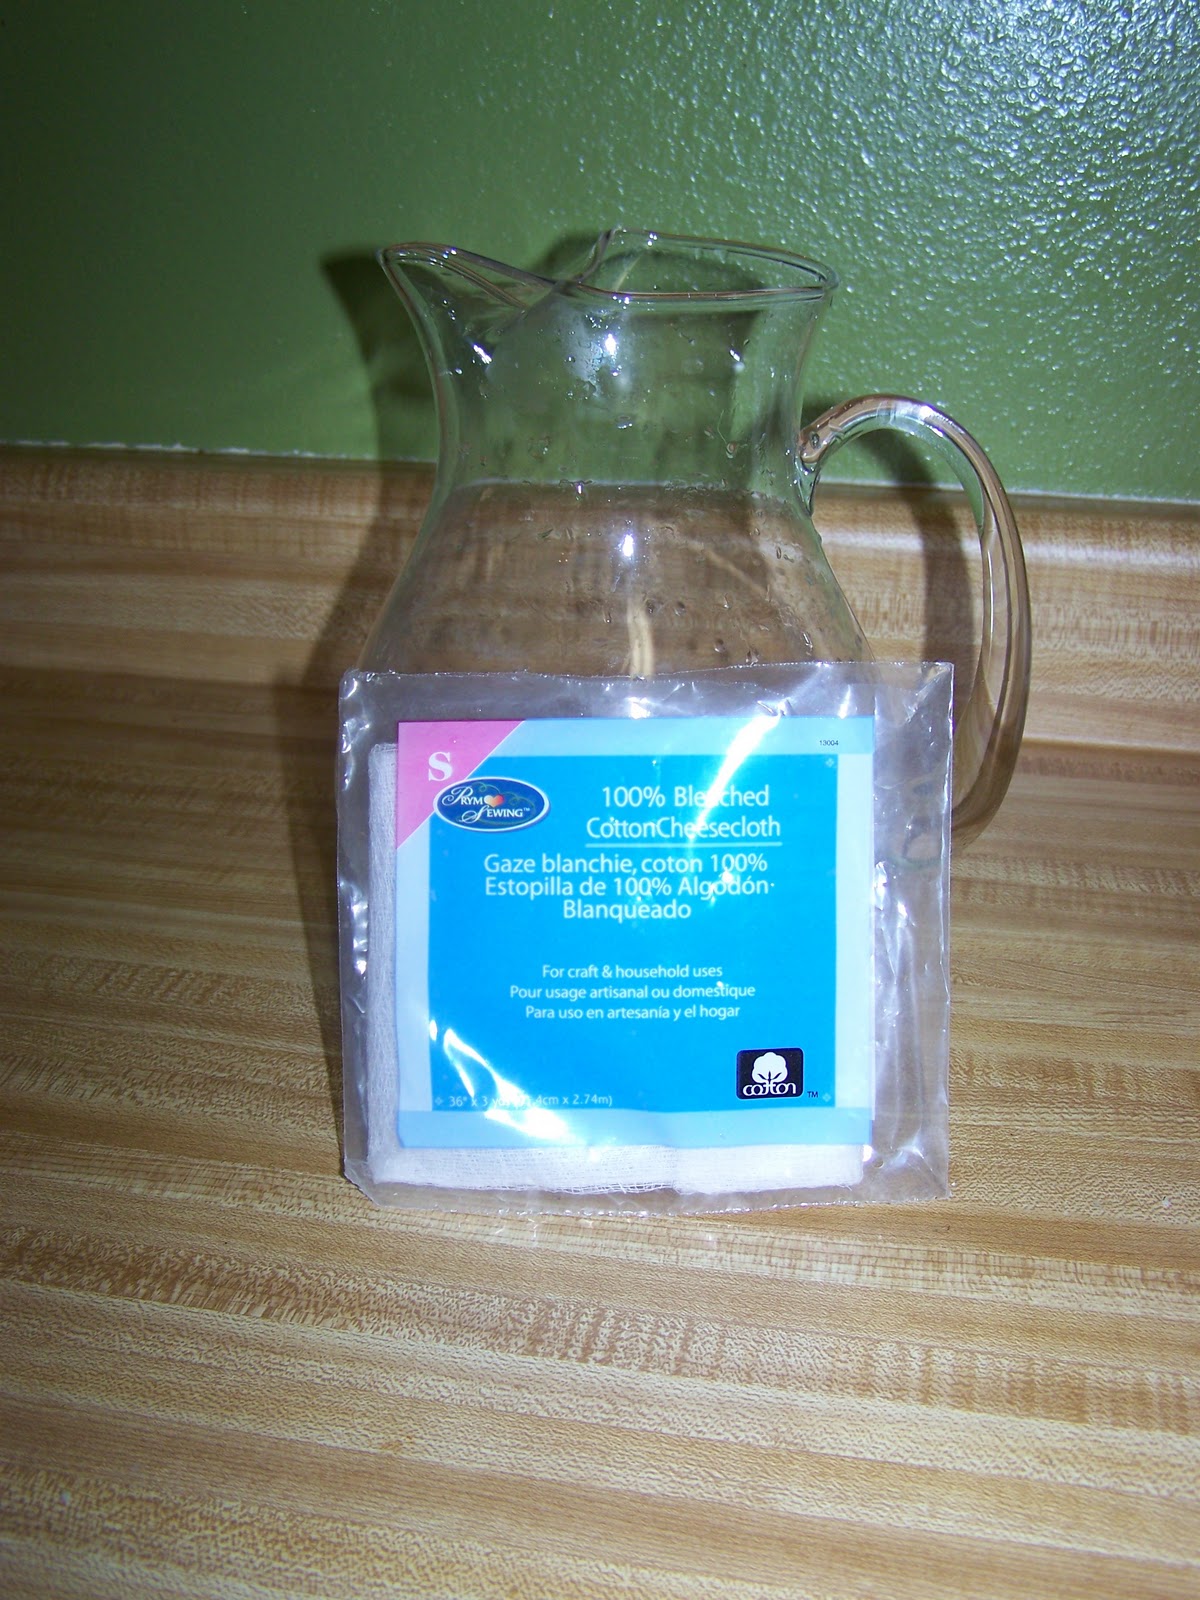
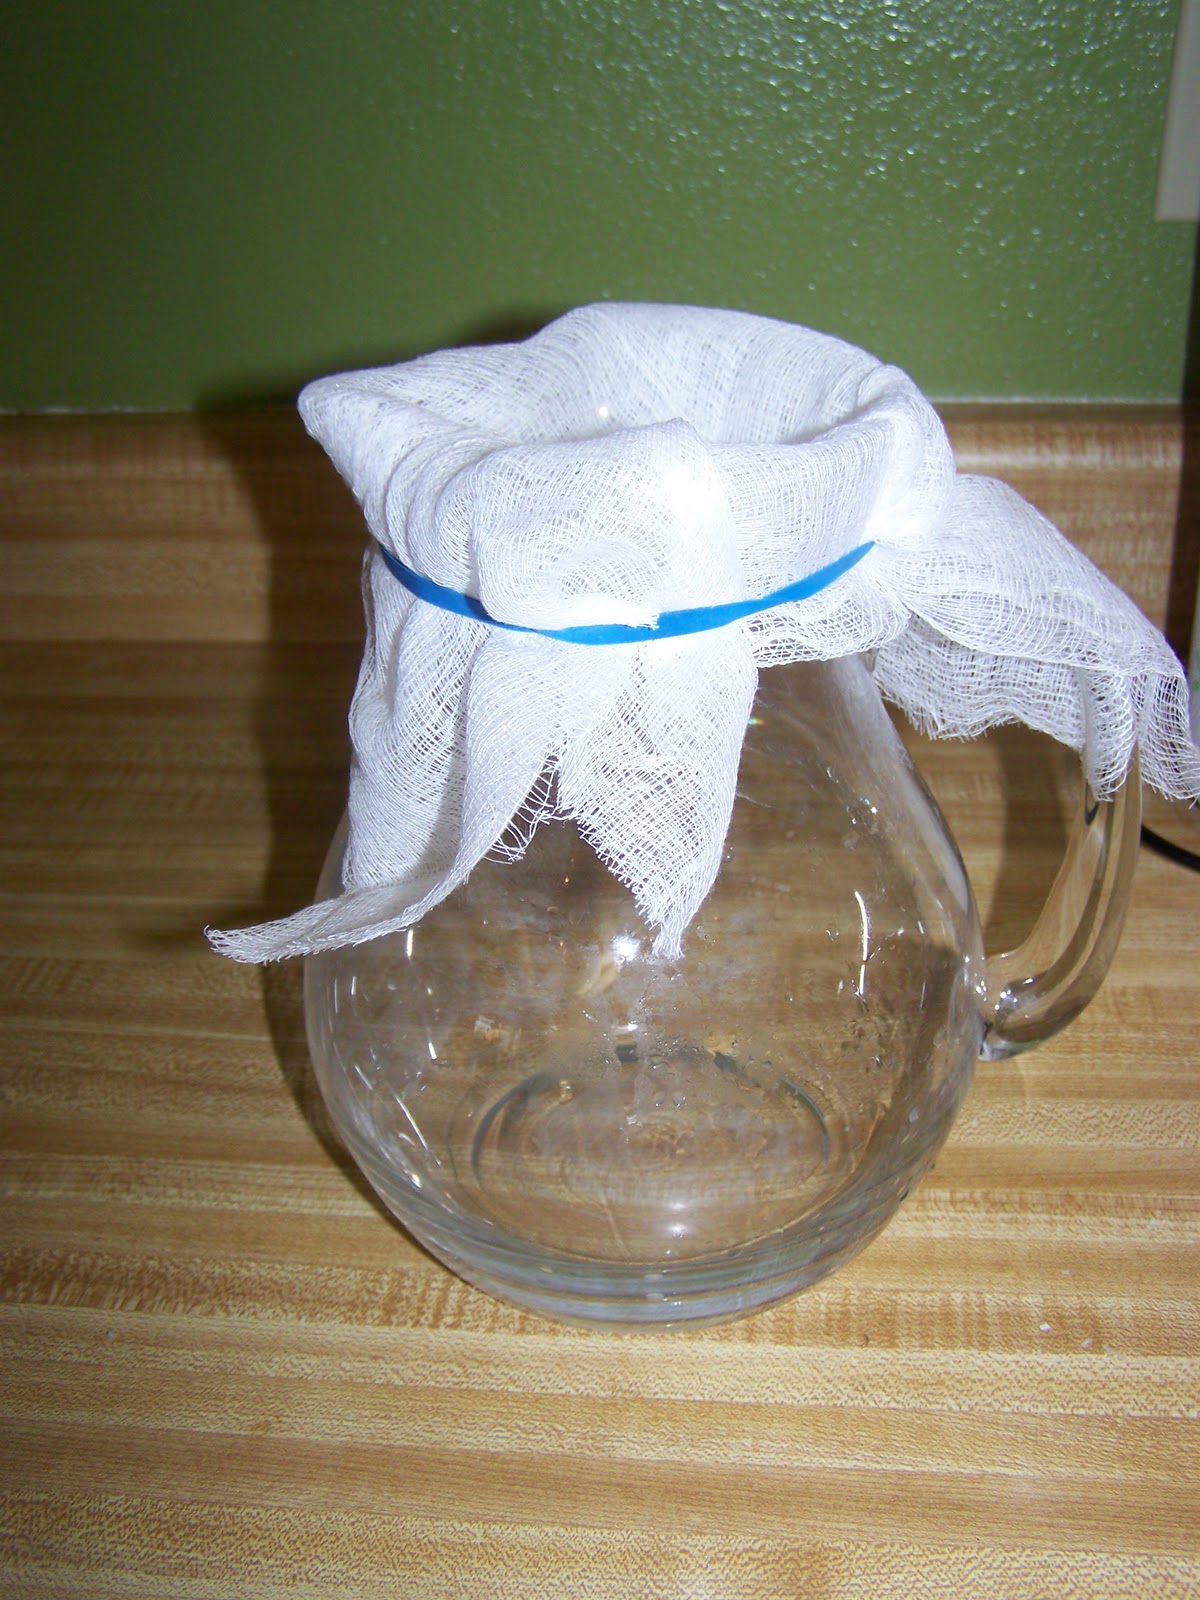
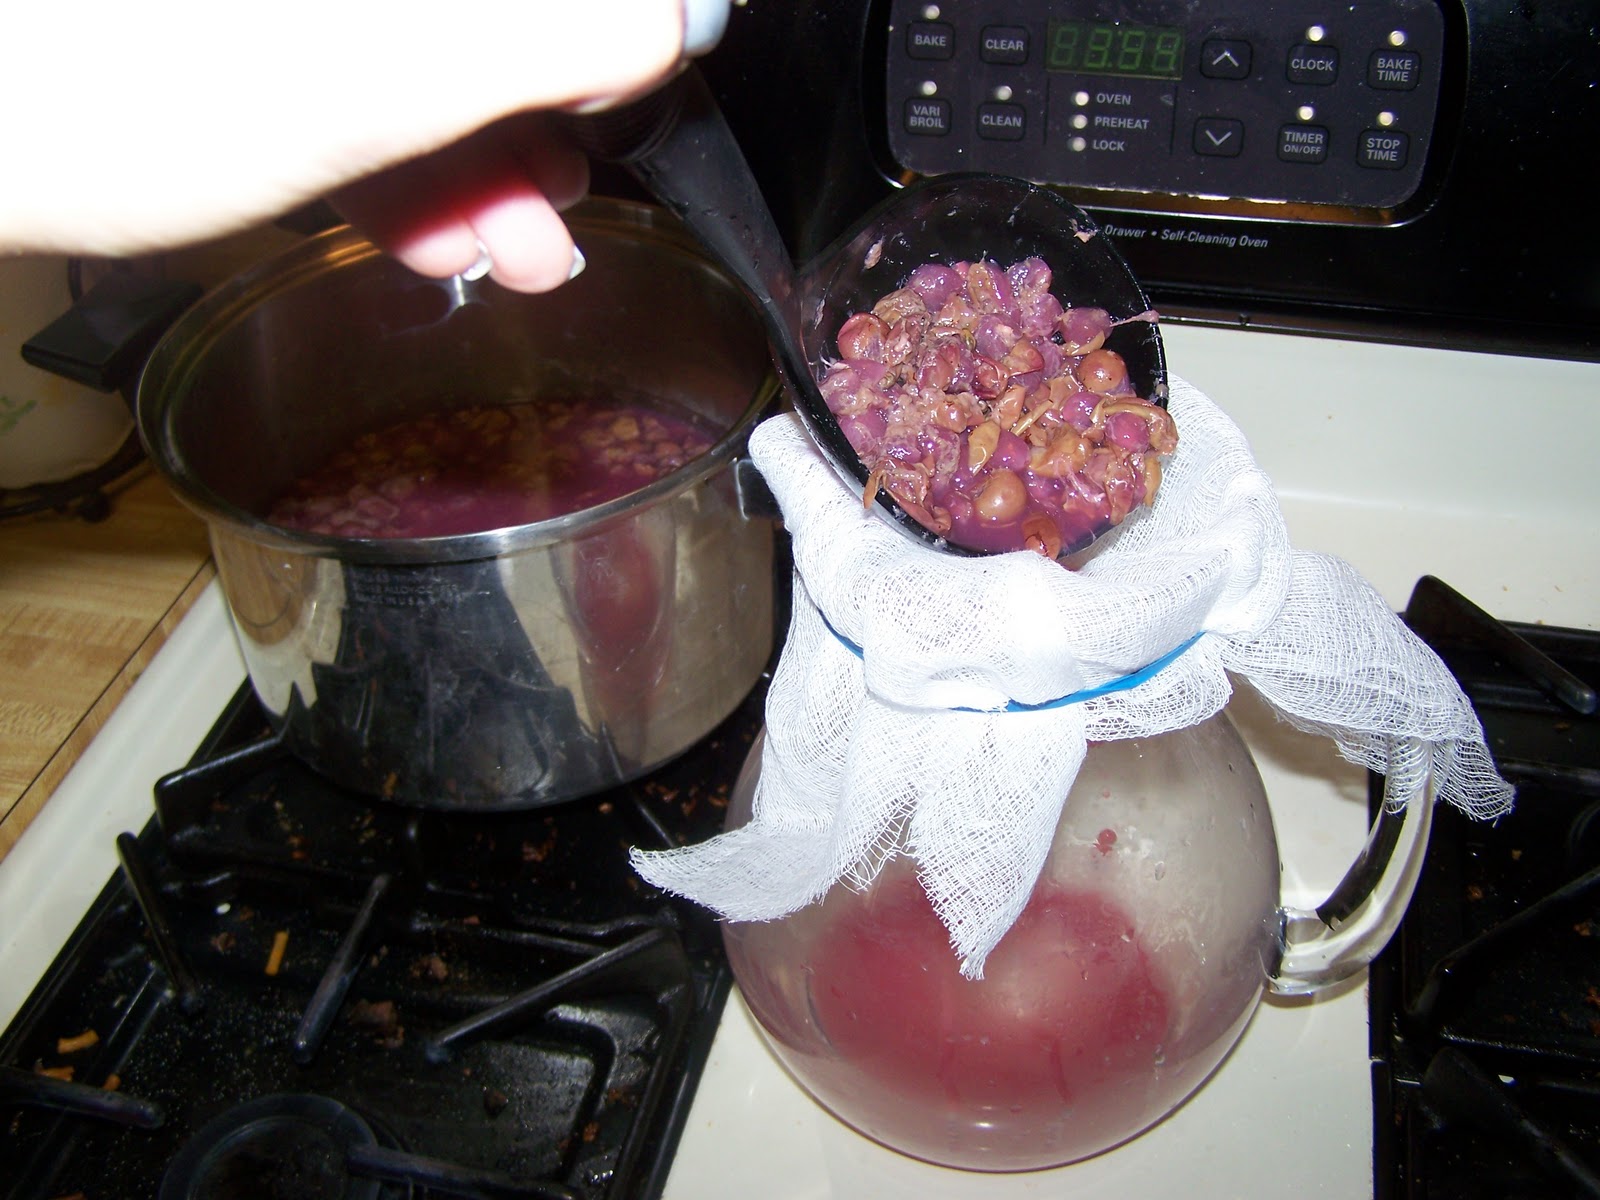
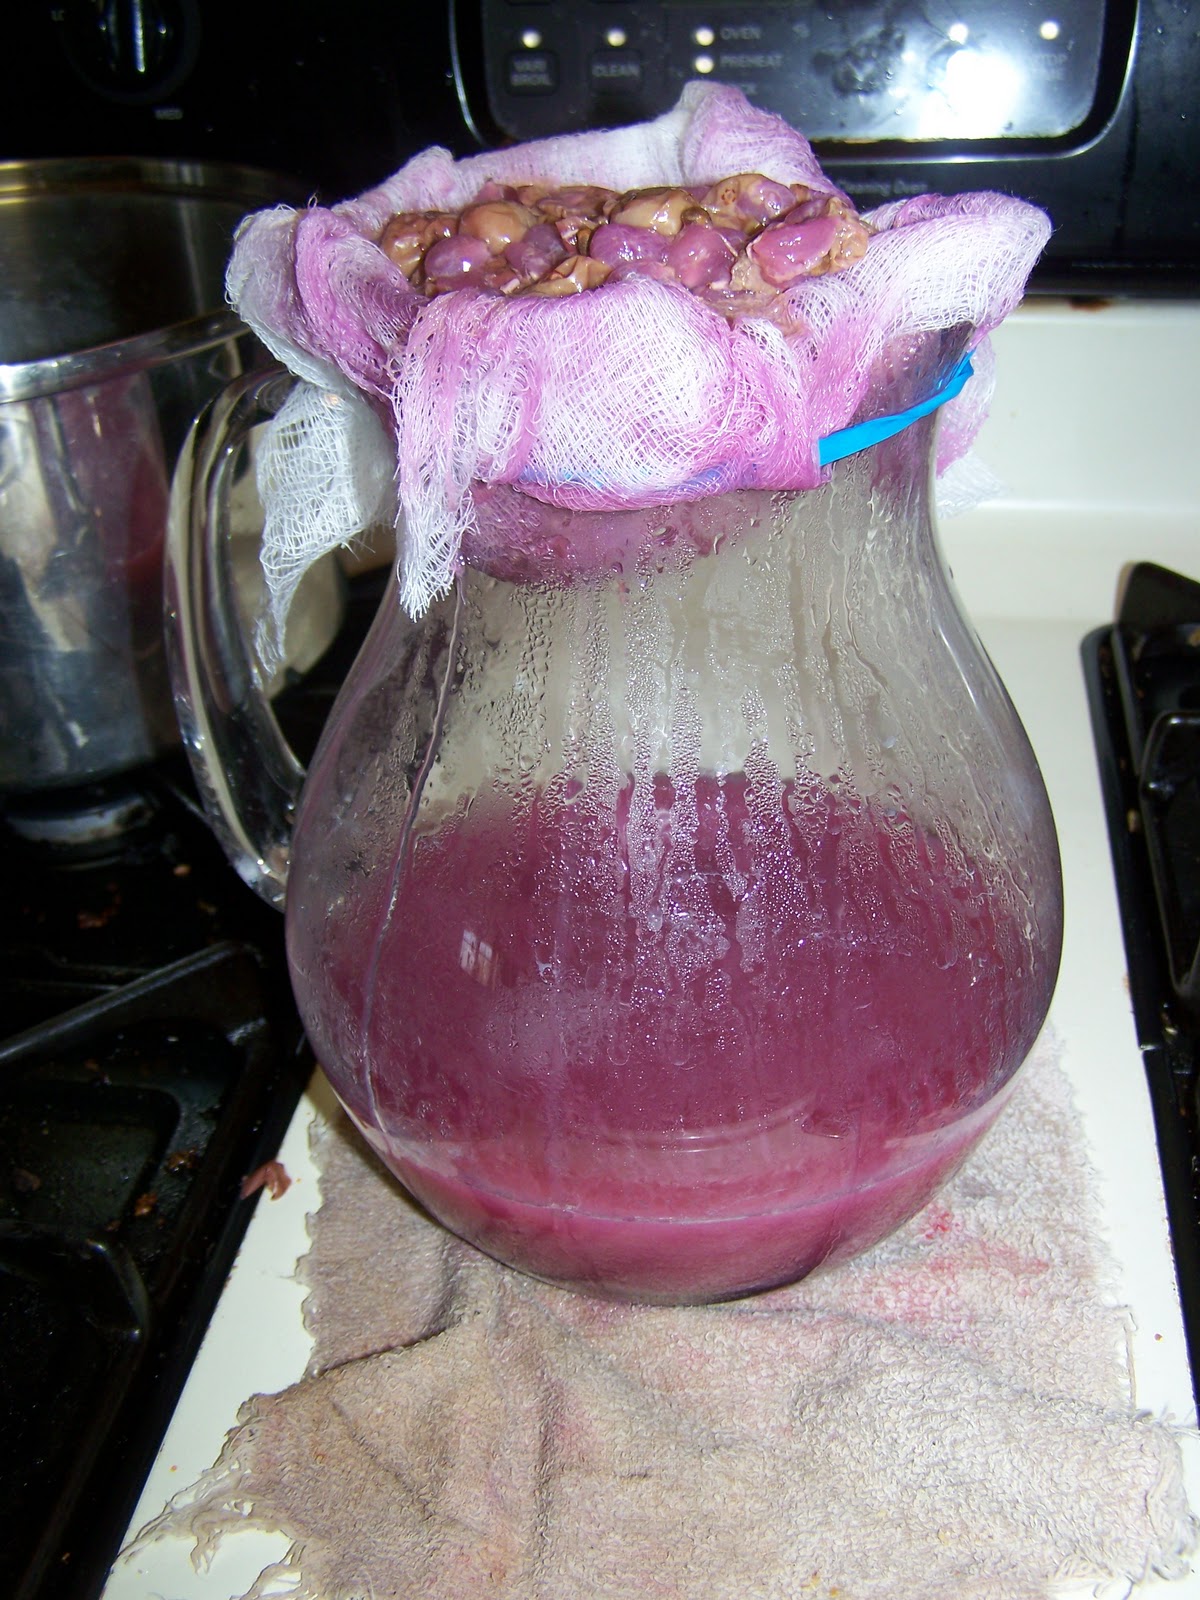
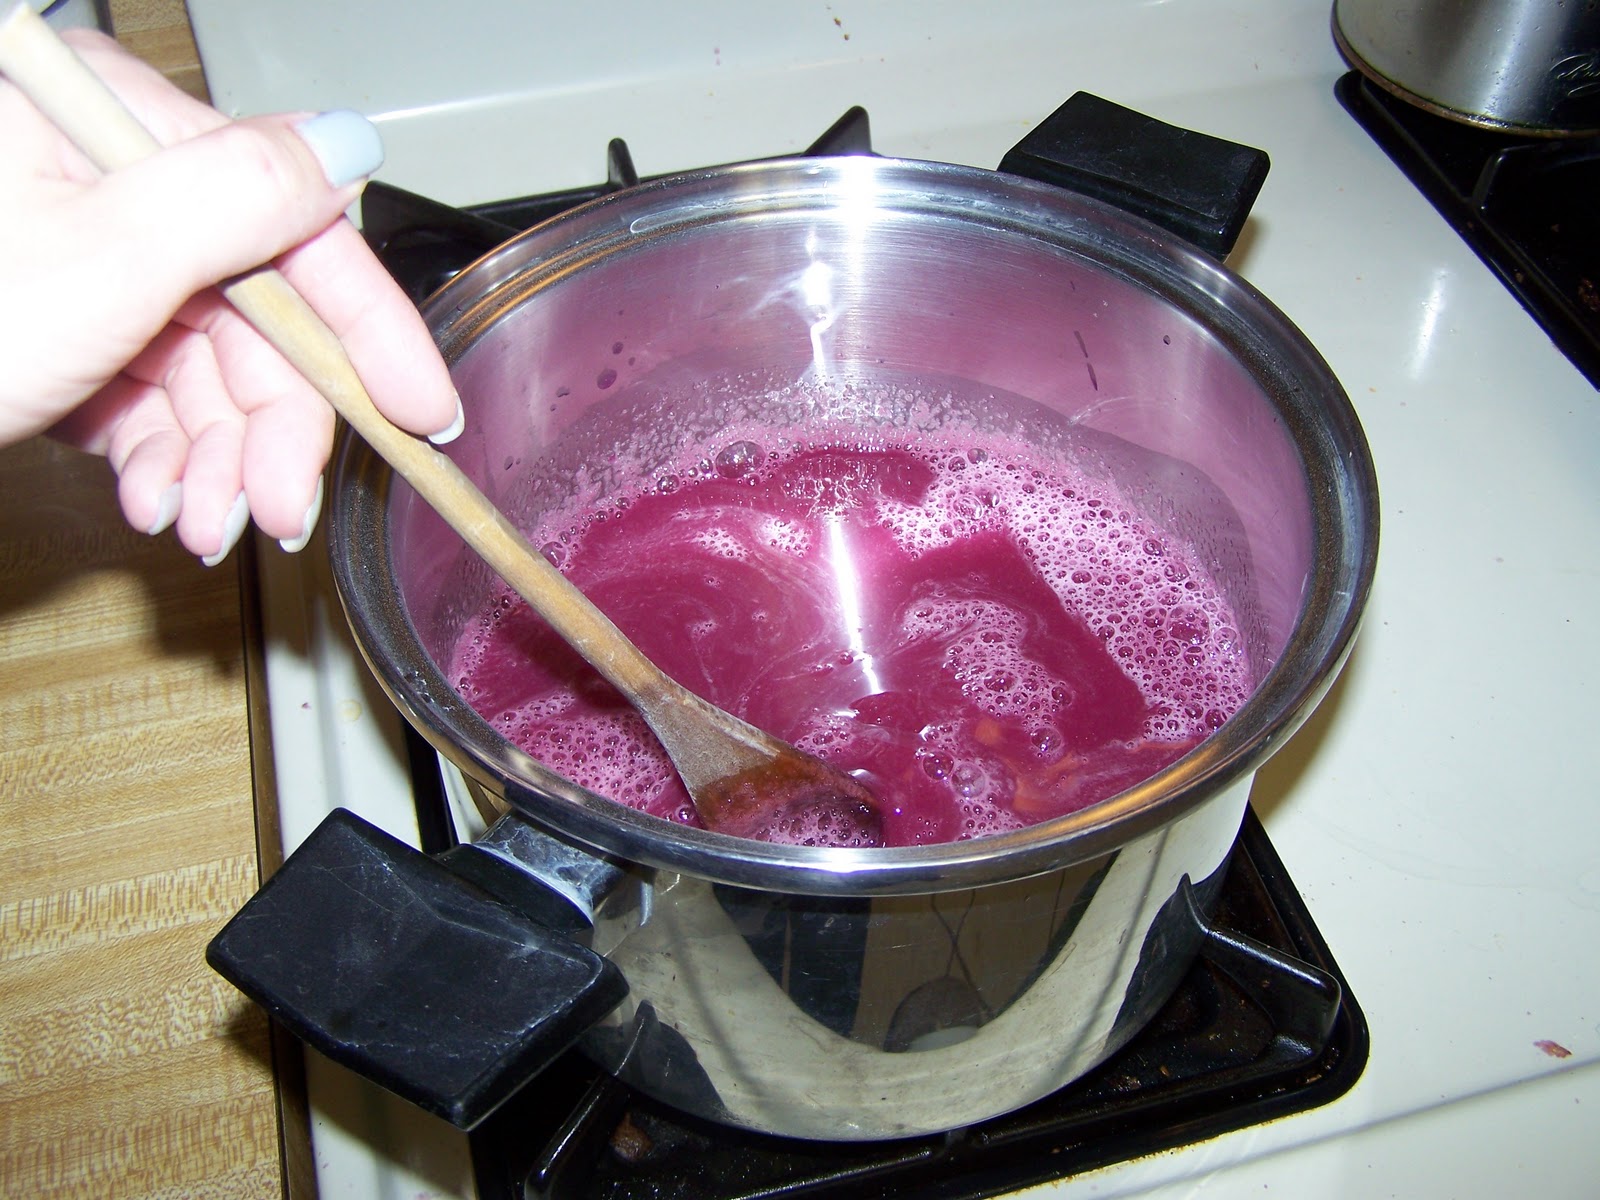
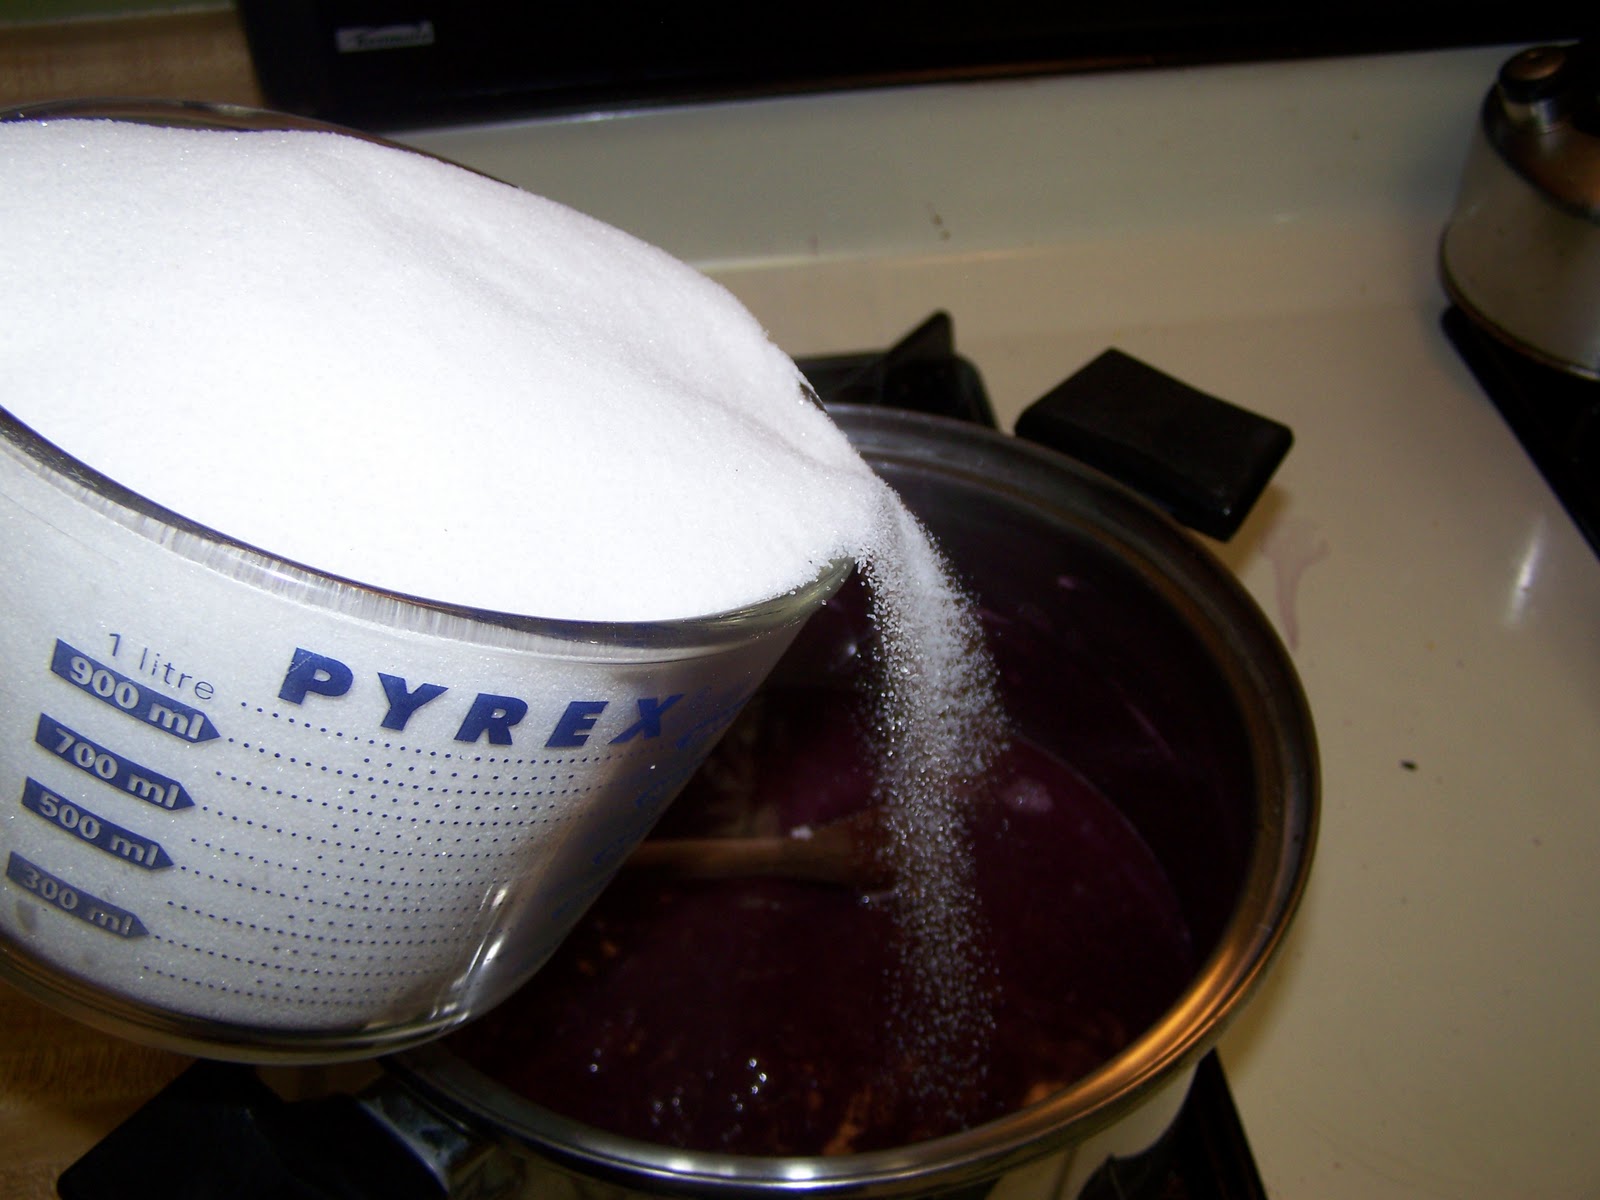
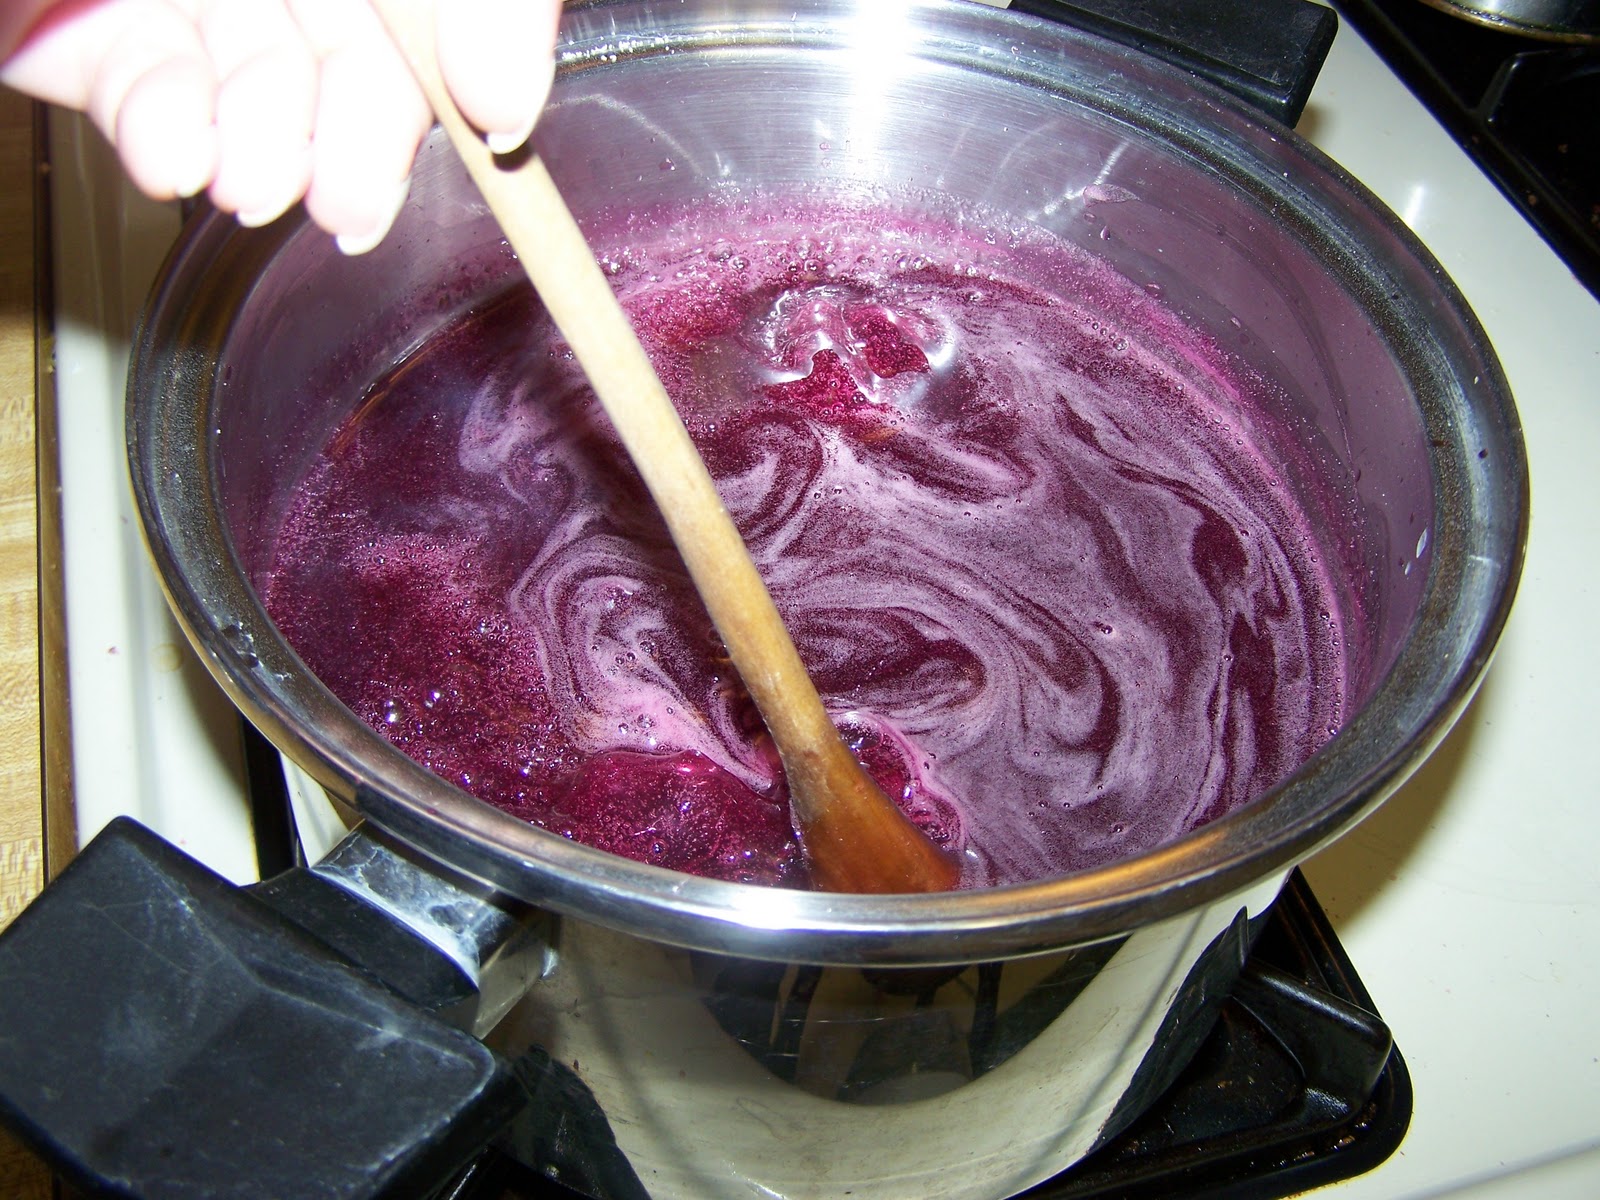
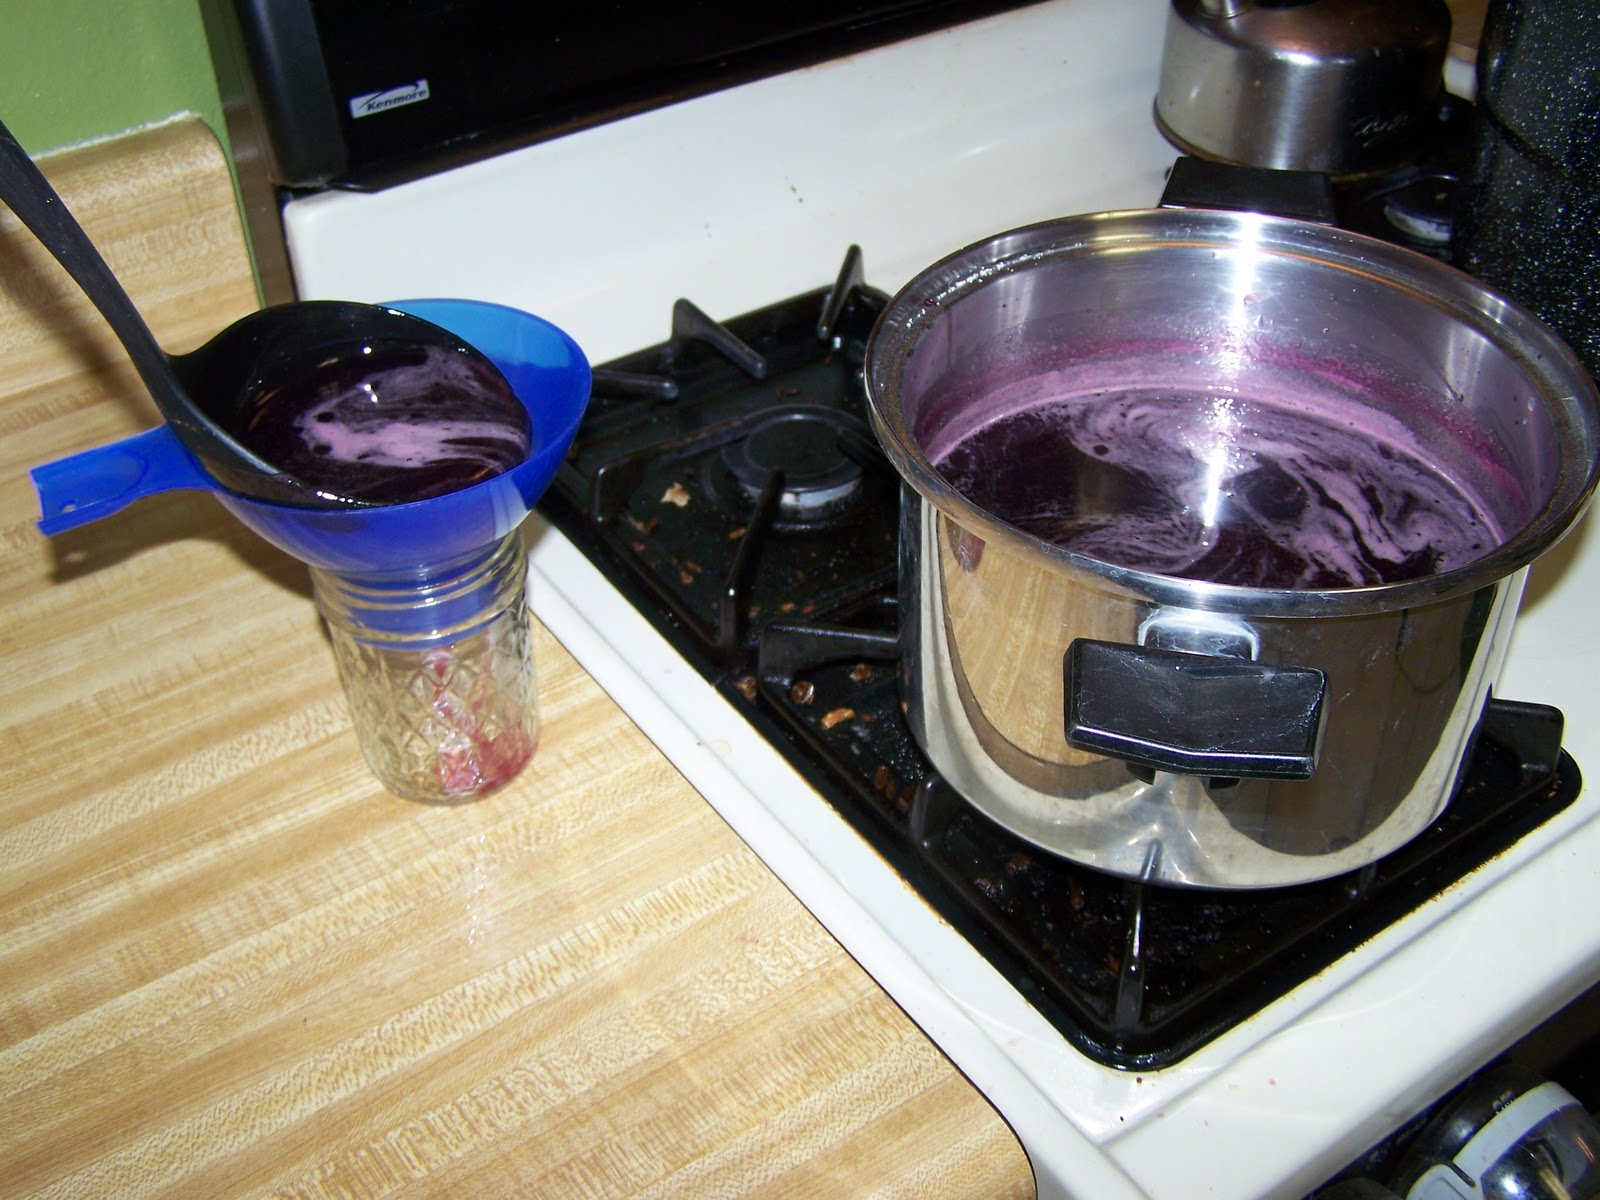
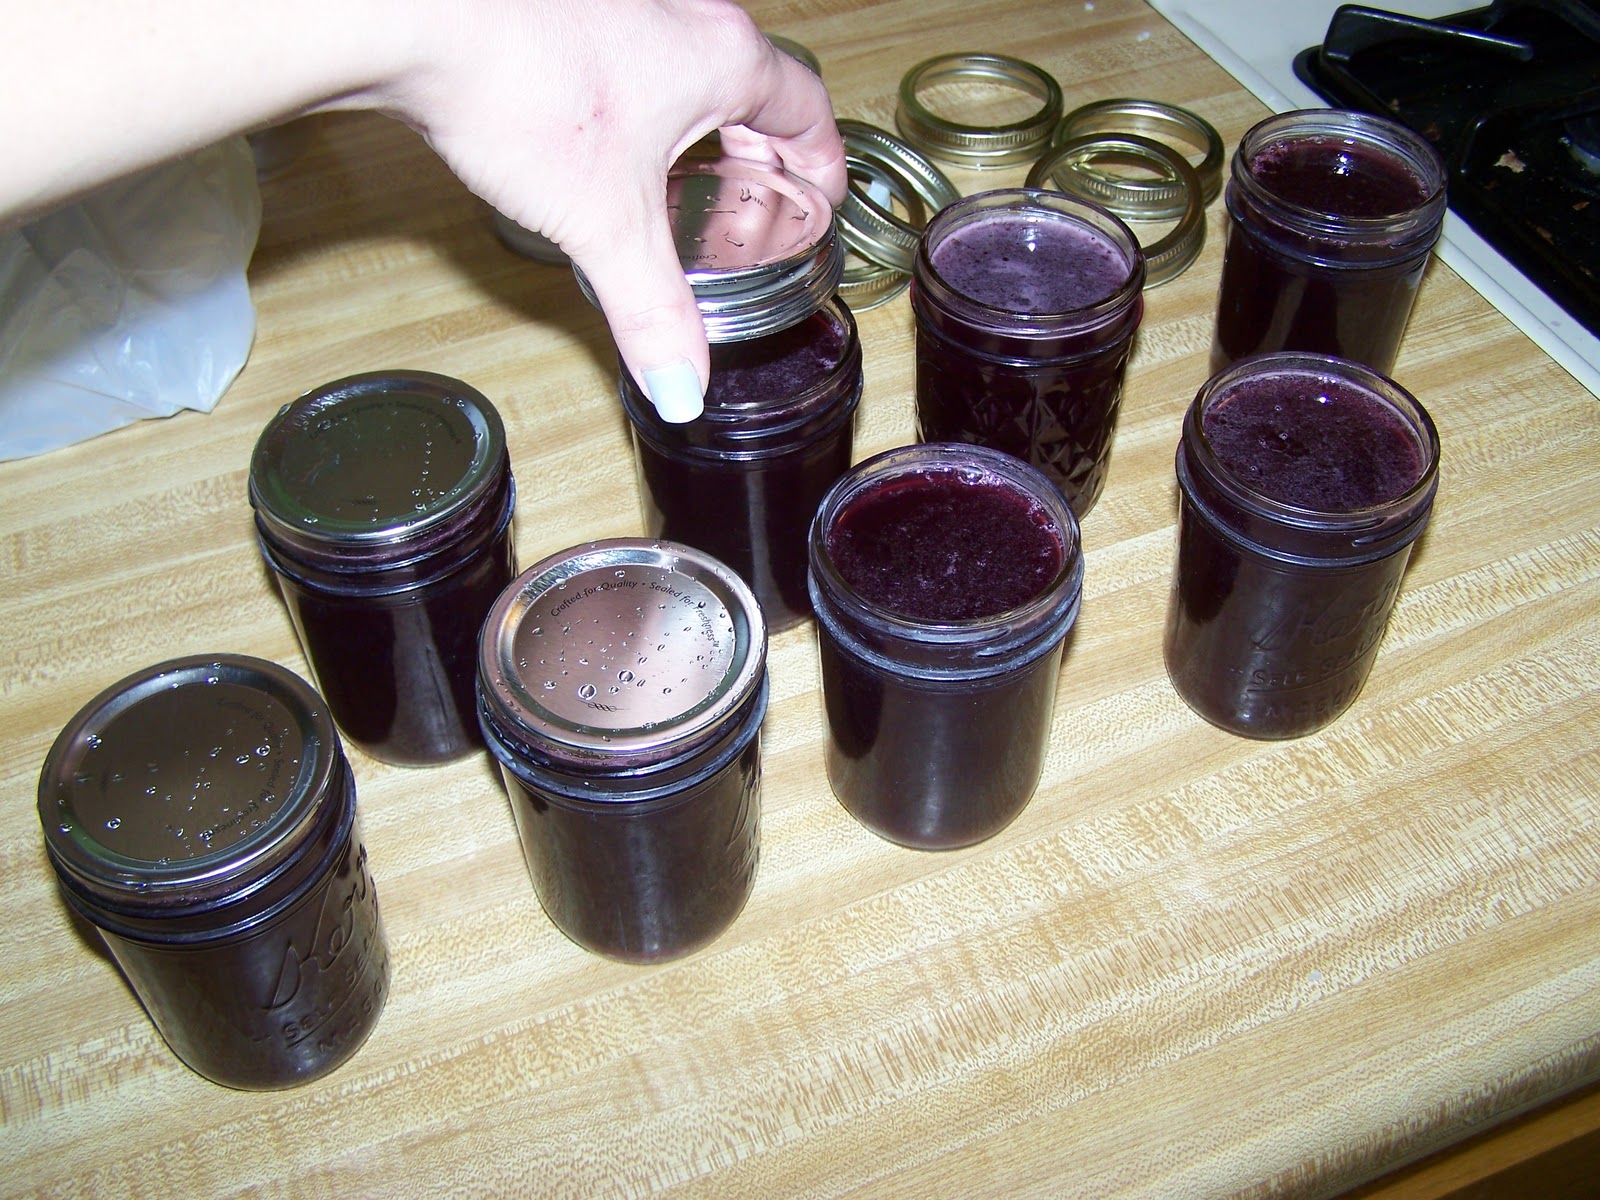
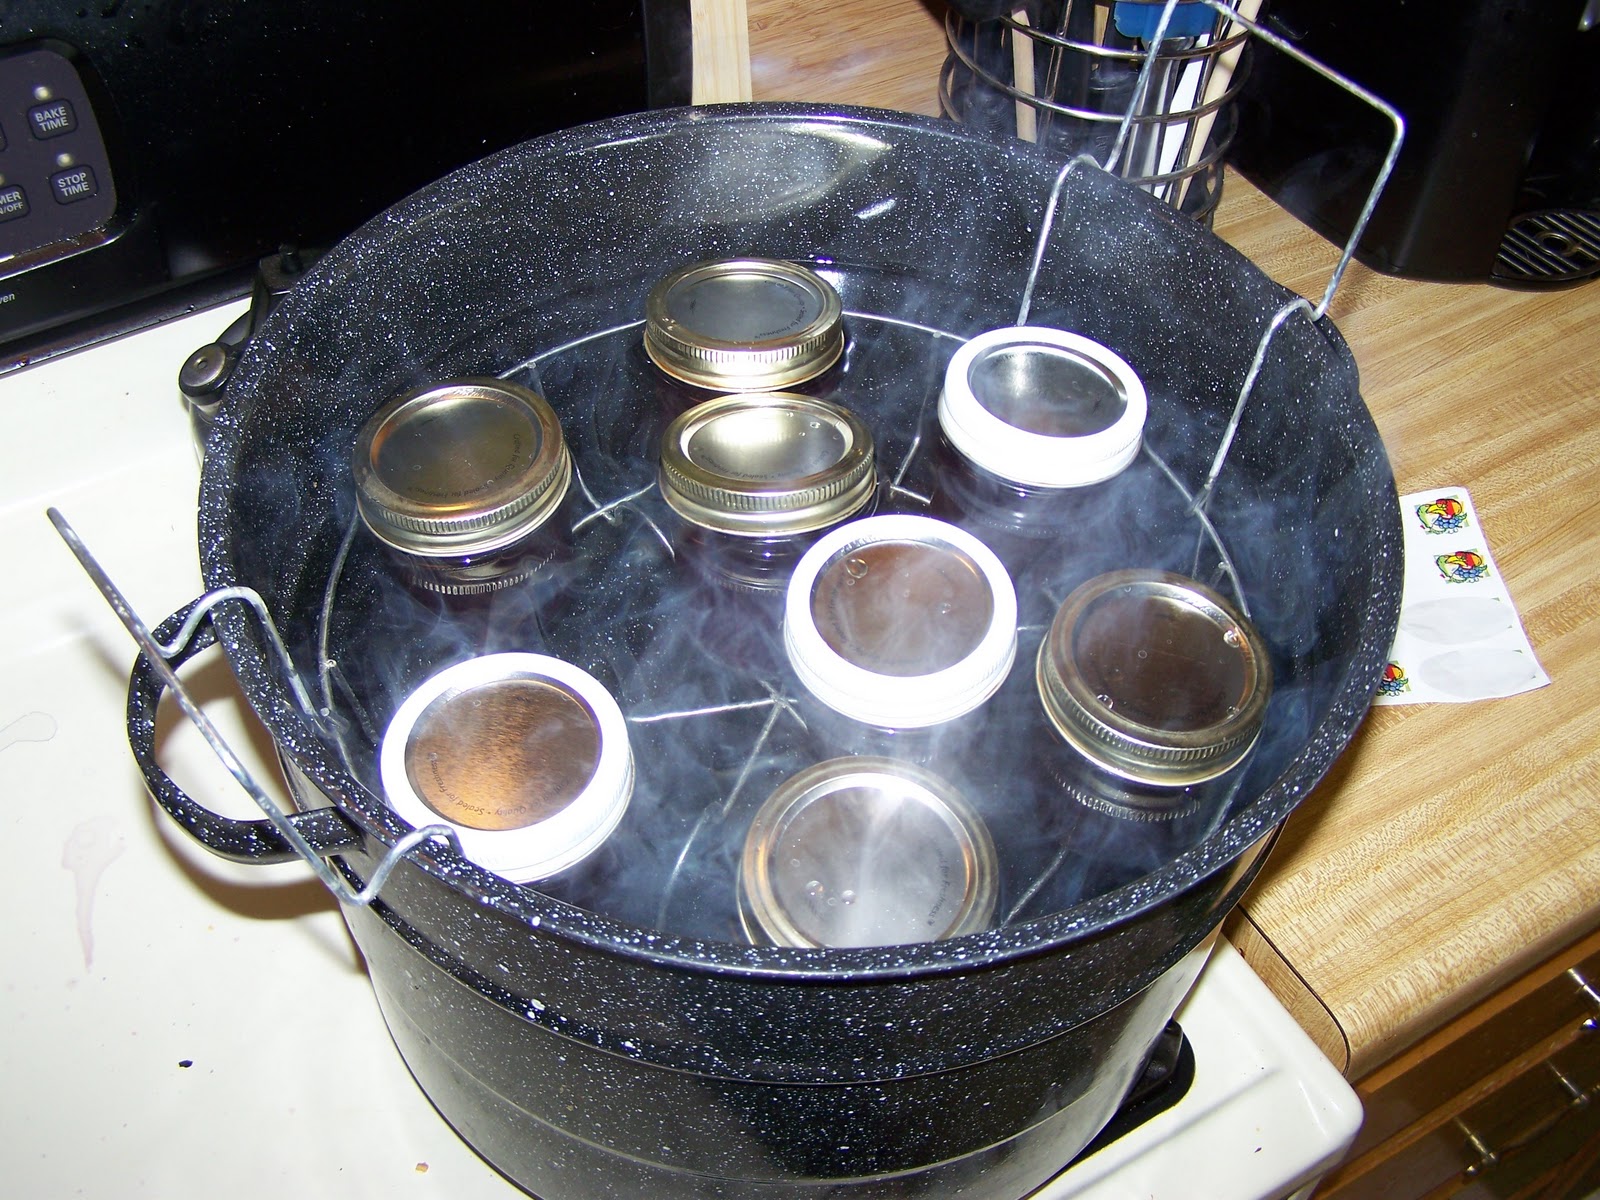
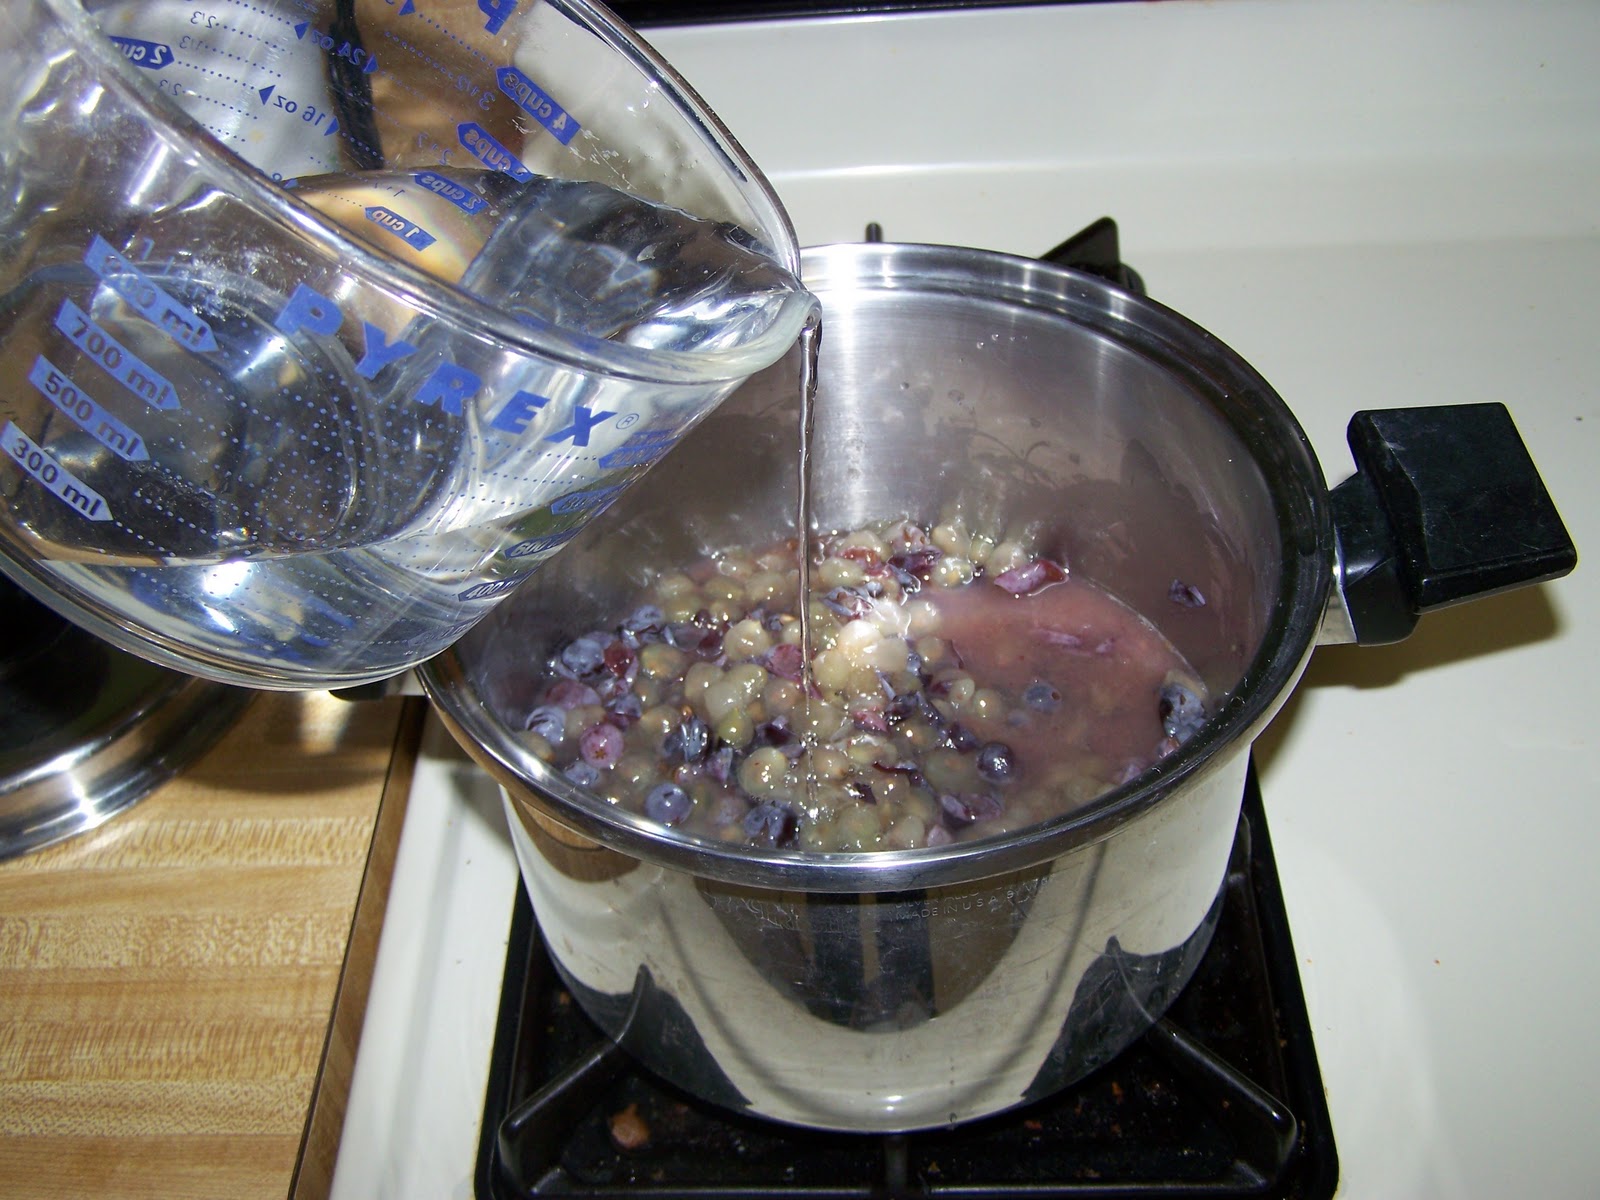
So, here in pictures, are the steps for awesome grape jelly but I warn you, it will only be awesome if you get home grown grapes!


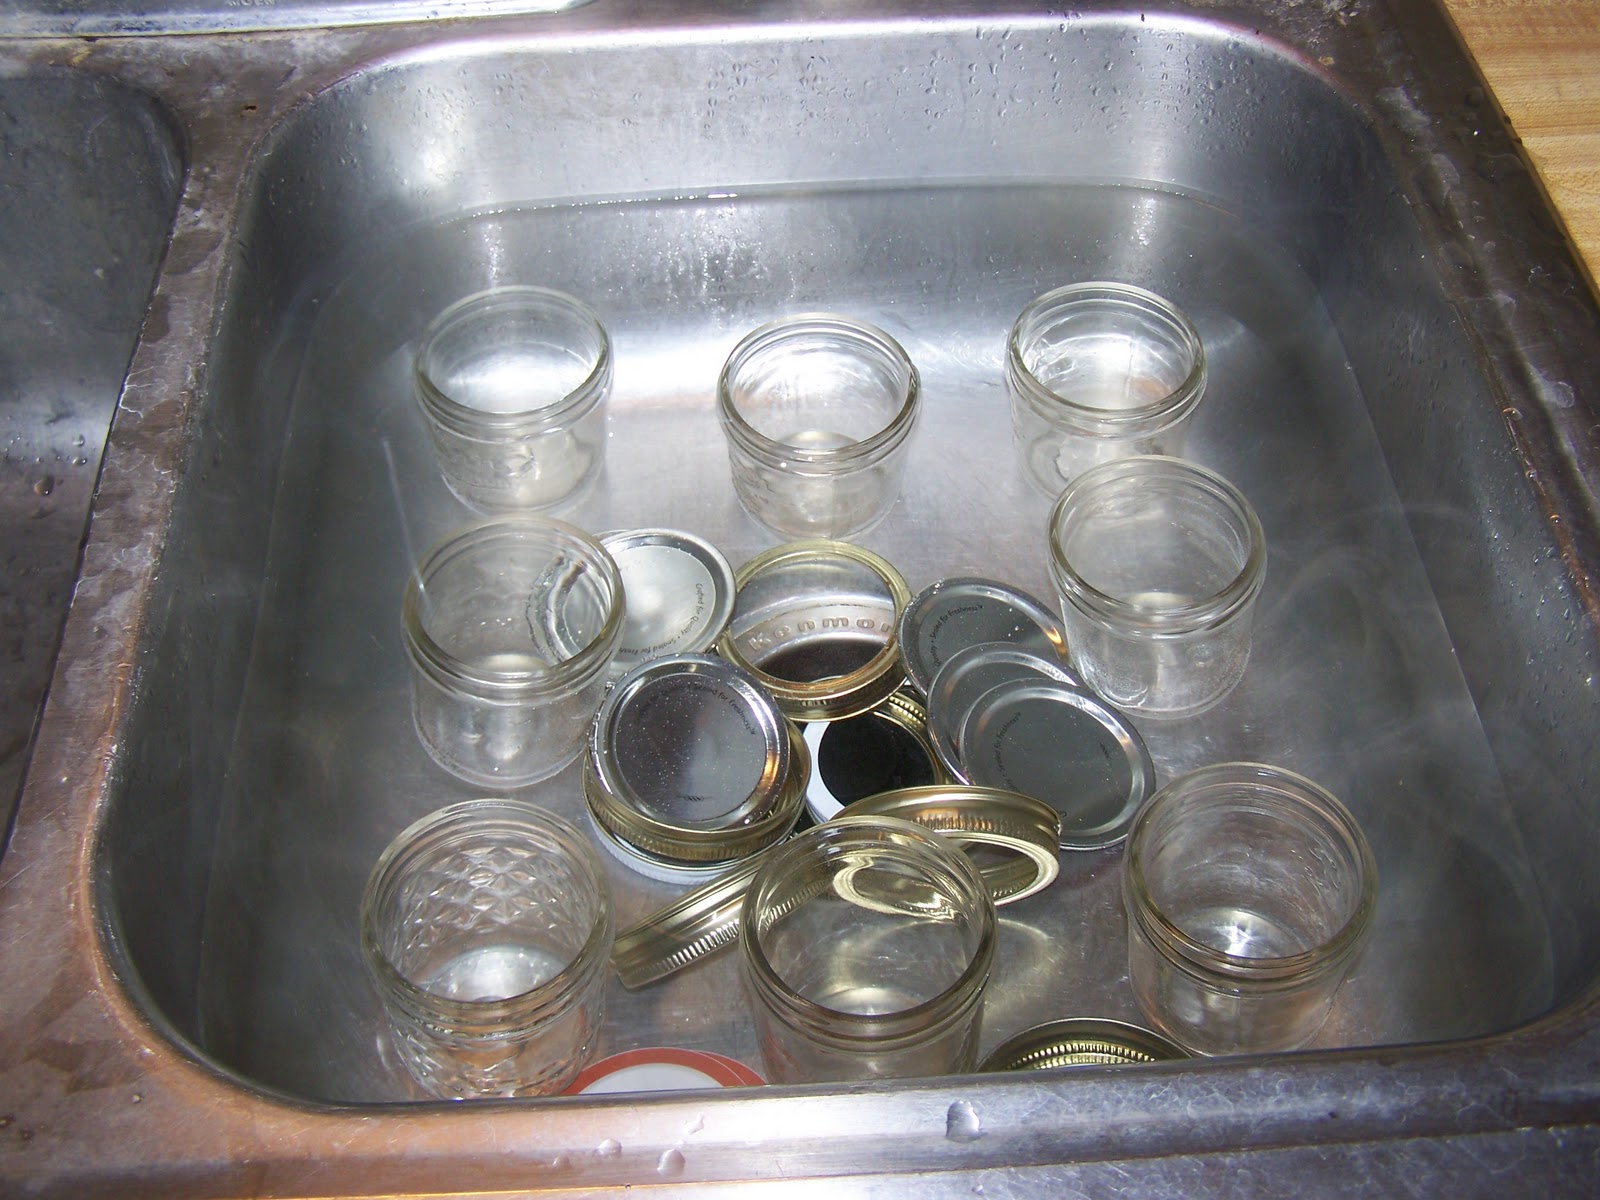
Remember how I said I follow the instructions on the box?  Well, I lied.  It says to pour boiling water over the lids with the seal and to keep the rest of the jars and lids in warm water until ready to fill.  Yeah, bloody waste of time if you ask me.  I simply fill my sink with the hottest water coming straight out of the tap and leave all the pieces of the jar in there until time to fill and my jars have always sealed just fine.


Yum!  Tasty homemade jelly!  It also makes a great gift!  I need to grow some strawberries next summer so I can make some strawberry jam.  That is my favorite!