1. Create a tent. If you don't have a tent or have one but don't want to bother getting it out and setting it up, you move all your kids furniture to the side in their room. Take a large sheet and drape it over the backs of dining room chairs, using rubber bands to tie on. Take a comforter or large blanket and spread it out underneath the tent with pillows.

2. Make sure your kids are properly packed for their camping trip, in our case the essentials were a stuffed animal, a book and a pair of pajamas. You notice that they already put their backpacks in their tent.
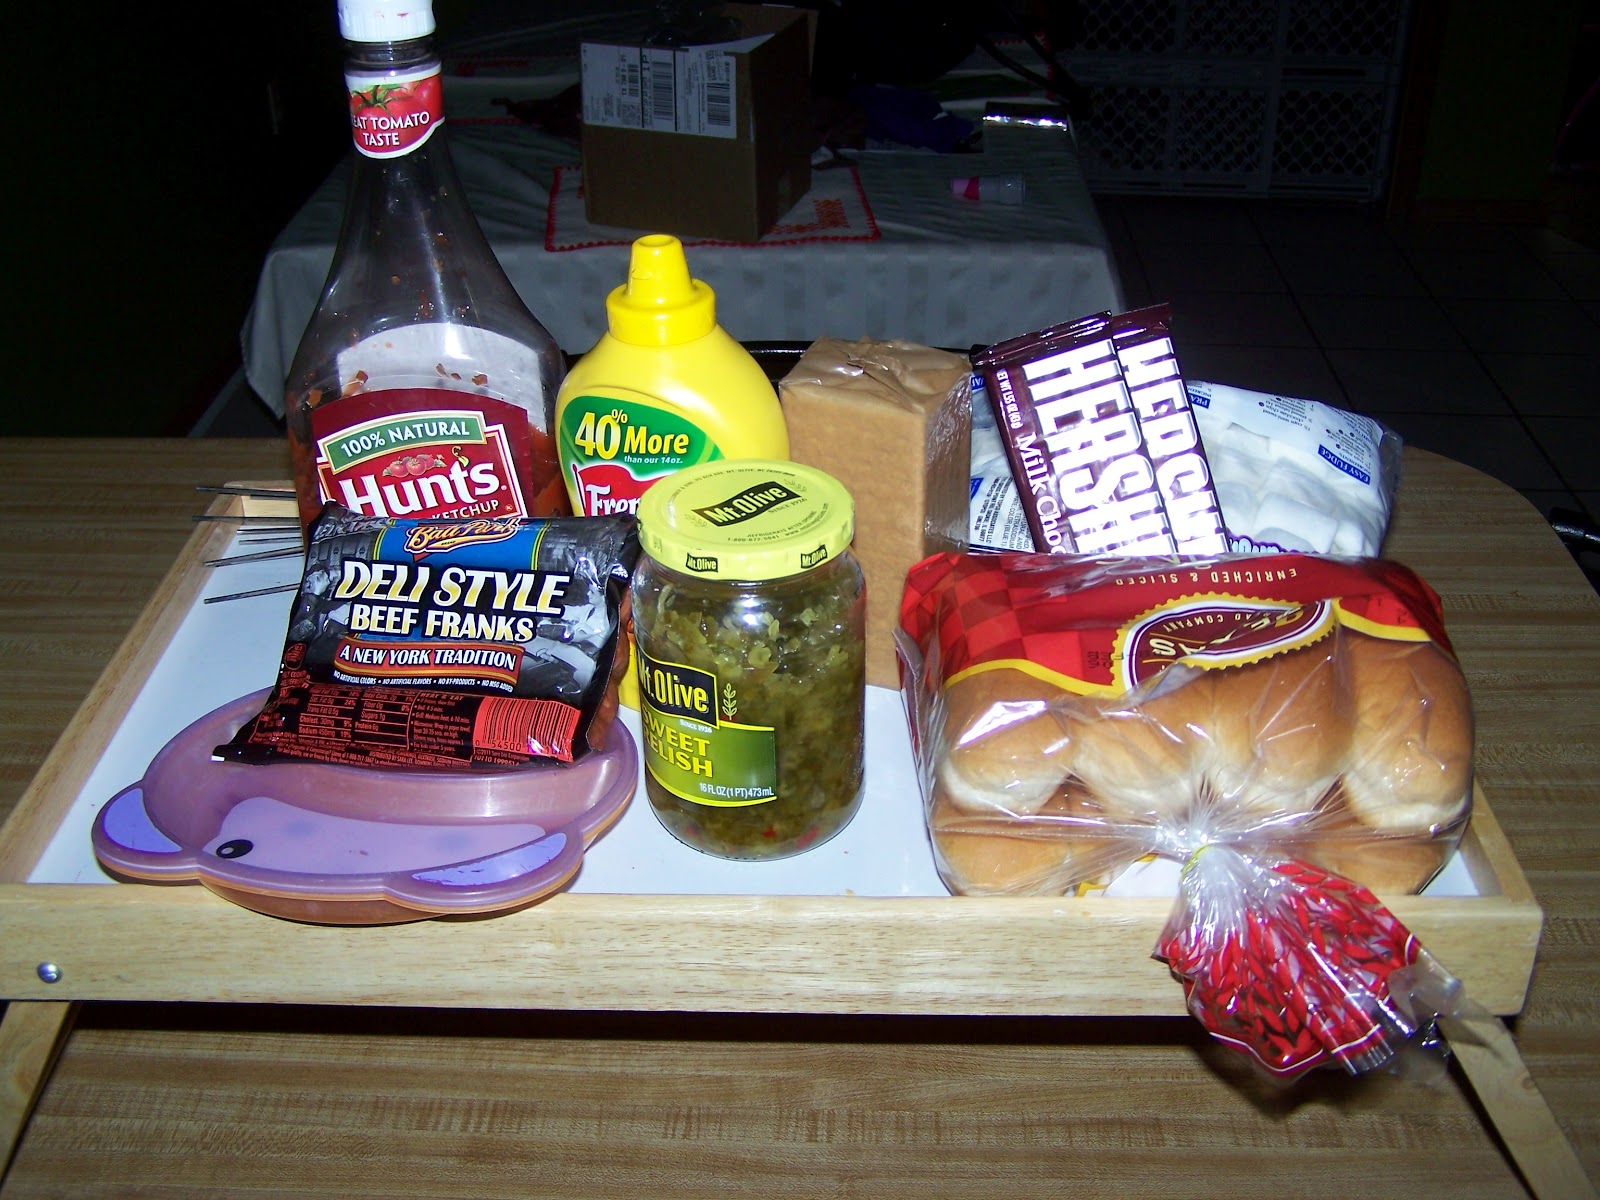
3. Gather all the required nutritional items which of course means hot dogs, hot dog buns, ketchup, mustard, relish, graham crackers, marshmallows and chocolate bars.
4. Use your wonderful fireplace as your campfire. If you don't have a fireplace, you could use a burner on your stove if you have a gas stove, if you have no gas stove, you could use your microwave and just pretend. Roast your hot dogs, make s'mores and don't forget to sing a few camp songs.

5. Last but not least, you should play a game or two, use a flashlight and if your kids are old enough, tell spooky stories. We played Go Fish in front of the fire, then changed into our pajamas and climbed into our tent to read a book by flashlight.
I guess there is technically another step.
6. Marvel at your awesomeness as you watch your kids faces light up with joy when you set everything up. Be amazed that they like it so much they continually talk about their camp out for the next week, ask to sleep in their tent every night and want to make every dinner in the fireplace. Smile at your husband as you both realize you have just made one of those amazing memories for them that they will cherish even as adults.