Thursday, October 29, 2015

Pizza Club Bites

Here is an awesome way to use up those leftover bits after making homemade pizza.

I have to confess that this is NOT a GEM creation, this is a Mr. Gem creation, he came up with it years ago and it is great for an appetizer or after school snack for the kids.

All you need are some Club crackers, leftover pizza (or spaghetti) sauce, shredded mozzarella, and pizza toppings.

Lay your club crackers out single file on a baking sheet.  Spoon a small amount of pizza/marinara sauce on each cracker.


Add a sprinkling of shredded mozzarella to each cracker


Pile your leftover toppings on to each cracker (I only had pepperoni this time)


And stick them under the broiler (toaster oven FTW!!) for 8-10 minutes.


All done!


Make sure to spray your pan with cooking spray or you might end up with a pan looking like this (after I forgot the spray!!)


If you are in the South then you already KNOW to serve this with Ranch dipping sauce; if you aren't from the South; try it!! I promise, your life will be better!!  Ranch goes with everything!!!


Wednesday, October 21, 2015

Origins...

If you've read my last several posts since I've started my blog again, you've probably come to realize just how much my life has changed.

I'm busy right now trying to compile pics and notes of everything we have done in the past few years but I thought it important enough to first give you a brief backstory/ disclaimer.

I helped my parents build this house in 1993.  I grew up in it, graduated high school while living here, got married in the living room in front of the Christmas tree here!

Then my husband and I set about building our own life.
In 2009, my grandfather was diagnosed with Alzheimer's.  It didn't take long for the family to realize that he couldn't live on his own anymore but we wanted to keep him in his native environment for as long as possible.

Right after Christmas my parents made the decision to move into my grandfathers home but they didn't want their house sitting empty.

Mr. Gem and I had owned our first home for a few years at that point and we had two little ones.

My parents knew that we were planning on selling our starter home and getting something bigger so they asked if we would consider living in their home so it wouldn't sit vacant.

Fast forward a few years and we've all come to realize how terrible that situation truly was.

My grandfather constantly treated my parents as guests who had overstayed their welcome; he never realized they were living with him.  If they would have moved him to their home, I'm fairly certain the results would have been just as bad, if not worse.

We ALL realized that we would never want to go through that again if given the choice.

So, a decision was made; I would buy my childhood home from my parents (they didn't need so much space anymore as empty nesters) and build a mother in law quarters on the property for them.

That way we would be close, I could care for them and when the time comes that they need daily/constant care, it won't seem out of place to them for me to be there all the time.

There was just one problem with this.  My mother and I have almost polar opposite tastes.

She likes light woods, I like dark.  She likes to have tchotkes everywhere and I prefer a minimalist look.  She likes a country rustic look, I like more sleek and modern.

The biggest issue by far though was her kitchen.  The kitchen I grew up in.  Even as a teenager (who loved cooking) I HATED that kitchen.

I hated the way it looked, I hated the way it was laid out, I basically hated everything about it.

Since we were going to be building a new living space for her and my dad and she loved her kitchen, it only made sense to take her kitchen out, use it in her new space and spend the money we would have spent constructing a new kitchen for the MIL quarters to get the kitchen I want.

So started the cataclysm which resulted in not just a kitchen remodel but truly, a whole house remodel!

My own mother now says that this house looks nothing like "her" house (the original one built) because we have changed it so much.

Stay tuned for the reveal....


Sunday, October 11, 2015

Dining Room

My amazing mother in law decided that, after spending two years remodeling our entire house, we couldn't just bring our old table and chairs back in, so as an early Christmas present, she bought us a new dining set.


Of course now that I have a new dining room and a new dining room set, I need new table decorations.  Hubby and I went shopping today and got the new fall decor for the table.

The milk glass pedestal bowl in the center is actually a piece I have had my eye on for two years at a local antique mall.

I told Mr. Gem that I'm lucky others don't have the same taste for vintage things as I do because this is the second time I've seen something, checked on it every time I'm there, and then bought it a year or two later.

Seriously though!!!  Isn't this an awesome bowl?!?!


A perfect end to a great birthday week.  

Thursday, October 8, 2015

Sour Cream Chicken Enchiladas

My birthday was a few days ago and I got a craving for these.

I came up with this recipe a few years ago.  I'll warn you, it's hard to stop eating and you WILL want to lick the pan clean!!

Sour Cream Chicken Enchiladas
1 pound chicken breast
1 medium sweet onion
1 bell pepper
2 cloves garlic
3 Tb olive oil
2 Tb butter
1/4 cup flour
2 cups chicken broth
1 cup sour cream
1-4 oz can green chilies
1 cup shredded Colby jack
8 flour tortillas
Heat up olive oil in a skillet and add chicken. Mince garlic over chicken. As chicken is cooking, chop up onion and bell pepper and add to the oil. Stirring and tossing until cooked. Remove chicken and chop or shred then return to pan and remove from heat.
In a small saucepan, melt butter and stir in flour (making a roux). Add chicken broth and stir constantly until it is boiling, boil for one minute and remove from heat. Stir in sour cream and green chilies.
Now time to assemble! Preheat oven to 350°F
Spray a 9x13 dish with cooking spray. Take a flour tortilla, add some chicken mixture and shredded cheese and roll up. Place seam down in pan. When they are all rolled, pour your sour cream sauce over the top and sprinkle any remaining shredded cheese over it.
Bake at 350° for 20-25 minutes.

Stick to your ribs delicious!!!

Wednesday, October 7, 2015

The effect of children...

Anyone who is older than I am and has already experienced parenthood is probably well aware of the profound effect your children can have on you.

Your parents, friends, spouse, etc could want you to make a life change (eat healthier, get in shape, quit smoking, less drinking, etc) and you listen with one ear.

Your child comes to you and says something and man; it REALLY makes you evaluate things.

What kind of example do you want to be?  They look up to you and look to you to be their guide and first clue as to how to act, behave, simply BE in this crazy world we call home.

When you become truly and profoundly aware of just how much your child looks to you as an example, you realize just how much you want to be THAT example for them.

Sunday, October 4, 2015

Happy Fall Ya'll!!!

Yes, I was born and raised in Texas, no, I do not ever talk like that.
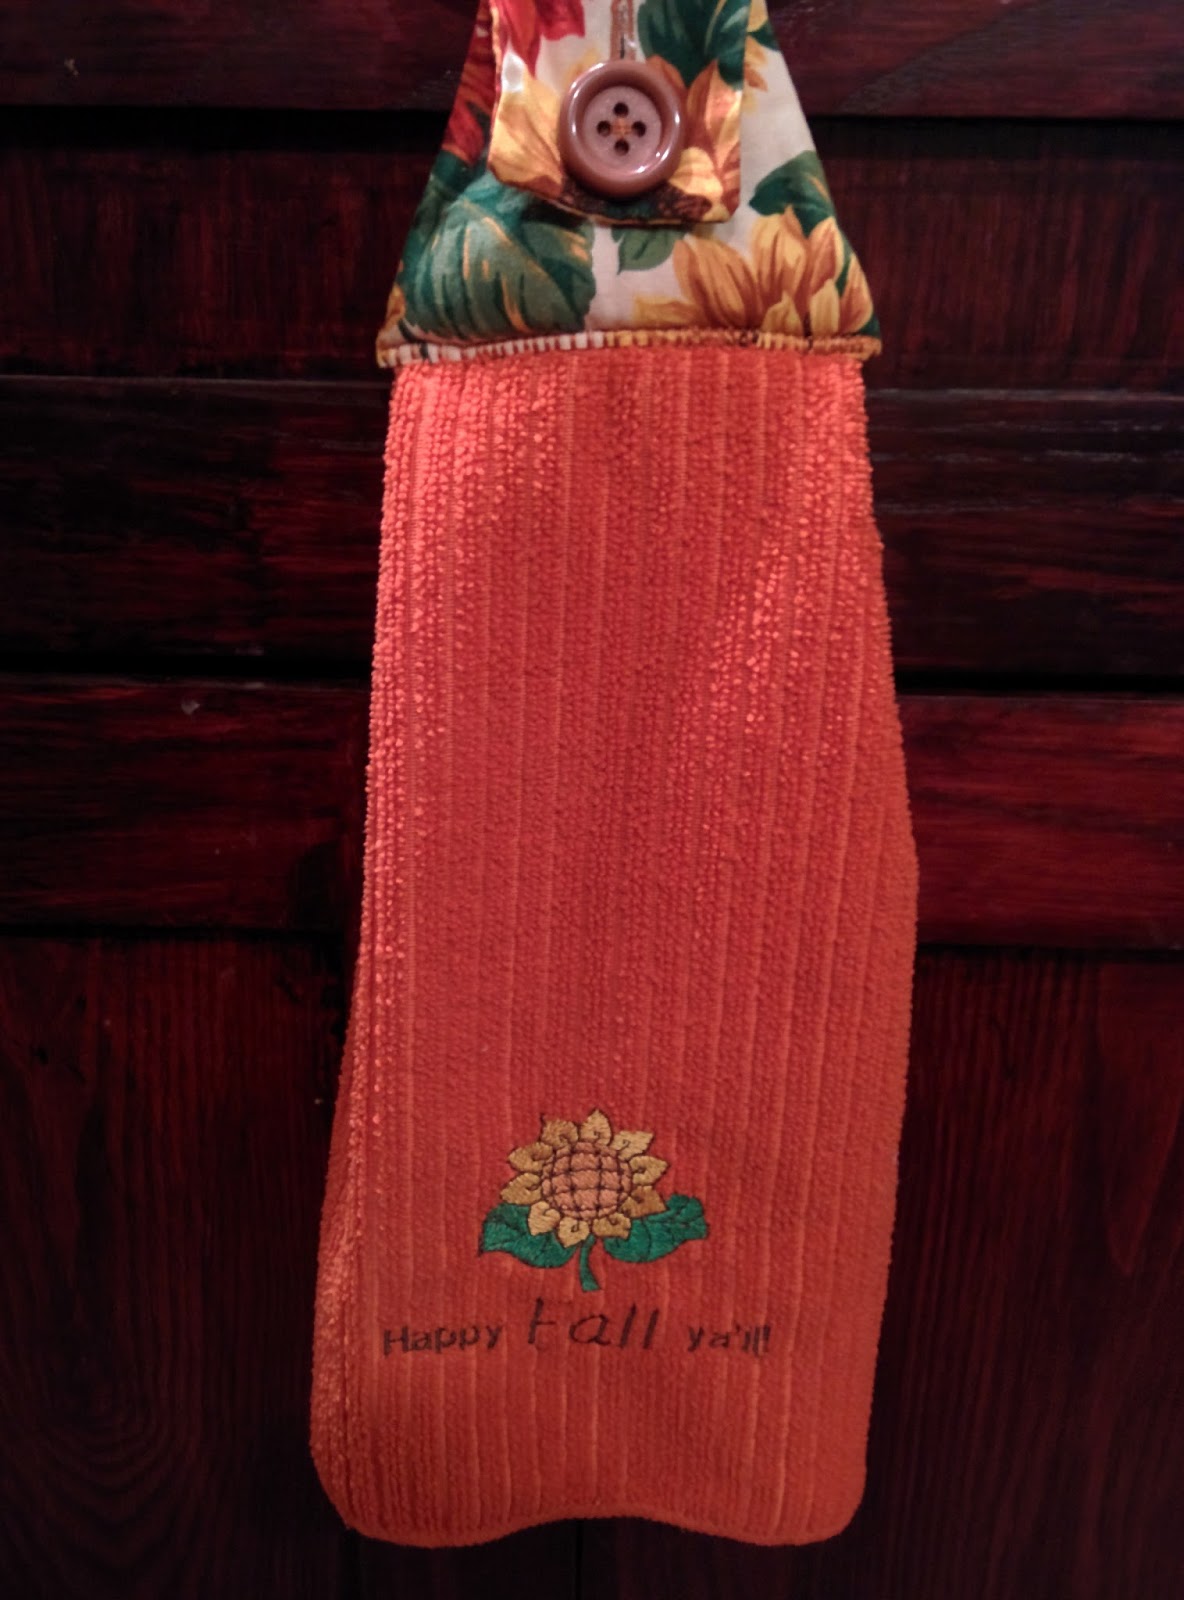
I used it as my title because temps have dropped and we finally have fall weather here so I decorated today, including hanging up this towel my mother made for me.

The last time I decorated for fall was in 2012.  We started our remodel in 2013 and I haven't decorated since then.  One thing we did in our remodel was to paint all the oak trim and mantle a glossy white.
Here is my newly painted mantle, decorated for fall.

I am getting a new dining set so I don't have my table decorated yet because I don't have my table!

After decorating, it was time to make some soup.

This is a recipe I came up with a few years ago and it is quite hearty.

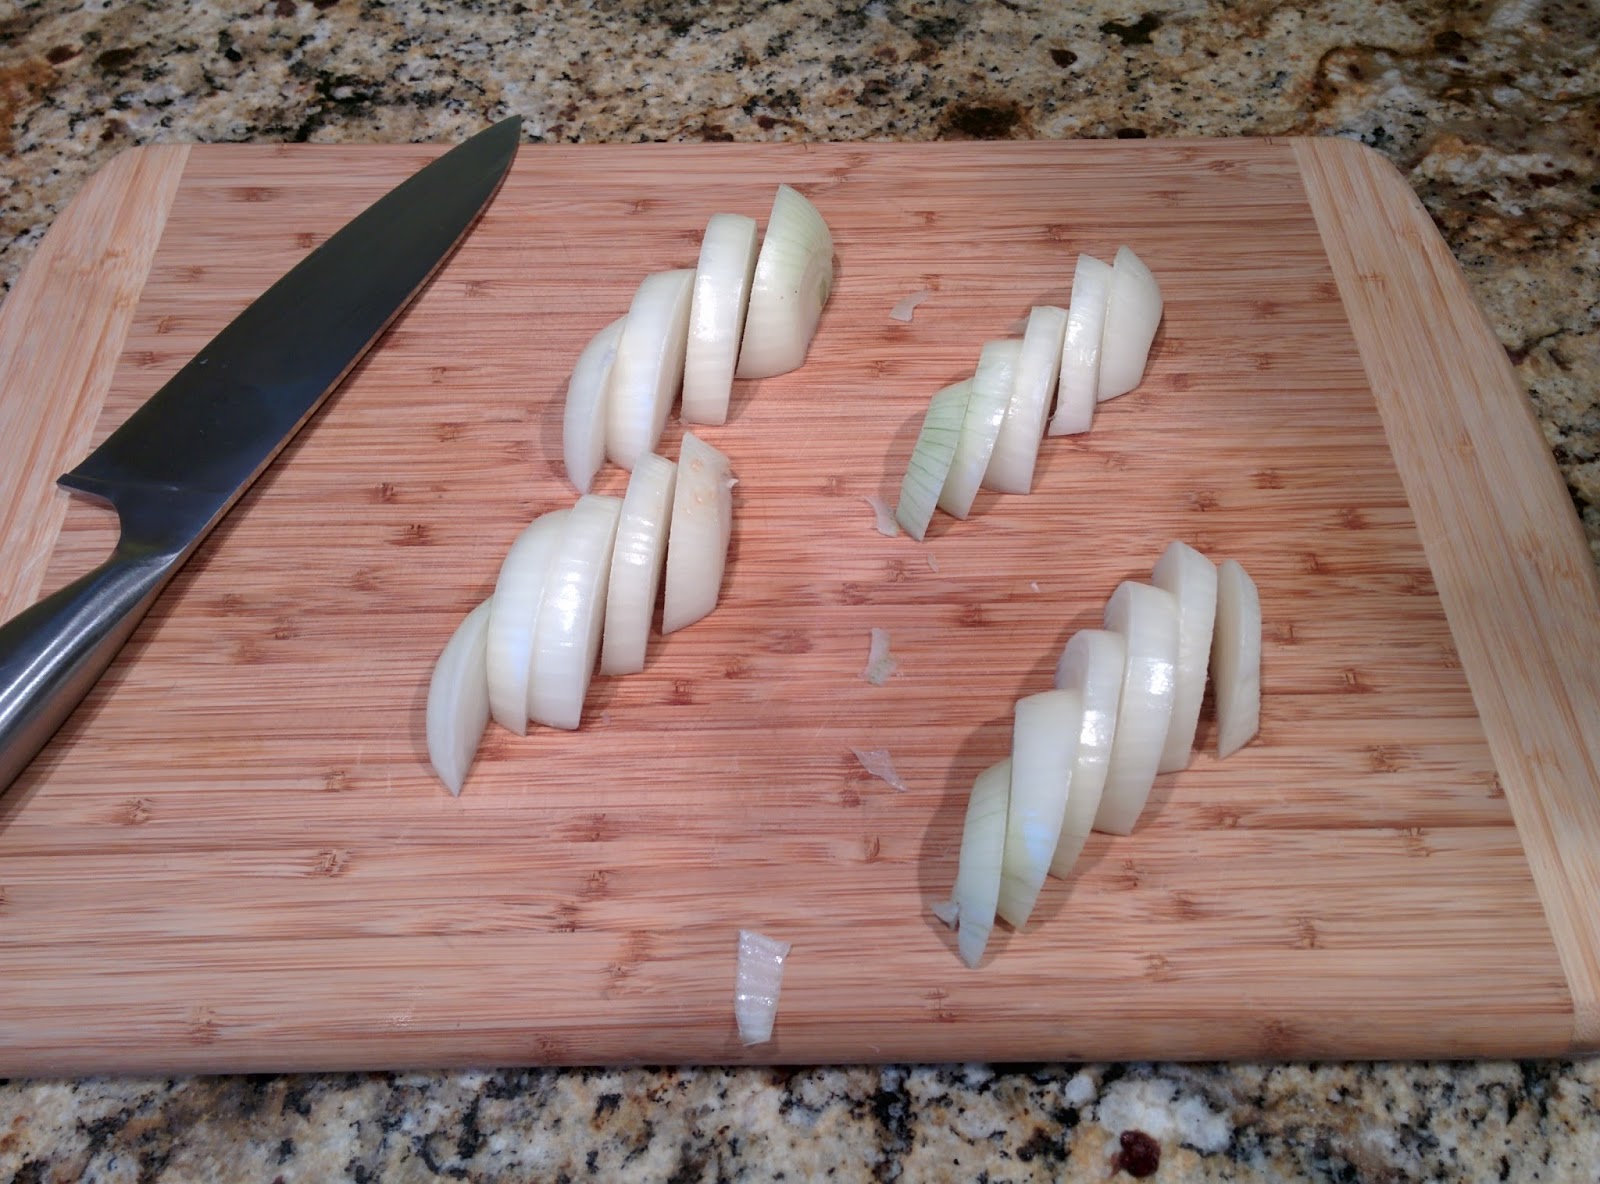
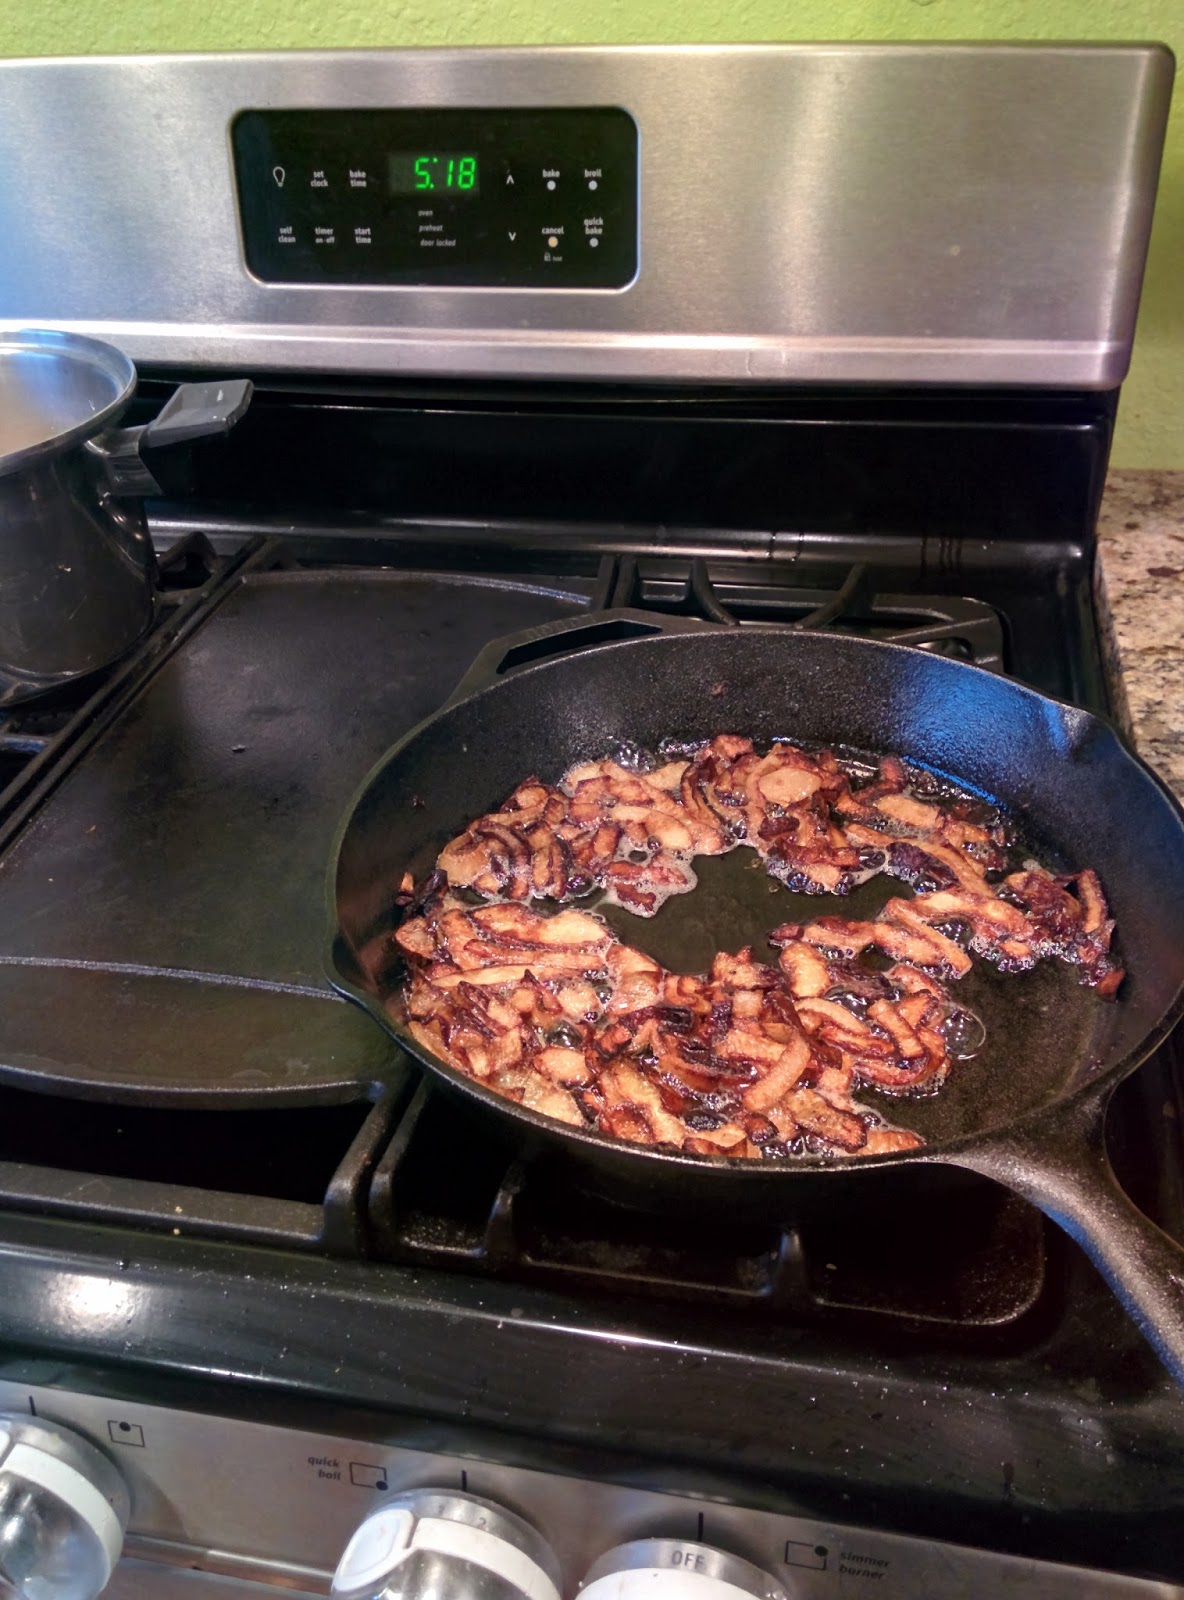
First, you need to carmelize an onion or two.  I had small onions so I used two.

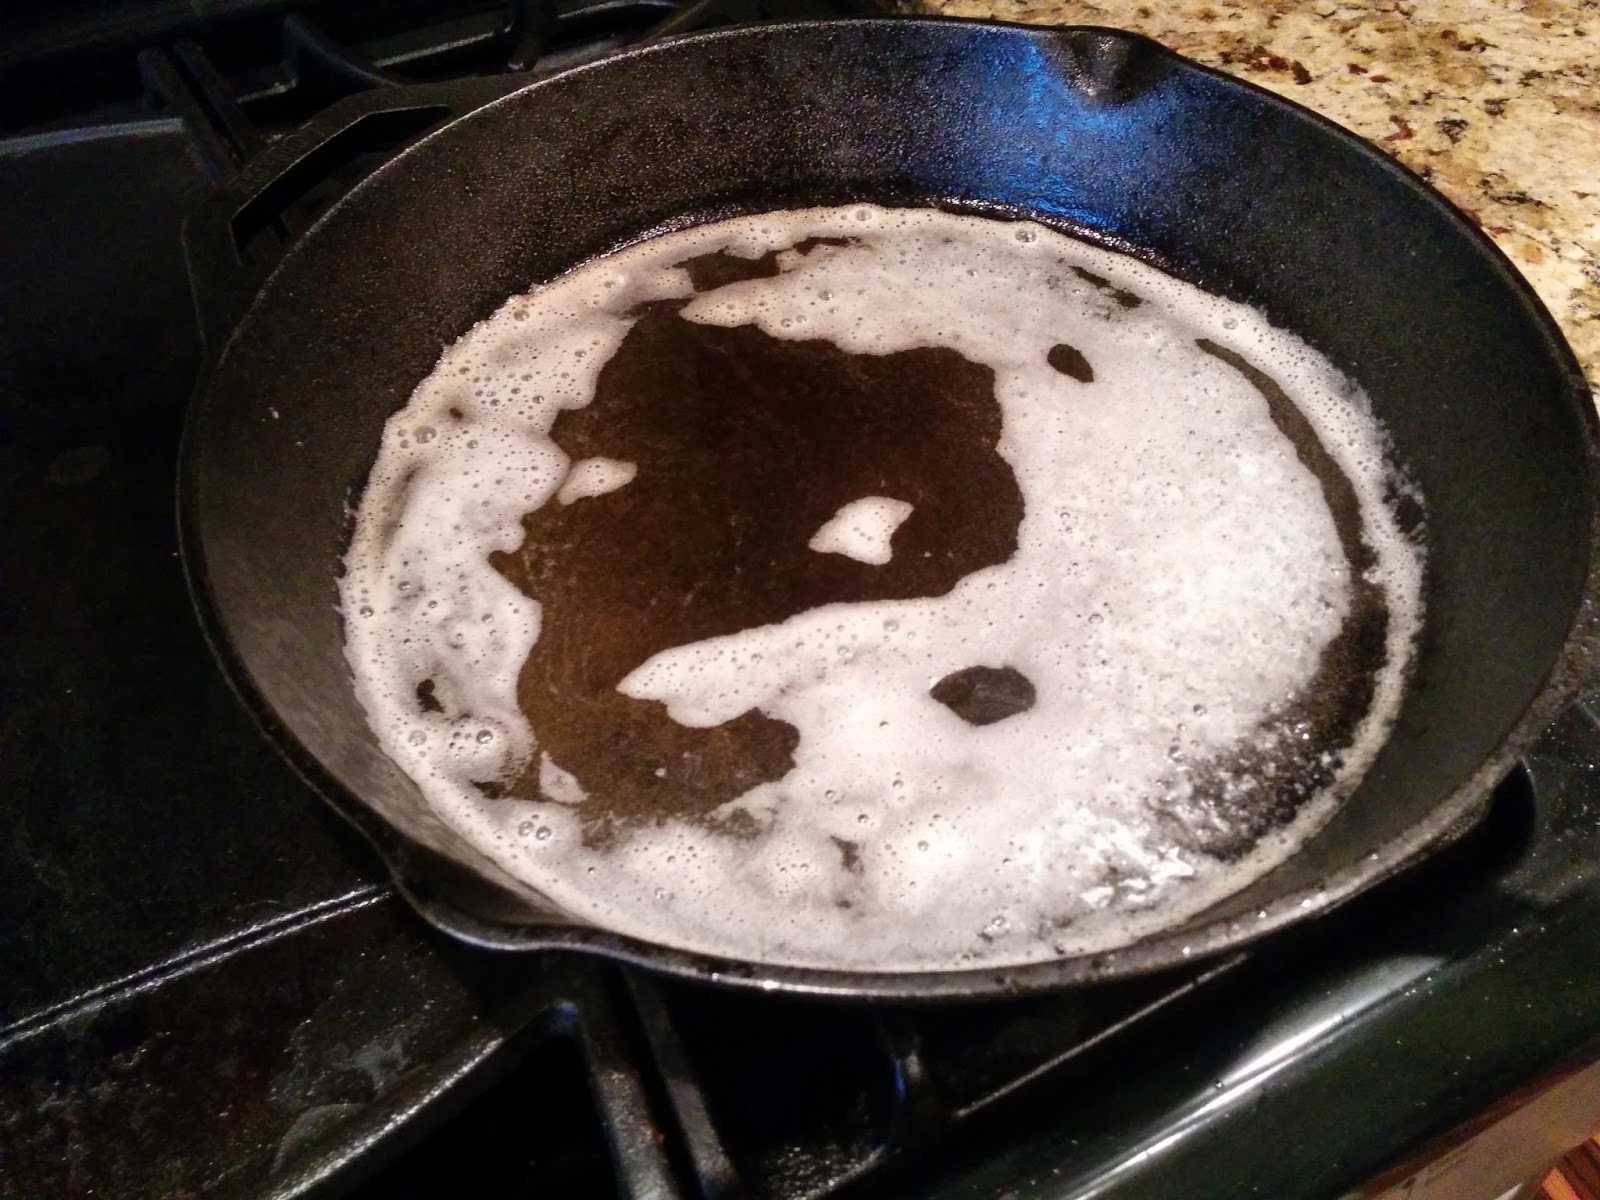
Heat up a skillet on medium low and add butter and oil.


While that is melting, take your onion/s and coarsely chop them.


When your oil/butter mixture starts foaming like this


Add your onions.


If you see immediate browning like this


Your heat is too high.

Turn it down and stir/toss the onions until they are separated and each piece is fully coated in the mixture.


Keep the onions at this temp, stirring occasionally.  Much like brisket, the key to carmelized onions is low and slow.

While they are cooking, go ahead and get out some russet potatoes and peel them.


Cut them up into small chunks and put them in a large stock pot.


Let's go check on those onions shall we?


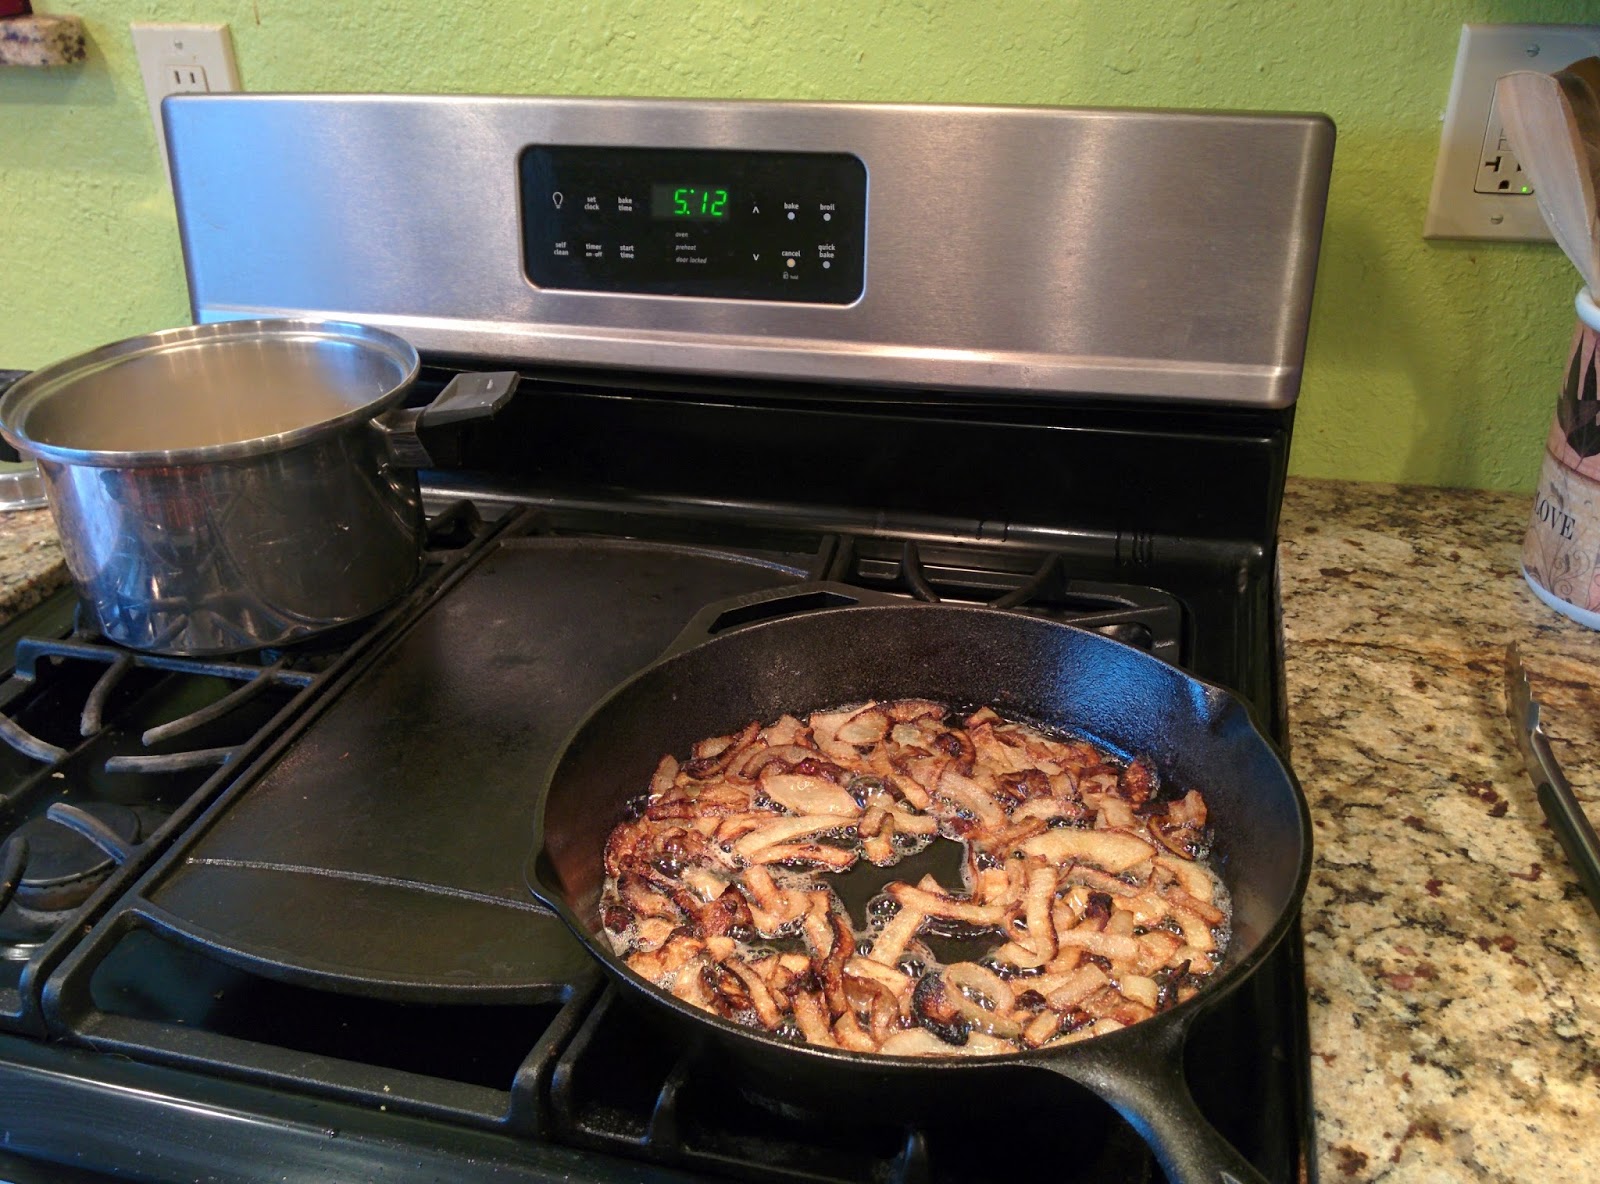
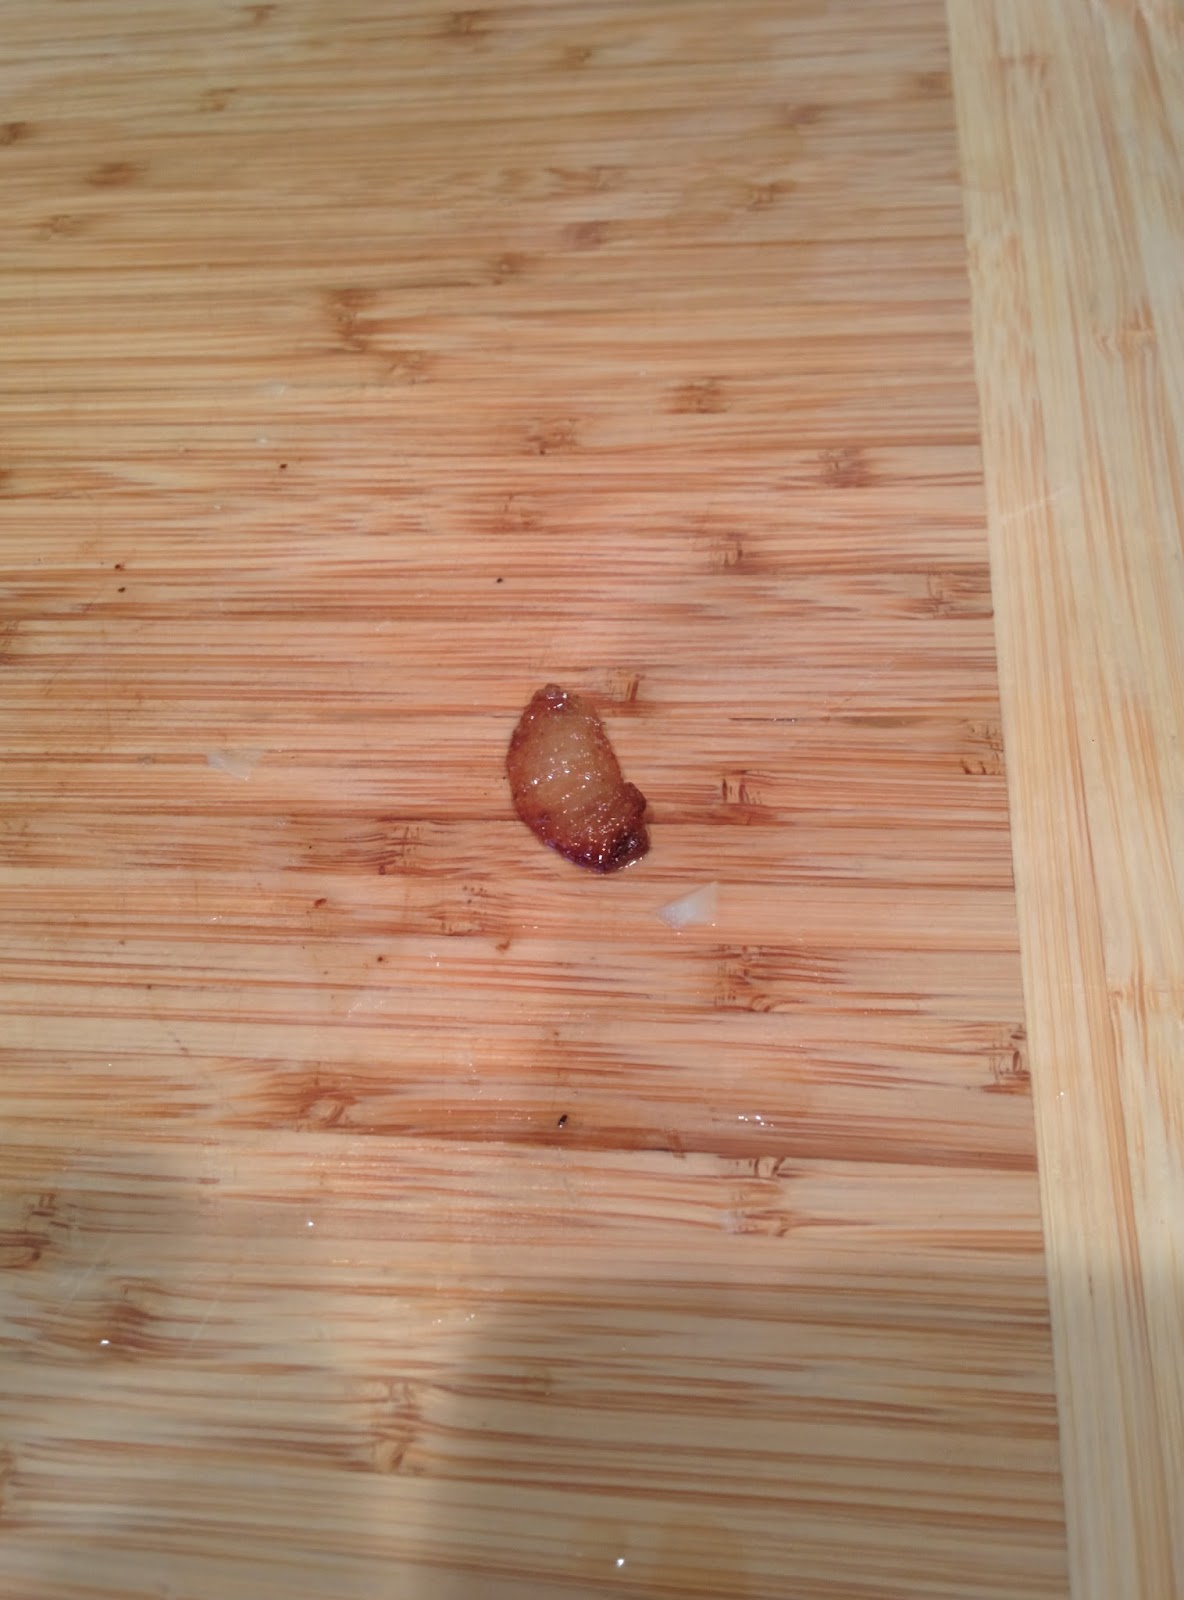
It's been about 20 minutes and they have a nice color going, but the best way to check carmelized onions is by tasting them.

Feel free to grab a small piece and put it aside to cool for a minute before tasting.


Hmm, not bad, but I think they need a little more time.  Six minutes later...


Ahhh, perfect!!!  They are ready to use!  You weren't thinking of scooping them out were you?  No, of course not, because you KNOW you should always deglaze the pan and get all the tasty browned bits right?

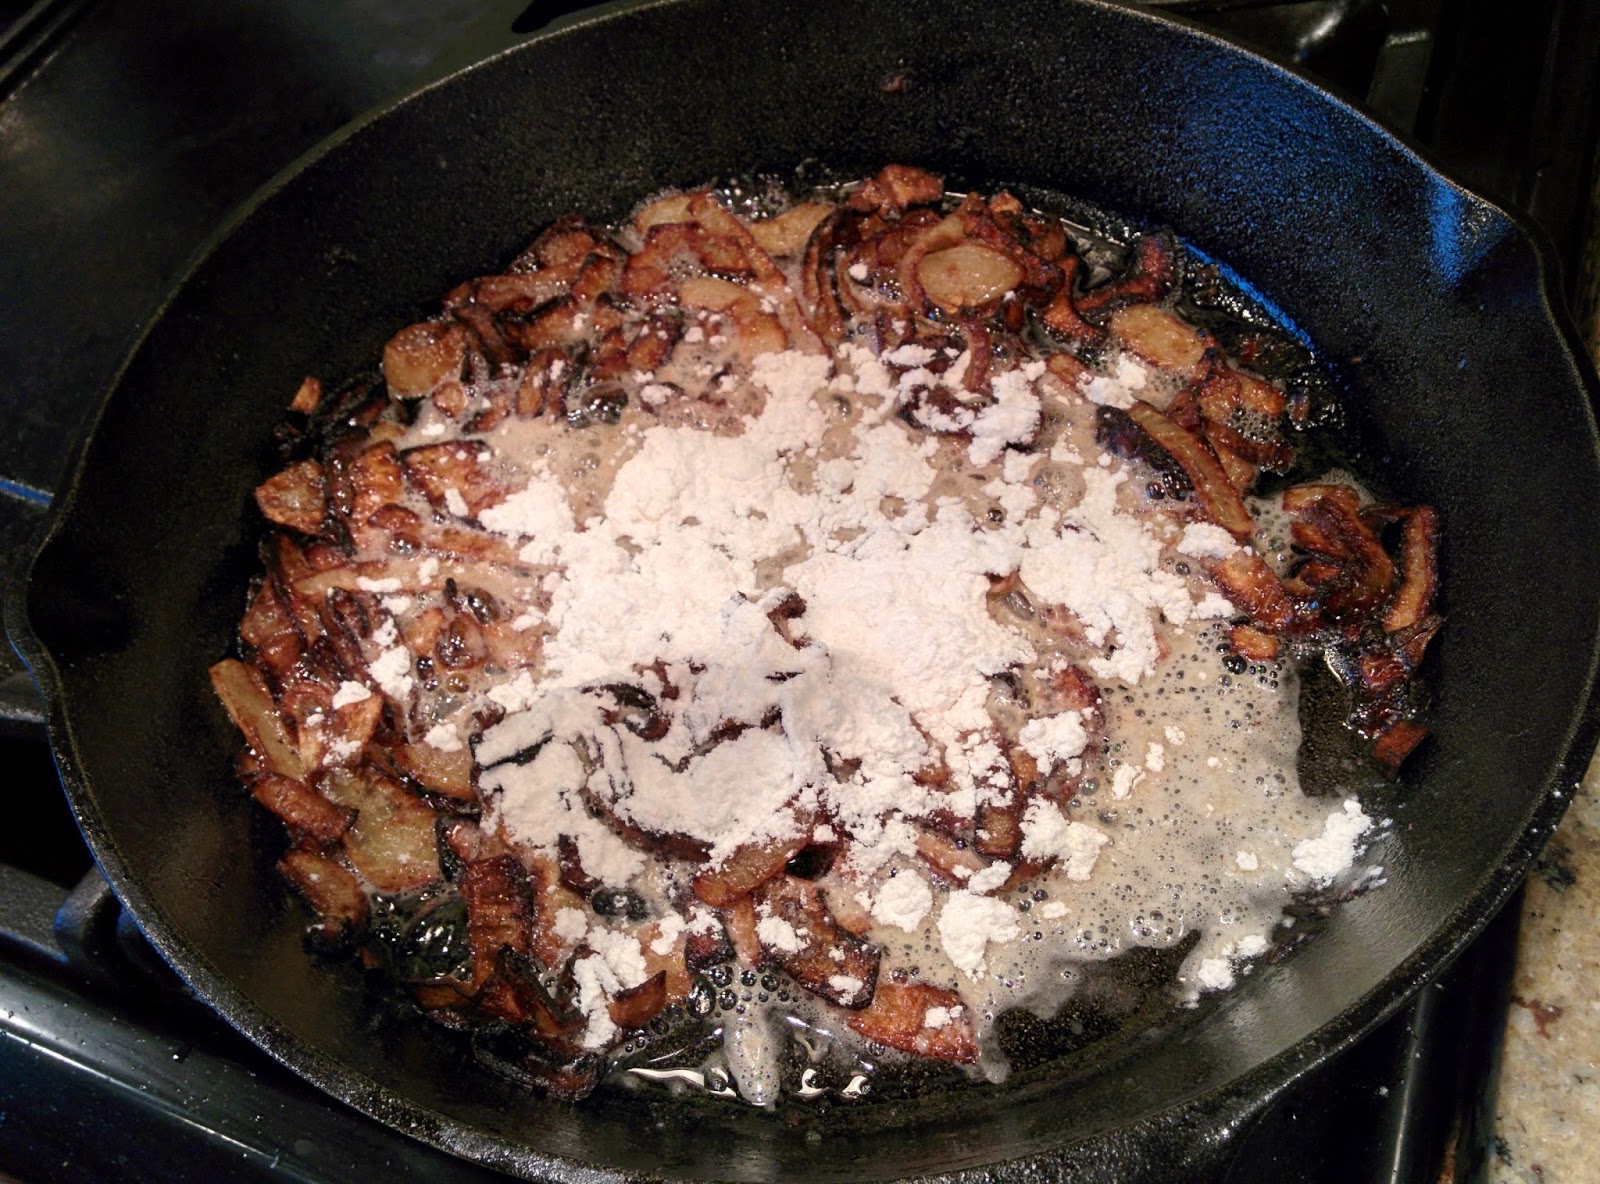
Since we are using these onions in a soup which will need thickening, we are going to first make a roux.  Add a bit of flour to your onions...


Stir and toss until your onions and the pan are coated in a thick floury paste.


NOW we are going to deglaze the pan.  I used about a half cup of beef broth here.


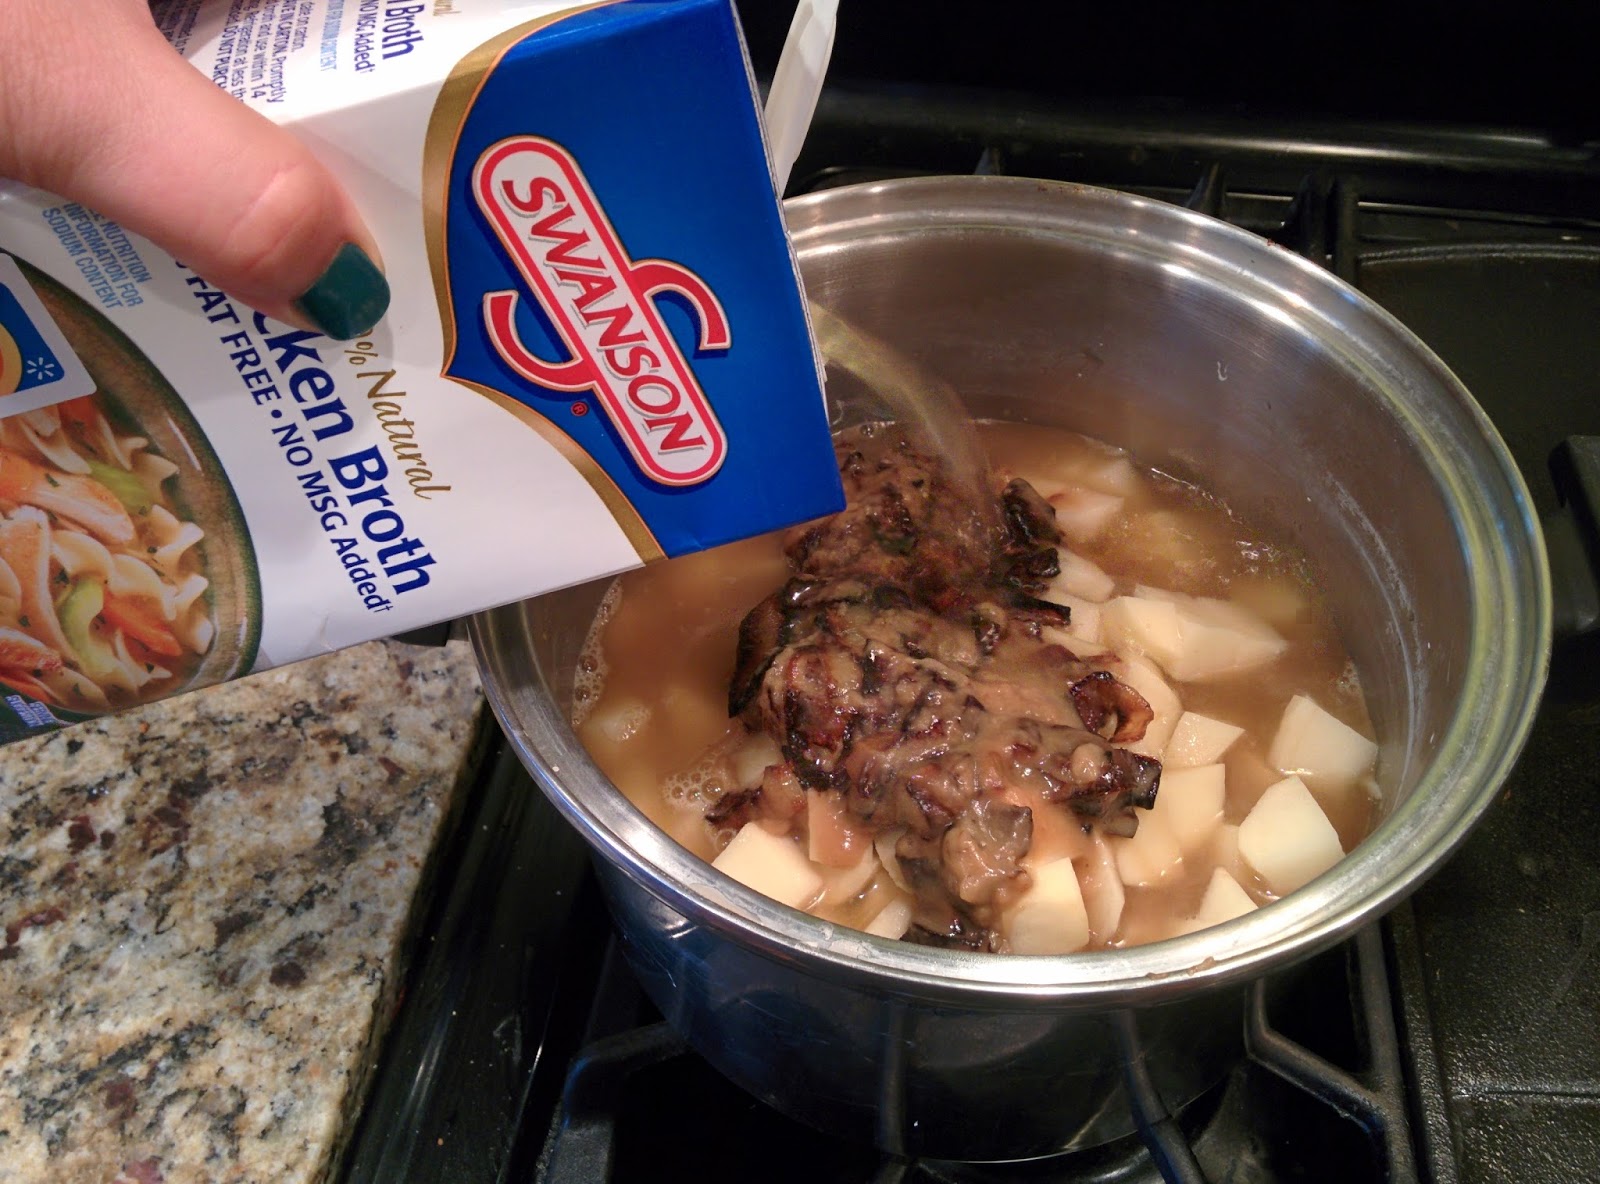
Now we are going to take this tasty mixture from heaven and add it to our waiting potatoes.  Add chicken broth...


And your seasonings and cook over medium heat until your potatoes are soft.

Remove about half of your potatoes and mash them.


Return them to the pan.  Add half and half and stir over low heat until heated through.

Dish out and enjoy!!


French Potato Soup

1 large sweet onion
1 Tb butter
1 Tb vegetable oil
2 Tb flour
1 pound russet potatoes, peeled and cubed
1/2 cup beef broth
4 cups chicken broth
1 tsp salt
1 tsp pepper
1.5 tsp paprika
1.5 tsp garlic powder
1 cup half & half

Carmelize onion.  Add flour to onions and toss until well coated.  Use beef broth to deglaze pan.  Add onions to large stockpot with cubed potatoes.  Add chicken broth and spices and cook over medium heat until potatoes are done.  Remove half of potatoes and mash them.  Return to pot and stir in half and half.
Serve alone or with cheddar cheese, sour cream and French fried onions as garnish.


Doesn't that look delicious?


I should note that I never actually measure my ingredients when cooking, all measurements given are an approximate.  

Experiment!!  Enjoy cooking!!  Cook with your nose!!  Does it smell like something you want to eat?  If it doesn't, add other things or take away things you don't like!  Make it YOUR recipe!

Thursday, September 24, 2015

Pizza Hut breadsticks

I've scoured the internet and I've come across many copy cat recipes for Pizza Hut bread sticks and cheese sticks and while many have been close, none that I've read have actually been accurate.
The biggest mistake they make is putting the seasoning on before baking.

Since I used to work for Pizza Hut, I actually know the proper order in which things are done.

First, you need the dough recipe I previously talked about here.

This recipe will make 2 9x13 pans of bread sticks.

Follow the recipe to make the dough, divide into two equal parts and use a rolling pin to roll into rectangular shapes.  Spray a 9x13 pan with cooking spray, put one rectangle in that pan and freeze.  Freezing will retard the rising stage of the dough so you can use it at a later point.

Pour enough oil in the other pan to generously coat the bottom.  Put your dough in and place in the cold oven to proof using the previous instructions.
After proofing for an hour, use a pizza cutter or a knife to score the dough.
Bake at 475°F for 10-12 minutes until golden brown.

If you want cheesesticks, sprinkle with shredded mozzarella before placing in the oven.

Remove from oven, brush breadsticks with melted butter and sprinkle with seasoning.  For cheesesticks, just sprinkle the seasoning.

If you follow this recipe, you will get breadsticks and cheese sticks that look like this


Look at that crunchy, totally not healthy for you crust!

It's OK, I know your mouth is watering right now; so is mine!

Cheesy goodness!!


Oh, the seasoning on top?!?  You are wondering what it is?!?

Well, here you go my friend.  Mix this up in a shaker to sprinkle on top of your cheesesticks or freshly buttered breadsticks.  It also tastes great on pasta!!

Pizza Hut seasoning mix


2 tbs dry parmesan cheese
1/2 tbs garlic powder
1/2 tbs garlic salt
1 tbs onion powder
1 tbs oregano
1/2 tbs basil

I keep this mixture in a shaker in the fridge.  It really is quite perfect!

If you are freezing dough for later usage, just spray the pan as noted above.  When you want to use it, remove your still frozen dough from the pan, add the oil, replace the dough and proof normally.

Bonus shot with marinara dipping sauce!

Looks tasty doesn't it?

Tuesday, September 22, 2015

Hypocrisy....

Growing up, I was constantly told that Marilyn Manson was "devil music" (its not) and I wasn't allowed to watch The Simpsons, Roseanne, etc b/c it was "bad"

As I became a teenager, the Columbine shootings happened, as did the OKC bombing, and 9/11.

The media tried to portray a lot of this as a result of "violent video games, songs (Manson), movies, etc"

That always bugged me, because I knew a lot of people who were interested in those forms of media and they weren't the slightest bit violent.

Now as an adult, I have a clarity that makes me even more unsure of the reactions I got as a teen.

As a teenager, music like Marilyn Manson's was popular because he was expressing through song what many of us felt.  The vast majority of us didn't act on it, it was merely an outward expression of the emotions we were already dealing with.

We were lambasted for having turbulent teenage emotions that we DIDN'T ACT ON!!!

Today, many of those same adults who blasted us for using media as a form of expressing and feeling our emotions are the same ones who religiously watch/watched Breaking Bad or Sons of Anarchy.

There is no difference between the two.

You have intense emotional feelings that you can't act upon, seeing (hearing) them acted out is a release for you, a way for you to cope without hurting others.

Yet somehow Breaking Bad is OK, but Manson isn't.  Can you explain that to me?

Sunday, September 13, 2015

Friday Night Pizza Night

Traditions are funny things.  Have you ever wondered how a tradition became a tradition in the first place?
In this instance, I already know the answer, but I still find it fascinating.

Two years ago we started remodeling our house; with a heavy focus in the kitchen.

Trying to prepare meals for a family of 6 is arduous even in the best of times.   Add in a DIY remodel that we were devoting essentially all our free time to and it balloons into a nightmare.

In the thick of the remodel, I resorted to running down the street and grabbing a few frozen pizzas every week.

This quickly morphed from an occasional thing into a weekly expected thing.
However, there is only so long one can survive on crappy pre-processed food before you start to rebel.

I tried several different crust recipes before I came across one which replicates Pizza Hut deep dish crust.

It is both a blessing and a curse!  Now we can have homemade pizza for MUCH cheaper than we could buy but the curse is that my family doesn't even like frozen pizza or pizza from a restaurant anymore!  They all want this.


The good news is, the recipe is very simple!

Copy cat Pizza Hut pan pizza crust

1 envelope of active dry yeast
1/4 cup powdered milk
1 Tb sugar
1 tsp kosher salt
1 1/3 cup warm water (105 F°)
2 Tb vegetable oil
3.5-4 cups all purpose flour

Pour yeast, powdered milk, salt and sugar into a large bowl (preferably a stand mixer) and stir together.  Add warm water and wait 2 minutes to activate yeast.  Add oil and stir.  Then add 3.5 cups of flour, put on your dough hook attachment and turn on low.  Once all ingredients have been incorporated, turn mixer to medium (I have a KitchenAid stand mixer and set it to level 4). Allow dough to knead for a few minutes and then check it.  
If it is still sticking to the bowl, add a little more flour and knead again.

Remove dough from bowl and form into a rough log.  Divide dough into 3 separate balls.  
Using a rolling pin, roll each dough ball roughly into an 8 inch round.

Take your 8 inch round pans and pour a little vegetable oil in the bottom, just enough to cover the bottom of the pan.
Place your dough in each pan and spray the outer edge with cooking spray.

Take your pans and place them in a cold oven.  Put a small pan of boiling water in the bottom and turn the oven on to 400°F for ONE minute!!

After one minute has passed, turn off your oven and leave the door closed.  You have just turned your oven into a proofe!.  Allow dough to rise for an hour.

Remove dough and heat oven to 475°F

Assemble pizza with your preferred sauce, cheese and toppings and bake for 10-12 minutes until the crust is golden brown.

Remove, slice and enjoy!!

Monday, September 7, 2015

Depression

Someone very close to me recently described; in the most eloquent and yet simplest way possible, what depression is.

They said, "I used to be happy and everything was easy, now I'm unhappy and everything is hard."

They went on to say, "I just don't get it.  I look at my life; I've got everything going for me, a good job, a good family, a good house, etc but I find no happiness or joy in it.  And I feel bad man!!  I look at others, they are struggling to pay their bills and make a good life and yet, they are happy.  I mean, how freaking hard is it to just be happy?!?!?  When did it become so difficult to be happy?!?"

That is all....

Saturday, September 5, 2015

In Summer

Do you have kids?  Are they as obessed with the movie and music from the movie Frozen as my family is?

Regardless of whether they are or are not obessed with the movie Frozen, I've yet to meet a kid who wasn't ecstatic about immersing themselves in a giant body of water in the middle of summer.

A few years ago, Mr. Gem and I decided that it was vitally important for our kids to learn how to swim.

We looked at our options, membership to the local club, swim lessons through the city or through private instructors and what we found is that it would actually be cheaper for us to buy and maintain a pool than it would be for us to pay others to teach our kids to swim.  Bonus!!  We would now have a pool for ourselves!  (OK, its really a pool for me...you can't say you're surprised though!)

So, that summer we bought a pool.  It was a simple cheapo from Walmart (> 300) but... there were only a few days we were able to use it without our kids lips turning purple; however, we were hooked!

The very next summer, we built a solar heater out of spare parts so our pool would be warmer and therefore useable for a longer period of time.

First solar heater
We went from temps in the upper 70s to temps in the lower 80s.

A warmer pool meant we could use it longer.

That wasn't good enough for Mr. Gem.   So the next season we/he built a second solar heater connected to the first solar heater.  This time using aluminum as a background to reflect and a pane of glass to trap the heat.

Second solar heater

Better!! A longer season with temps averaging in the low to mid 80s;..... happy family!  That still wasn't good enough for Mr. Gem though.

He built a THIRD solar heater this season which allowed us to swim on colder/overcast days.

Third solar panel-simple


It is currently September 4, 2015 and my pool is heated to 91 degrees while the outside temp is 92 degrees.  The highest we got it to this summer was 94+ degrees.

I know what your thinking; that sounds insanely hot!!!

The truth of the matter is that yes, our pool WAS too warm for daytime swimming when it was 90+ degrees.  HOWEVER, that is the perfect temperature for nightime swimming.  If it gets too cold we duck into our cheapo >500 inflatable hot tub!

The truth of the matter is that hubby was so good at building solar heaters that we actually got to a point where the pool was too warm!!


Now...if only I could magically win the lottery and build that dream in ground pool and hot tub!

Friday, August 28, 2015

Tumbleweed Garden

Have you ever wanted a tumbleweed garden?  Yeah, me neither.
However, after 2 years of remodeling with a lot of heavy traffic in my backyard, all the grass has died and the tumbleweeds have taken over.
This is one small corner of my yard

Now that all the heavy remodeling is done, it is time to conquer my yard!!!
I've been working for about an hour so far and here is my progress.

The pile of removed weeds


So...best guess sometime next fall!!!

Sunday, August 23, 2015

School starting

Tomorrow is the first day of school.  Quickly fading are the long lazy days of summer and swimming every day, and fast approaching are crisp days, warm rich tones and delicious smells.

Monkey will be starting 3rd grade, which also means this will be the first year she will have standardized tests, currently called STAAR.

Monster will be starting 1st grade and she is very apprehensive.  She was last year as well but adjusted easily and I have no doubt she will adjust again.

Today I asked them what they would like for breakfast in the morning.  Monster requested biscuits with country gravy but Monkey doesn't like gravy so she wanted a breakfast sandwich.

To save time, I went ahead and made the biscuits tonight.
Cheddar and Chive on the left, regular on the right


These biscuits are so simple and delicious, they have become one of my default recipes.  And look!! It even says it in the recipe name, they are quick!

Quick Drop Biscuits

2 cups of flour
1 Tb of baking powder
2 tsp of sugar
1/2 tsp of salt
1/2 cup of butter melted
1 cup of milk

Preheat oven to 450°F.
Mix flour, baking powder, salt and sugar together.  Dump in milk and melted butter and stir just until mixed.  Do NOT overmix.
Spray your baking sheet with cooking spray and drop batter by the spoonful onto sheet.  Bake 10-12 minutes or until lightly browned.

The great thing about this recipe is how versatile it is.  You can add herbs and cheese to make savory biscuits, or add fruit to make them sweet.  I made 2 batches tonight.  One regular, and one cheddar and chive.  I added about a cup of shredded cheddar cheese and about 1 Tb of chives to the dry ingredients before adding the wet.

In the morning, I will make country gravy for the regular biscuits and eggs and sausage to go on the cheddar chive biscuits.

I may not look forward to school starting but I am looking forward to breakfast!!

Thursday, August 20, 2015

Burn Healing continued

8 days post burn

Back to the saga of burn wound care!  The picture above was taken 8 days after the burn and the wound was still oozing so we kept it covered.  Over the next few days, it progressed and continued to heal.

Day 9
Day 10


Day 11
Day 12
At this point, the wound was no longer oozing so we tried leaving the gauze off as the burn center had instructed.  Unfortunately, newly grown skin is not only incredibly thin and sensitive, it is also itchy.  She managed to scratch herself within minutes so we put her back in the gauze and mesh shirt to keep her hands away from the burn.   
Day 13
On the 13th day after she was burned, I went into labor and delivered Bear.  My mom watched Monkey and Monster for us while we were in the hospital but she did make the mistake of turning around for about 2 seconds to talk to Monkey while Monster had her gauze off which resulted in her scratching open the fresh skin again, as evidenced in the day 15 post below.


Day 15


Day 16
Day 17


Day 18
At this point, Mr. Gem had taken her back to the burn center for another check up.  The said she was healing well and told us to switch to fragrance free lotion like Eucerin and sunscreen.  We were told to be vigilant for the next year as even a minor sunburn could cause scarring on this fresh tissue and let me tell you...we were VERY strict.  Lotion was applied at least 3 times daily, sometimes more if she started to scratch, sunscreen was applied at least twice daily and we also just didn't go outside much.
Day 20
Day 22
Day 25
Day 30


2 months post burn

As you can see, over time it did get lighter and lighter and today, 4 years later, no one can tell she was burned.  We go to a camp every year that is for burn victims and the nurses there are always amazed that she has no noticeable scarring.  The only scar she has is where the burn underwent conversion, it doesn't tan so during the summer she will have 2 or 3 little white lines on her shoulder.  I put it down to good genes, good luck and good vigilance that first year.


I know these last two posts aren't happy fun posts but I really wanted to make them because if it can help even one parent out there who is currently going through this with their child then it is worth it.  

Tomorrow, I will post of happier things, I promise!!